
Table of Contents
1. Introduction
BluSi is a mobile access control application for buildings in Switzerland. It allows you to open the doors of your building directly from your phone, manage access for your inhabitants, and create temporary access for your guests.
The app is available on iOS (App Store) and Android (Google Play) in two languages: French and English.
- Owner — Configures the BluSi Box and manages access. Can enable or disable user administration.
- Inhabitant — Opens doors daily. Can, if authorized, manage users within their group.
- Guest — Uses the app with or without an account, through temporary access codes.
2. Installation and first launch
Search for "BluSi" on the App Store (iOS) or Google Play (Android) and install the app.
Open the app and create an account with your email address. Your phone will be automatically registered as a personal device.
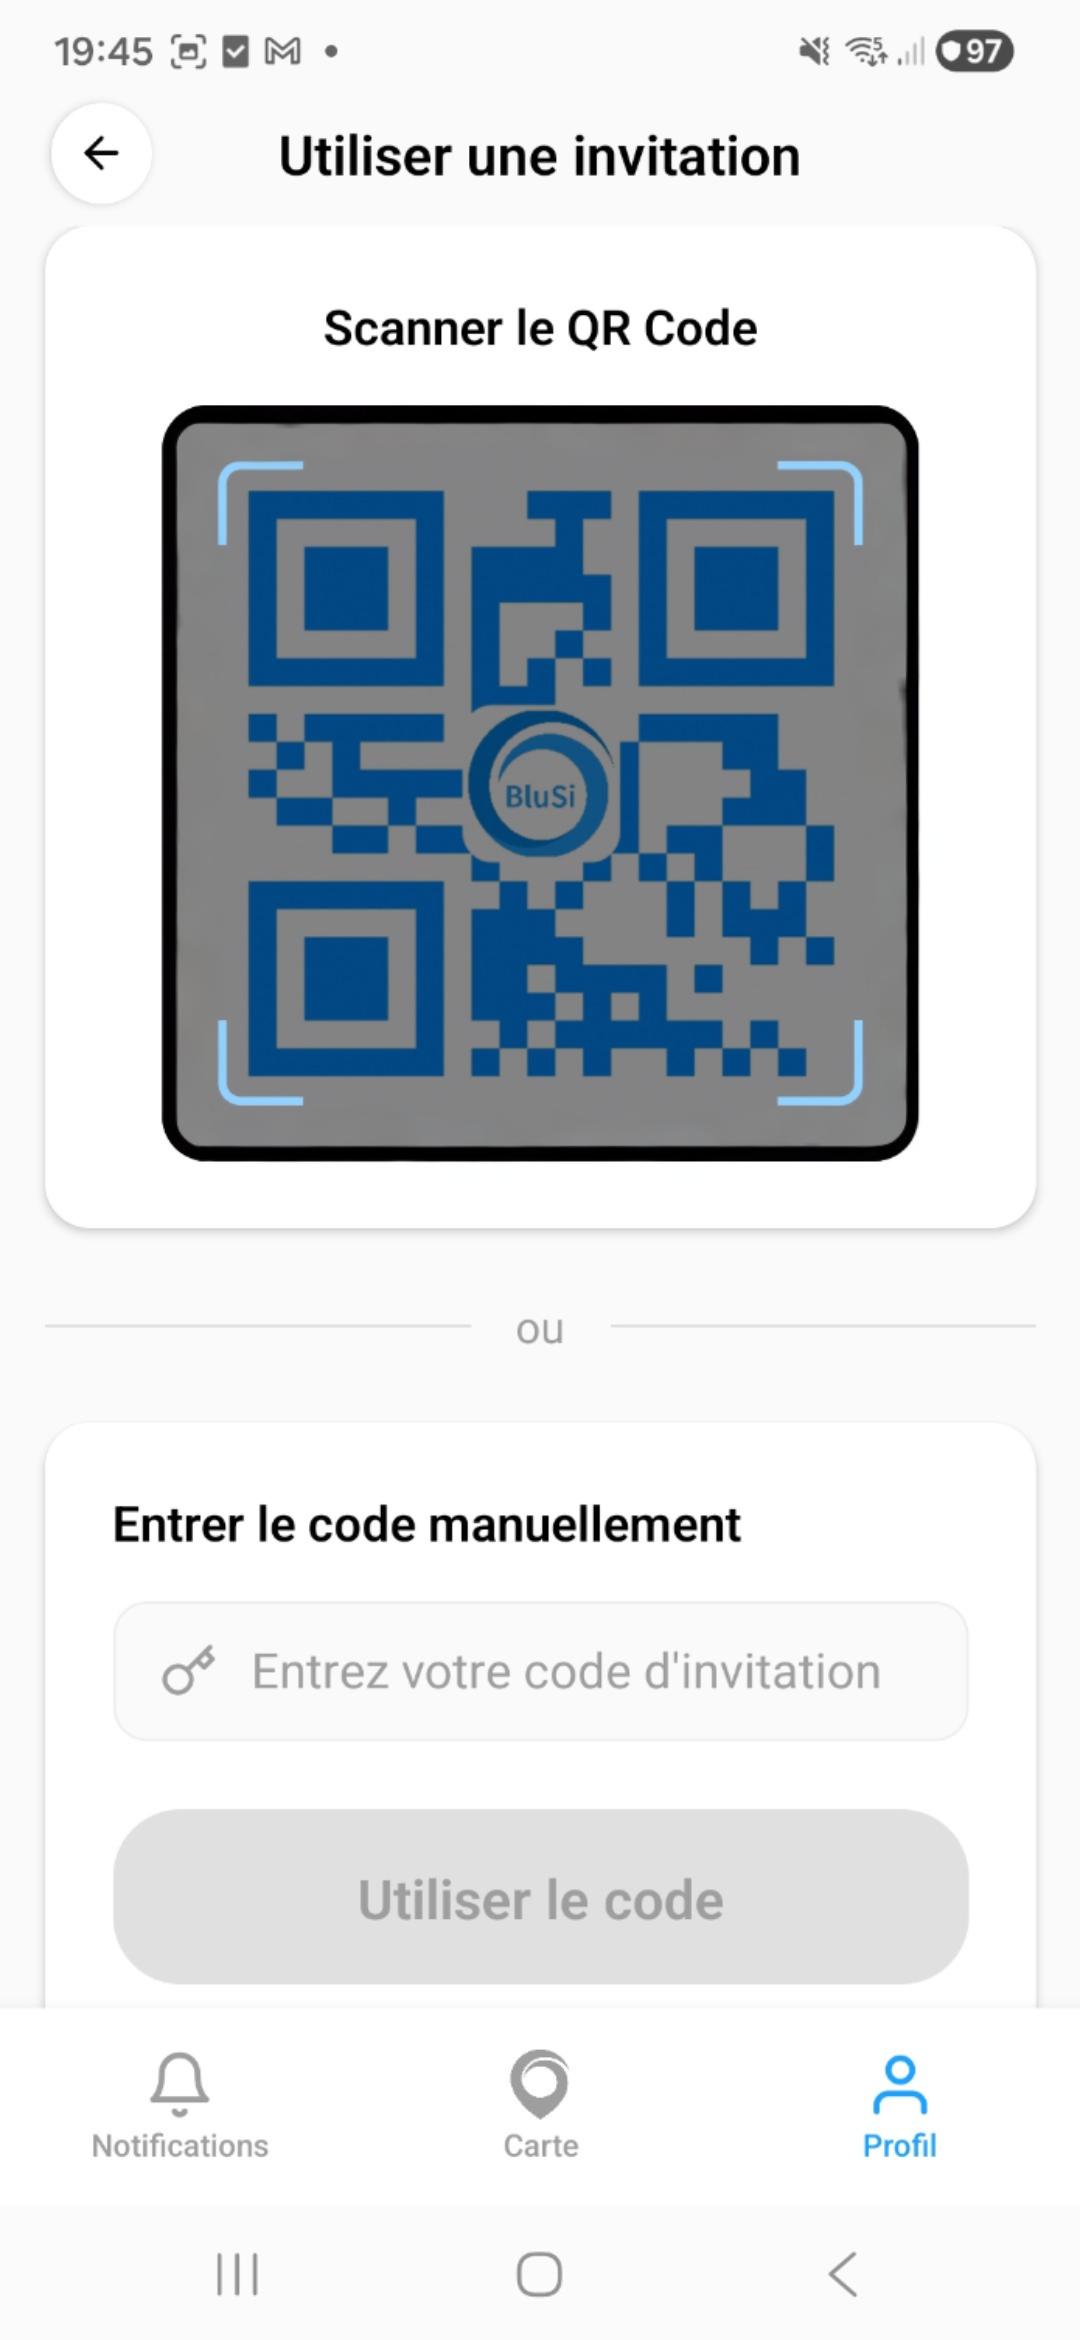
If someone invited you, go to Profile > Accept an invitation and scan the QR code or enter the code manually.
3. App navigation
The BluSi app is organized around three main tabs accessible from the bottom navigation bar:
- Notifications — Pending access requests and history
- Map — Interactive map with all your BluSi properties
- Profile — Your personal information, settings, and BluSi Box management
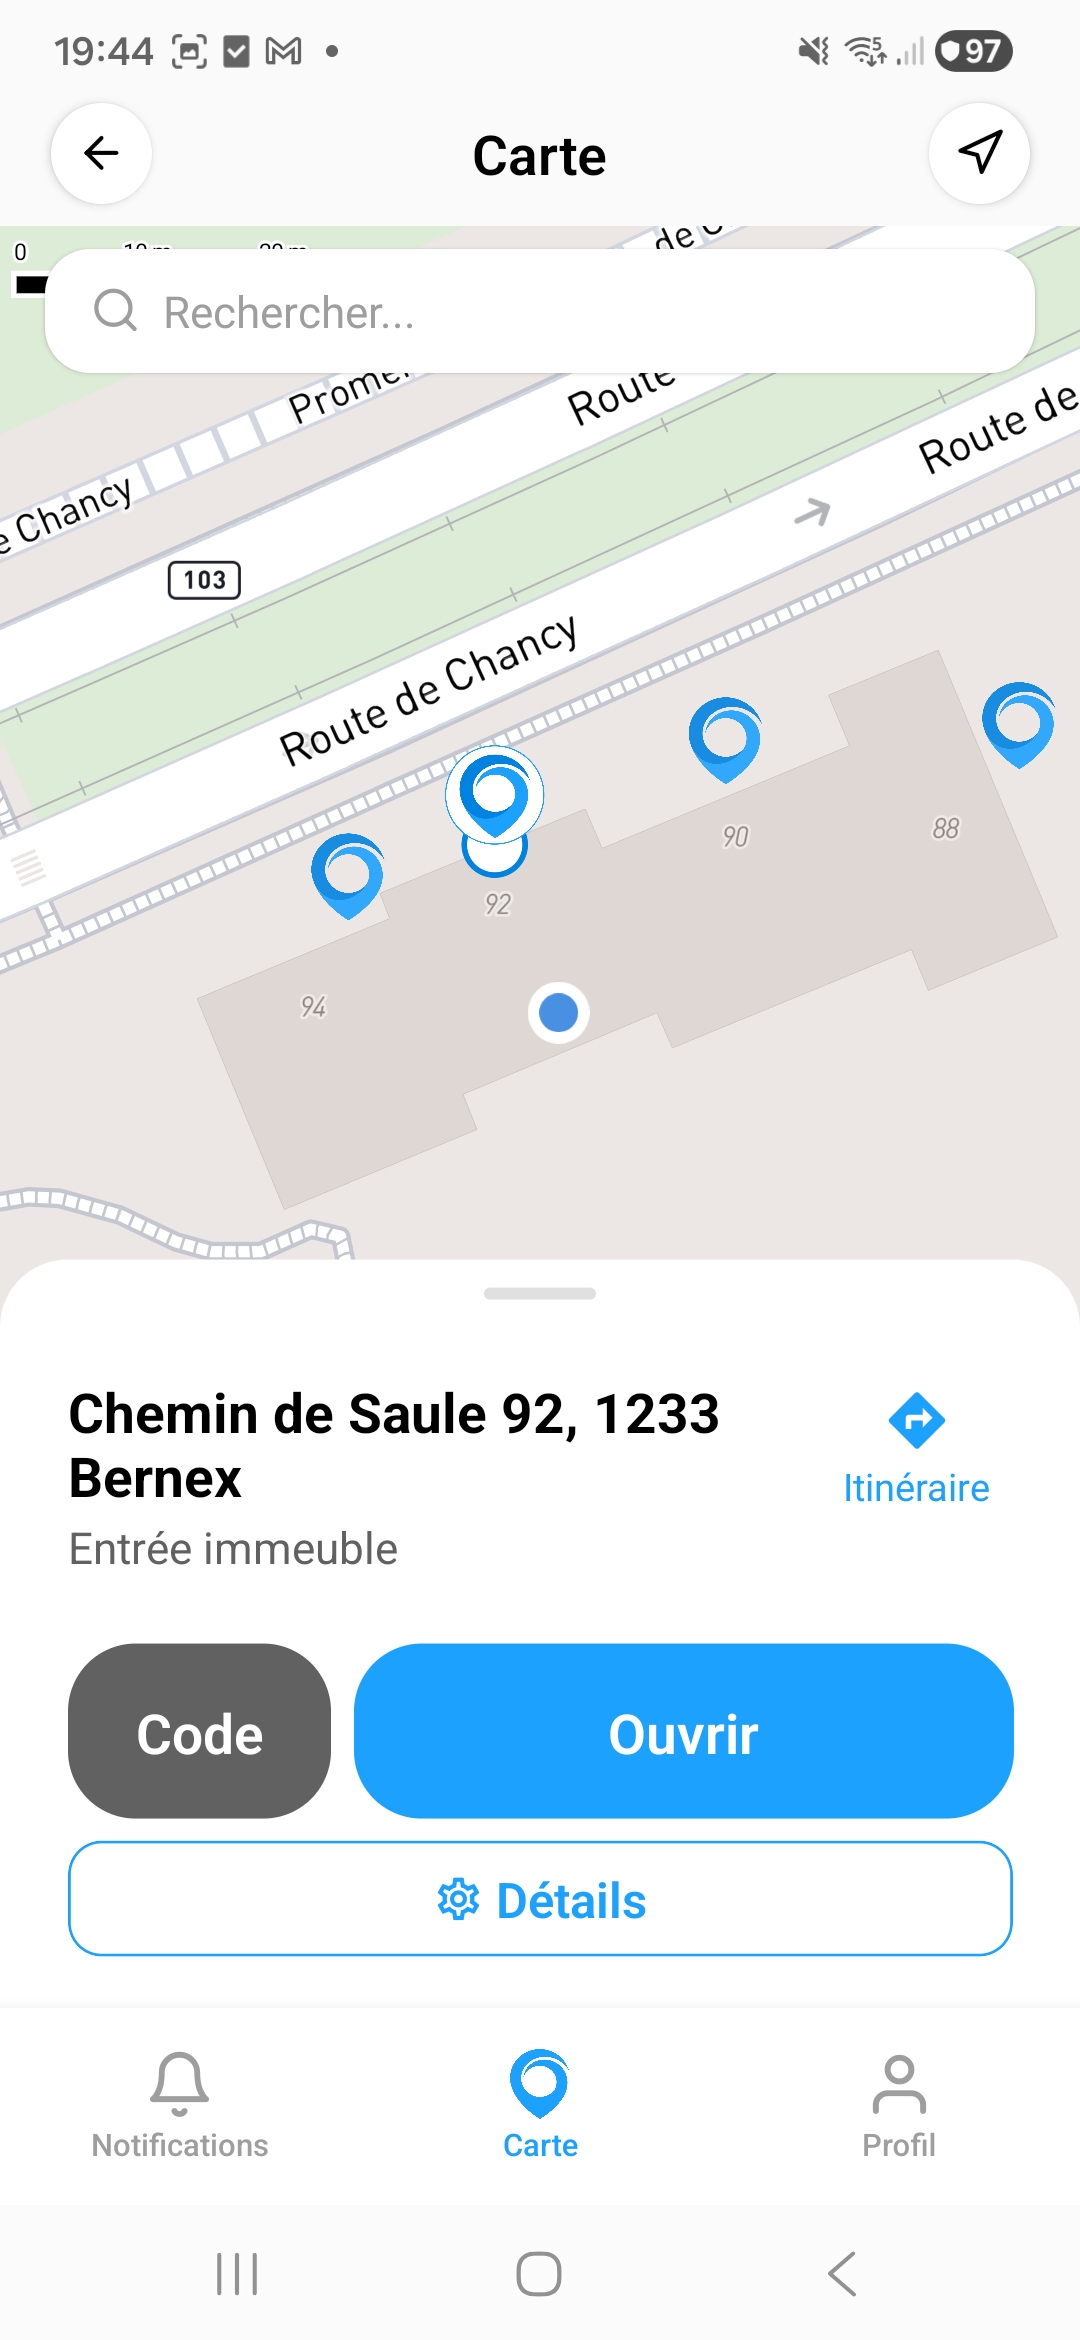

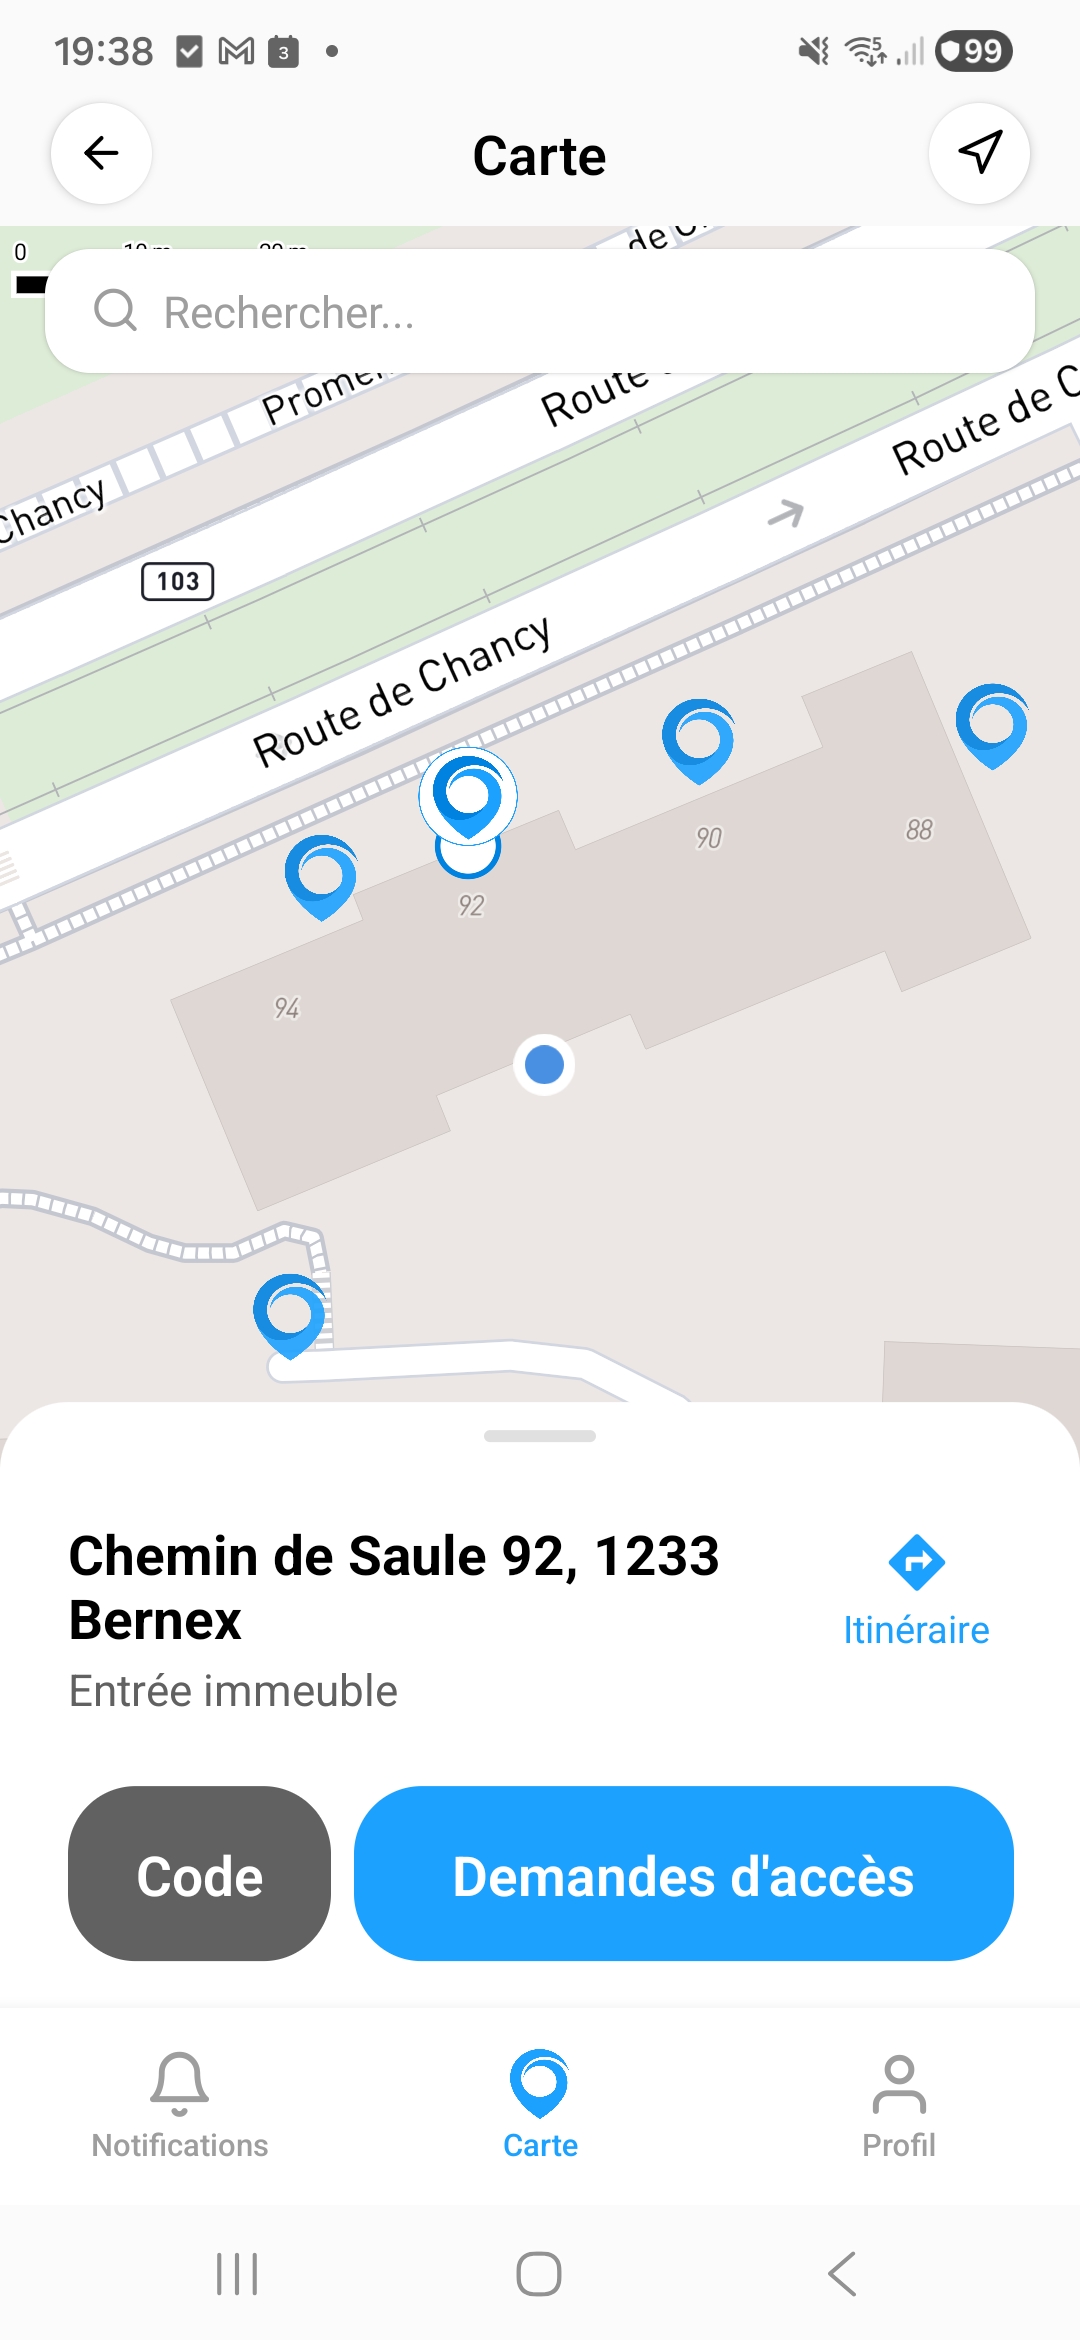
4. Map and door opening
The Map tab displays all BluSi Boxes you have access to on an interactive map. Blue markers indicate locations of equipped doors.
4.1 Open a door
To open a door you have access to:
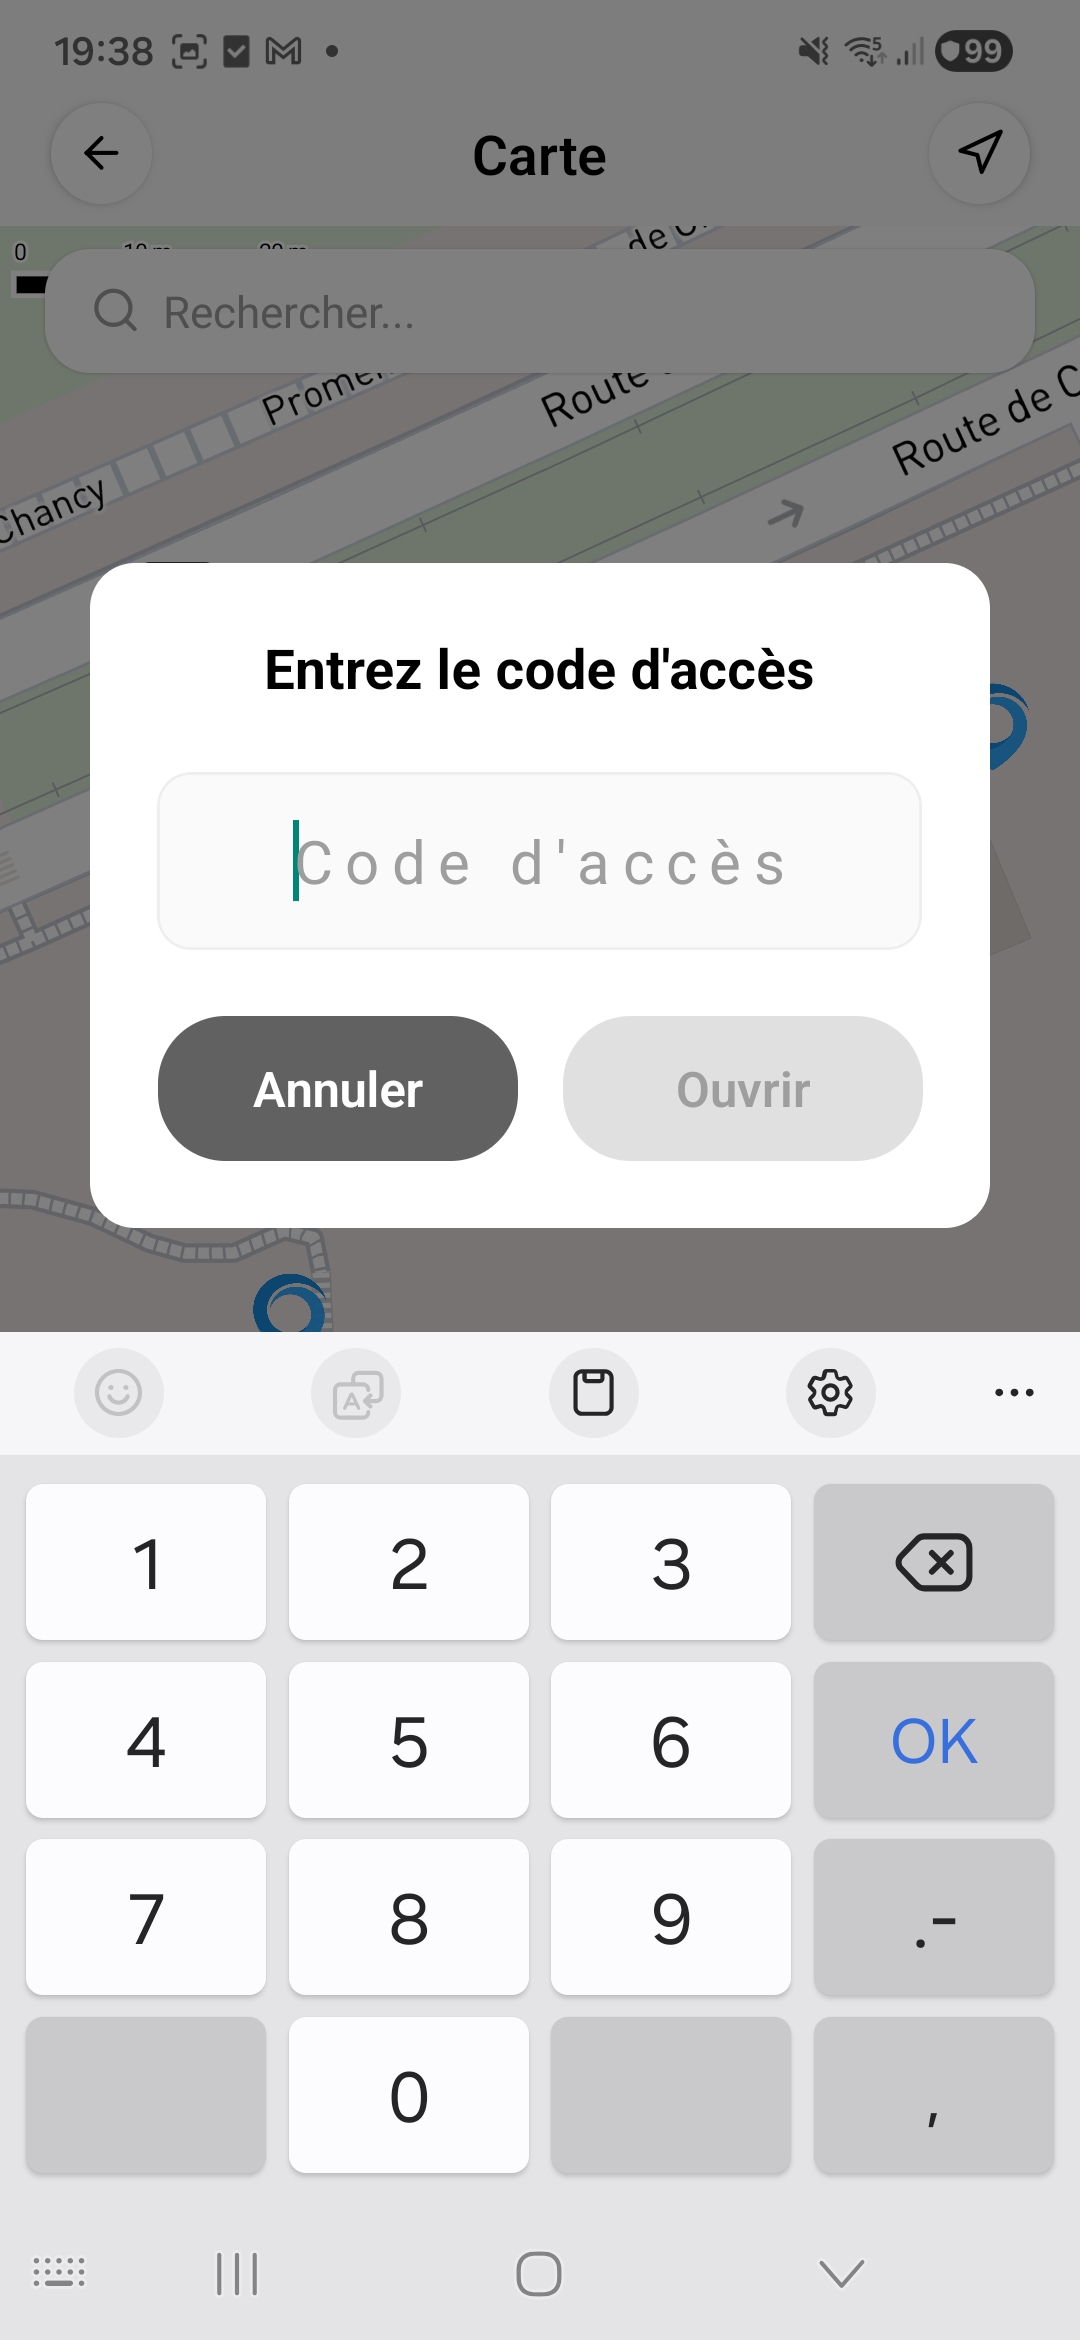
4.2 Use a temporary code
If you received a temporary access code (4-digit number), you can use it to open the door:
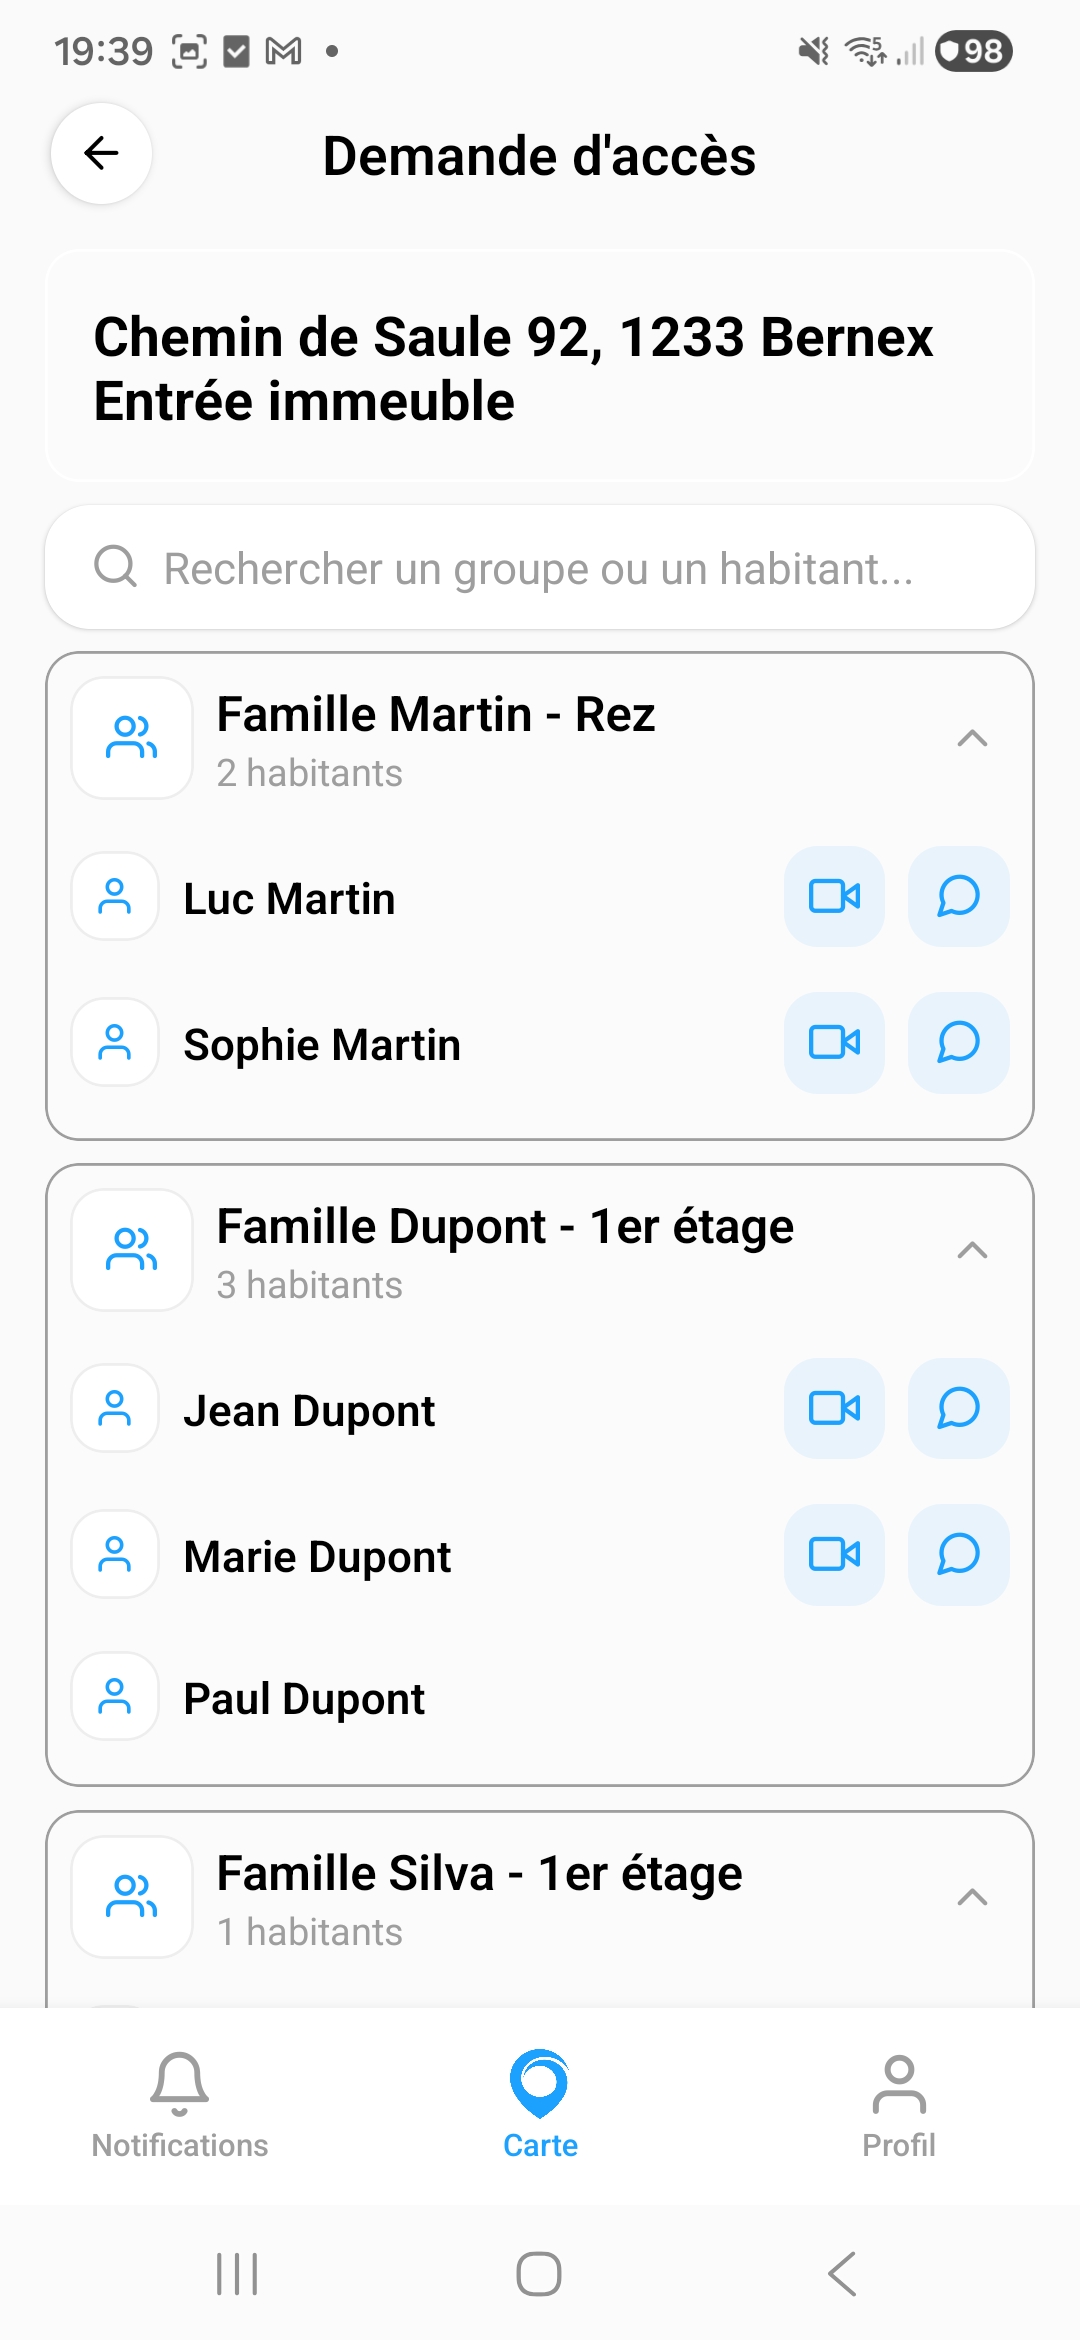
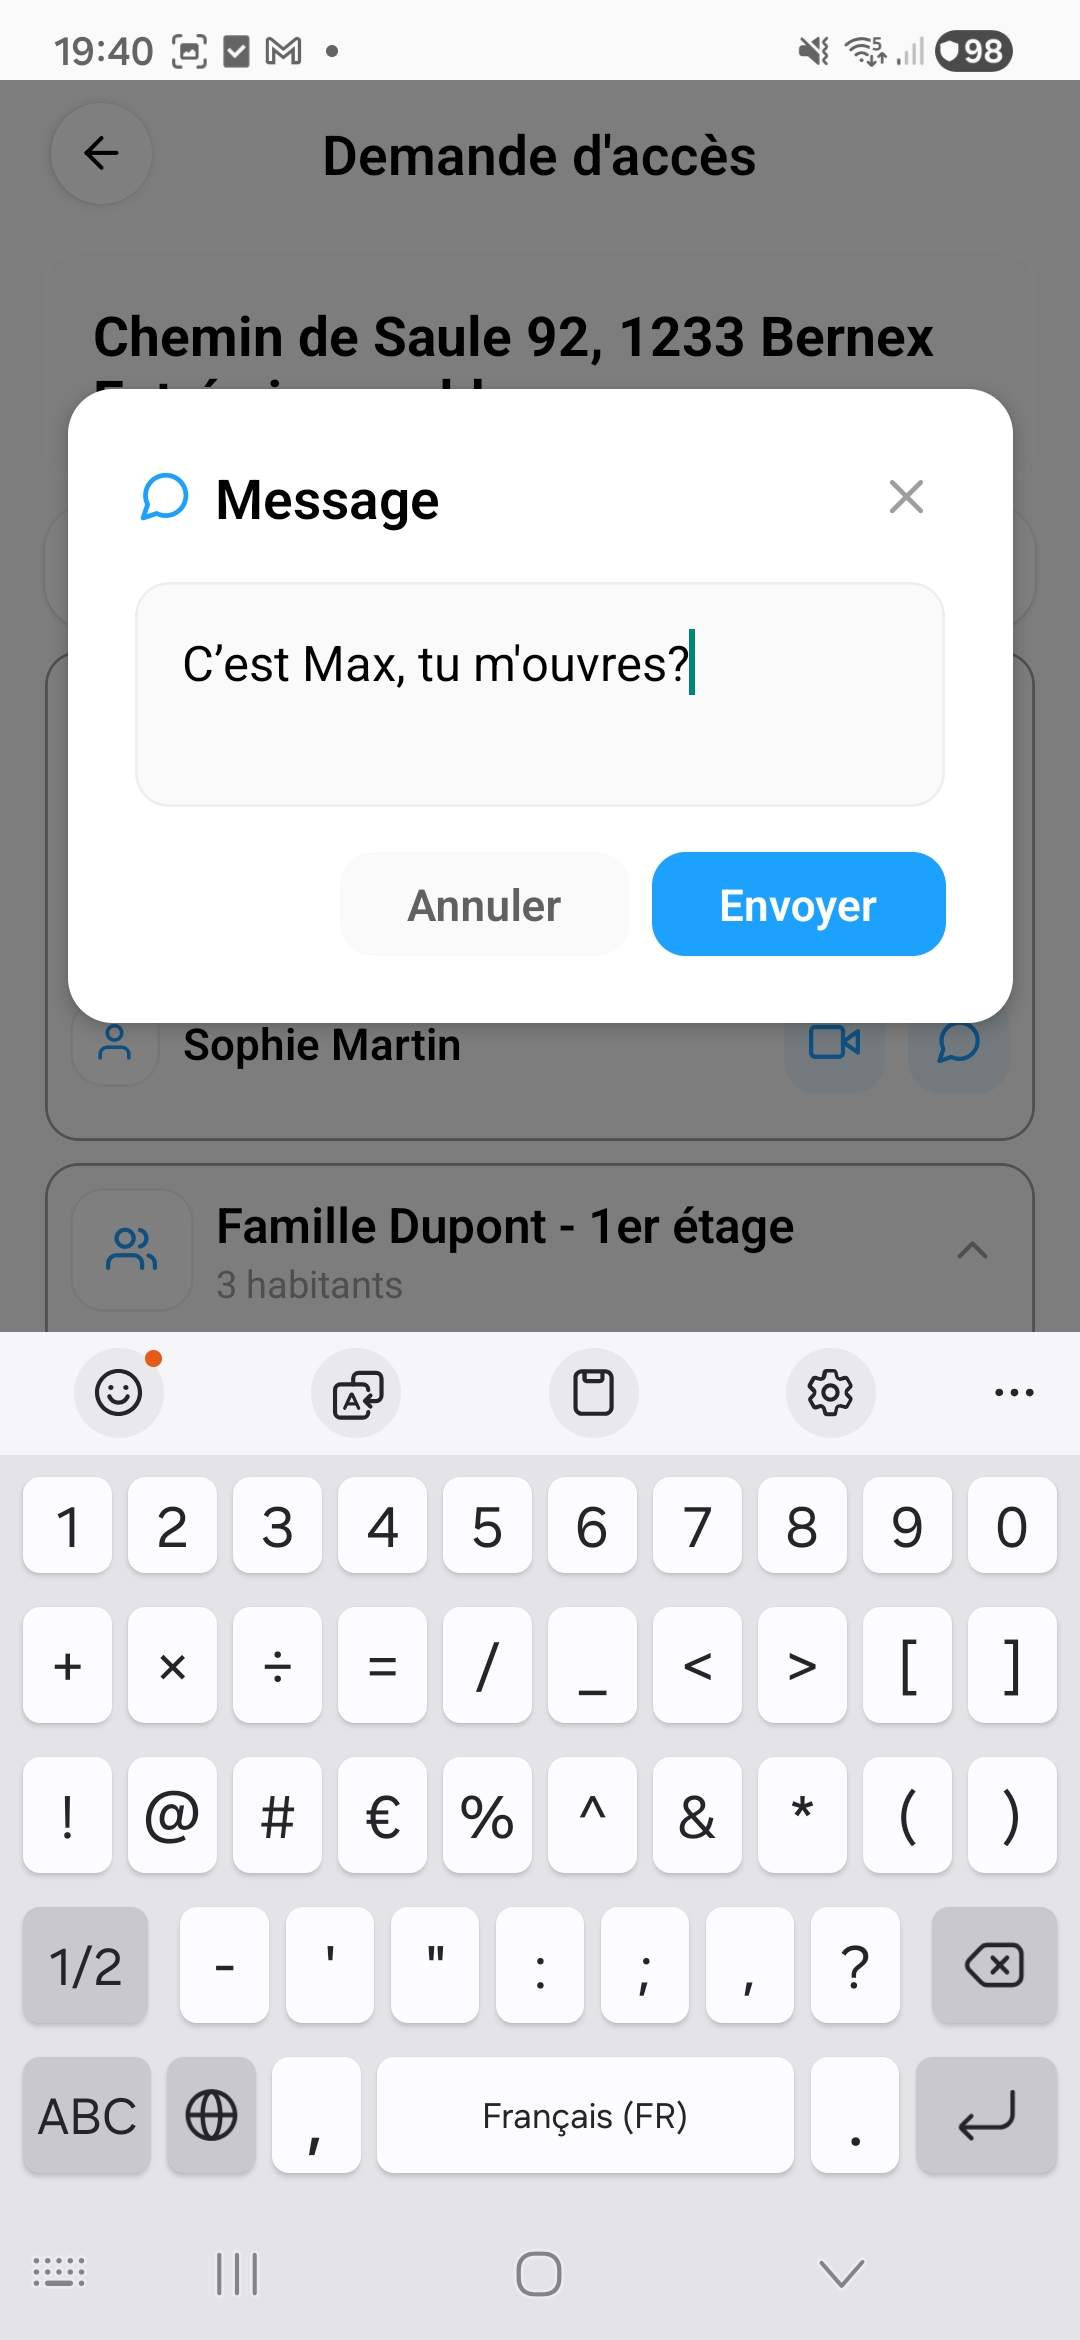
4.3 Request access
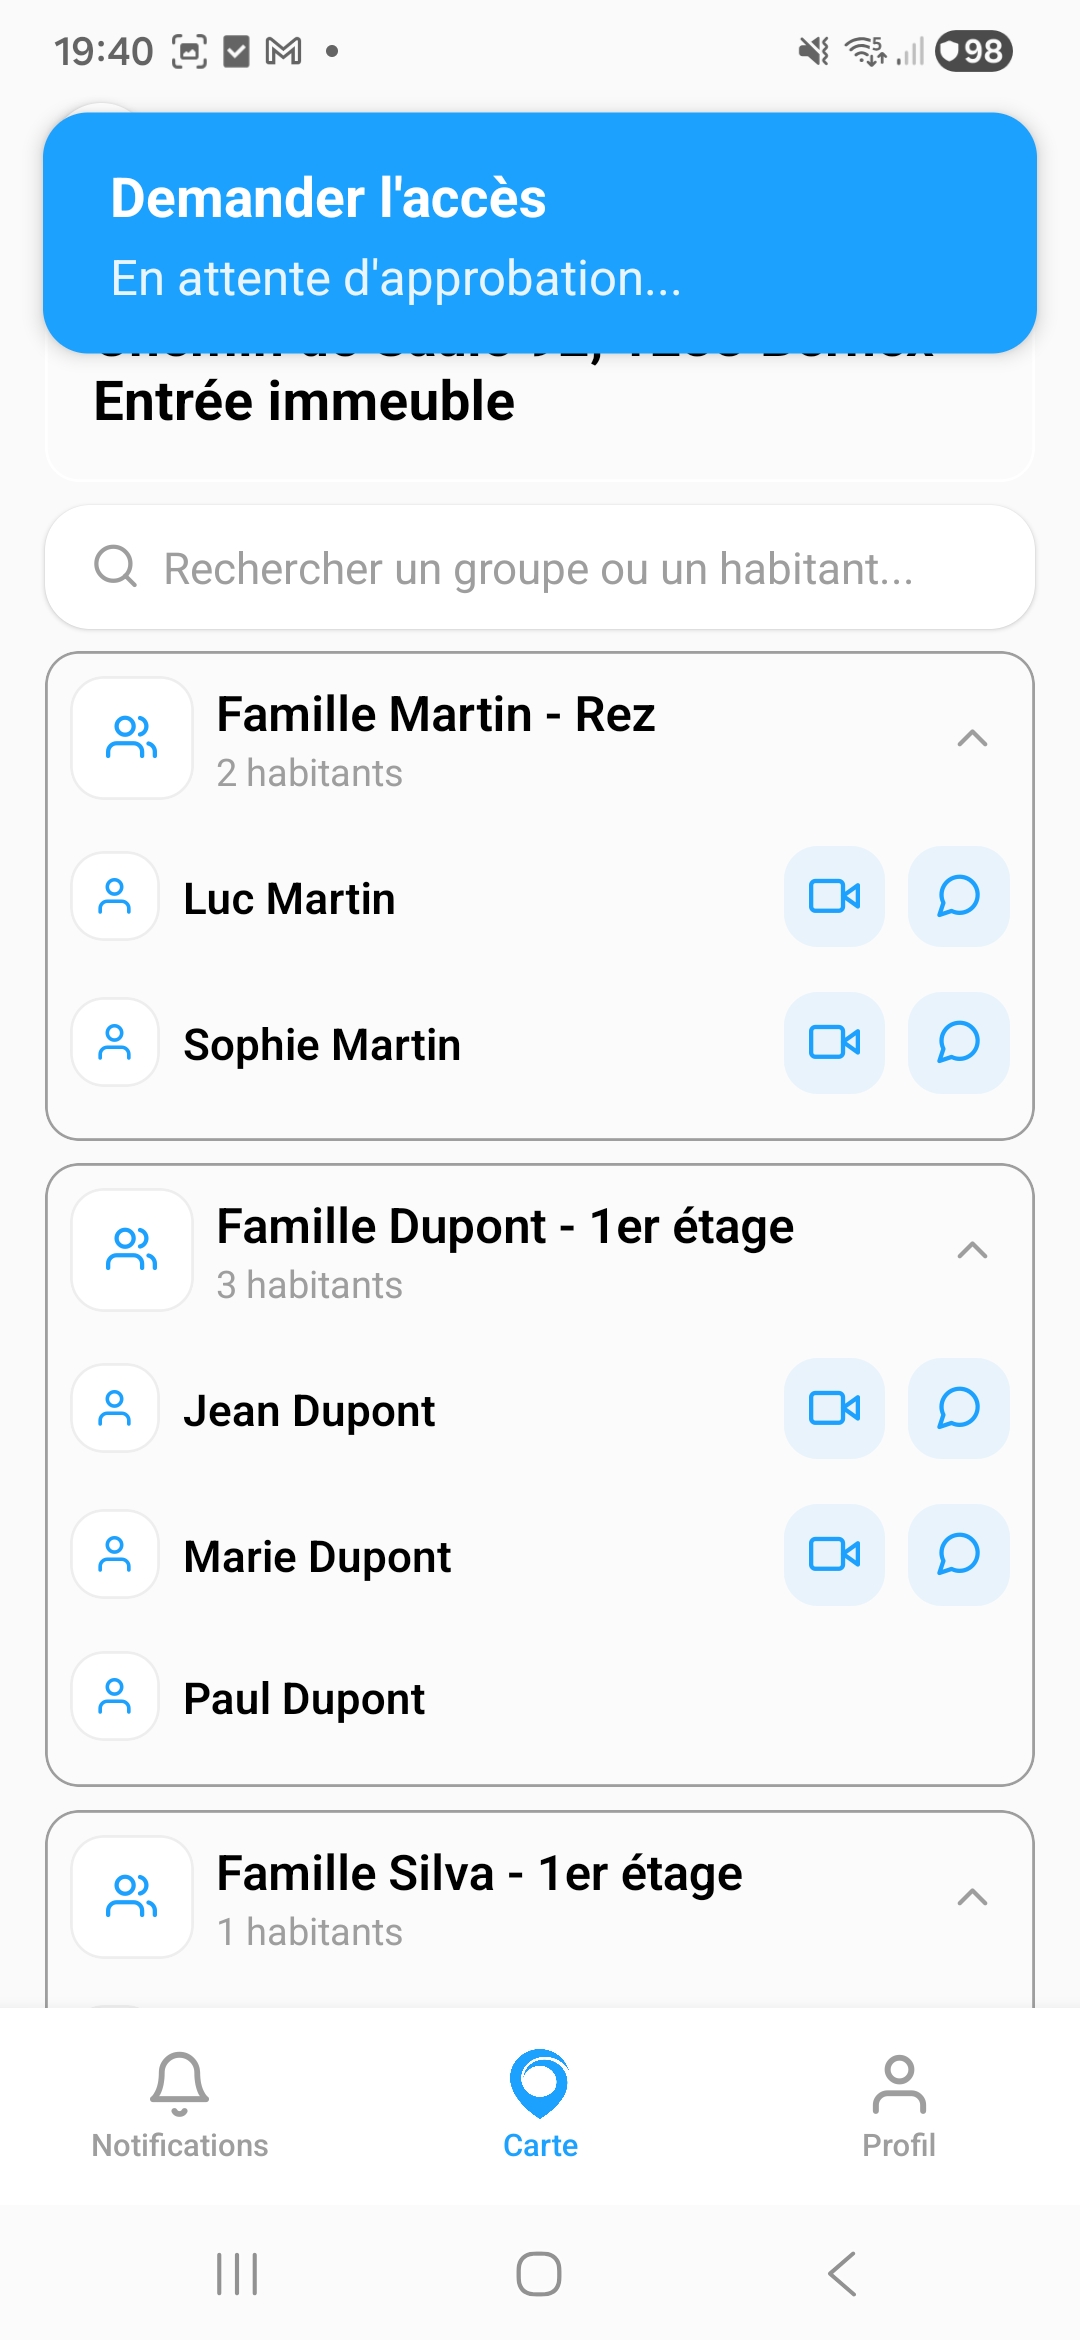
If you don't have access to a door yet, you can send a request to the inhabitants:
The inhabitants will receive a notification and can accept or decline your request within 60 seconds.
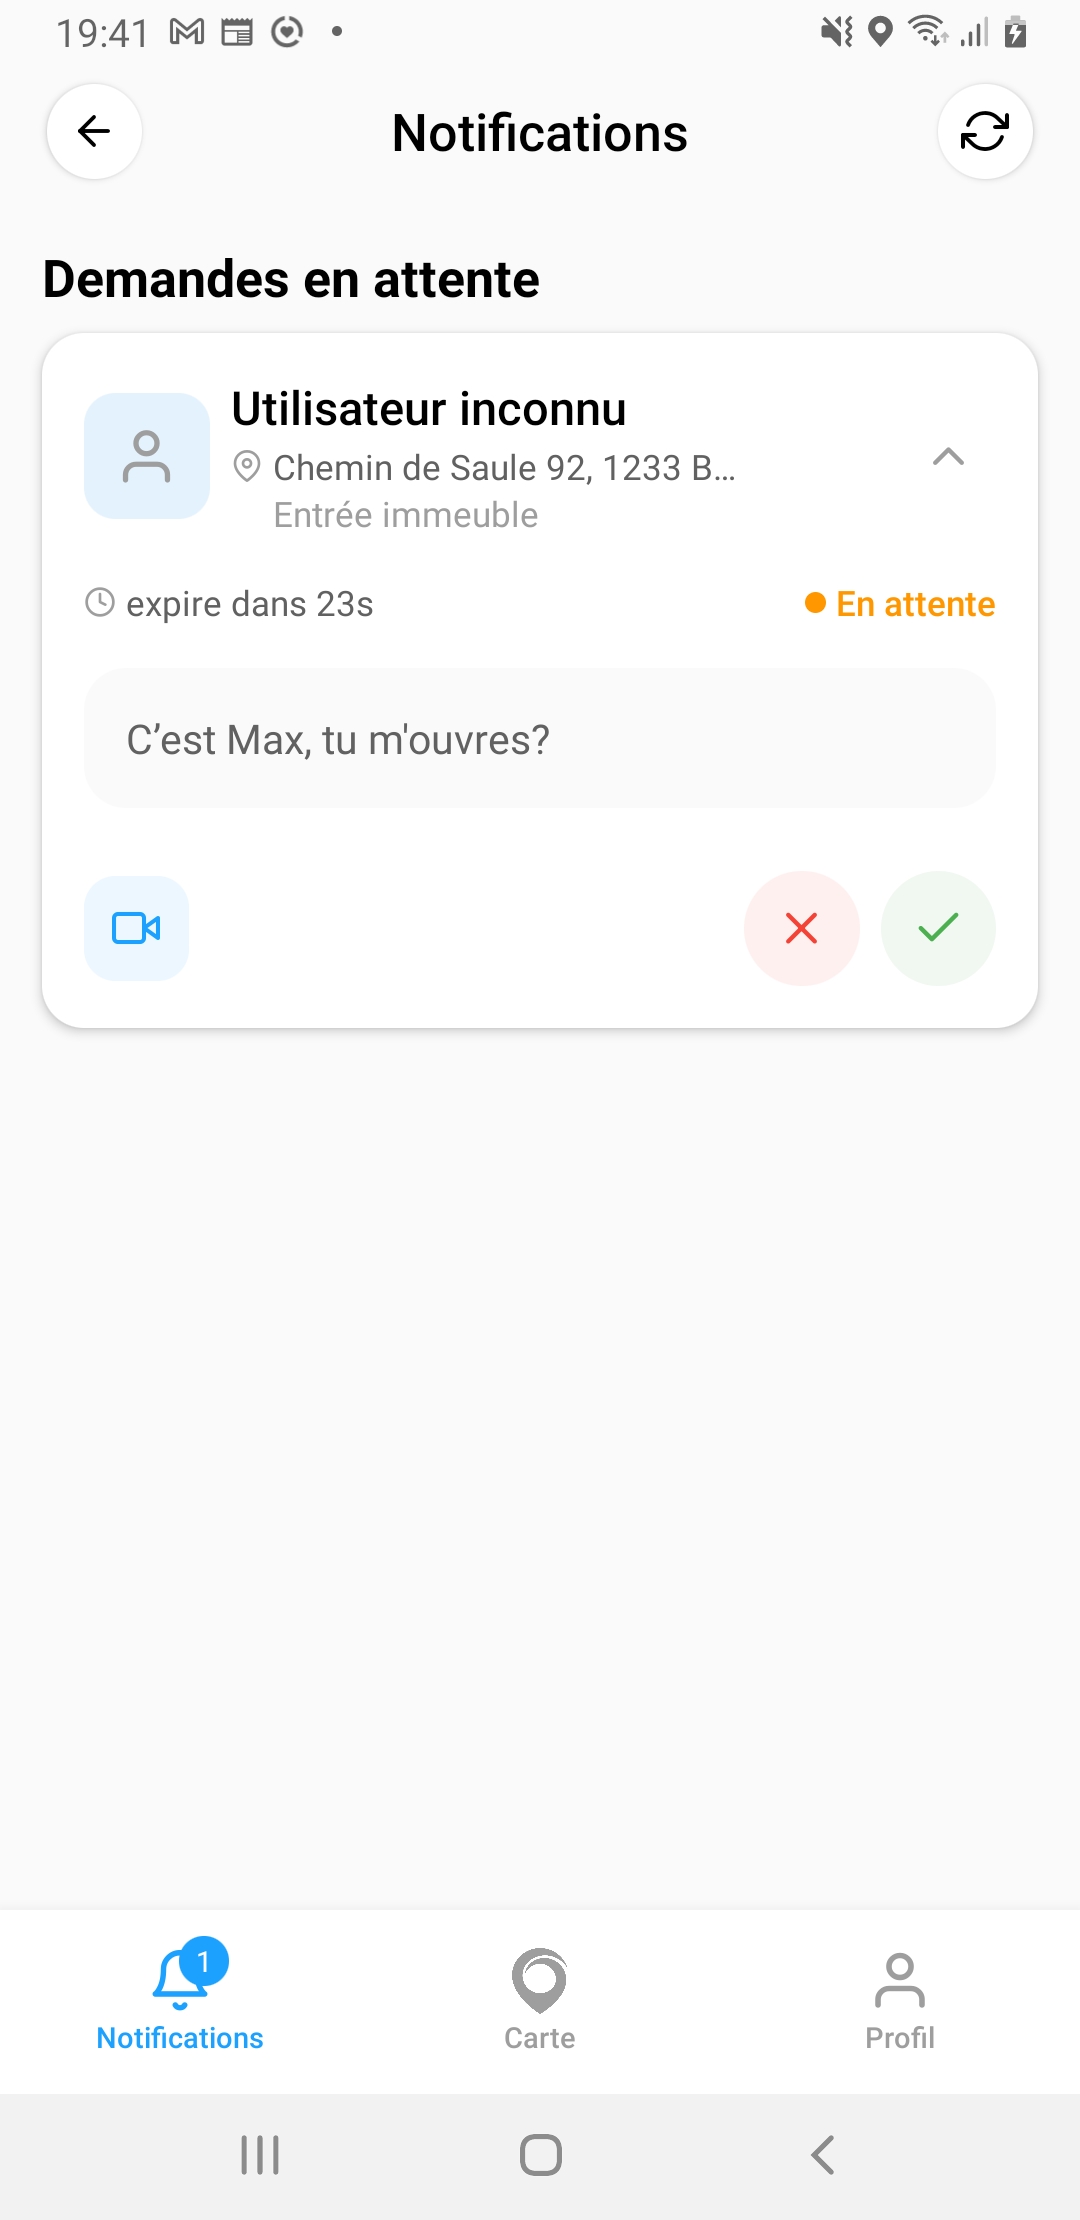
5. Notifications and access requests
The Notifications tab shows pending access requests. When someone requests access to your door, you receive a push notification on your phone.
5.1 Respond to a request
For each request, you can see:
- The person's name (or "Unknown user" if not registered)
- The address and door involved
- The remaining time before expiration (countdown)
- The message sent by the person
Three actions are available:
- Accept (green checkmark) — Opens the door for the person
- Decline (red cross) — Denies access
- Video call (blue camera) — Starts a video call to identify the person
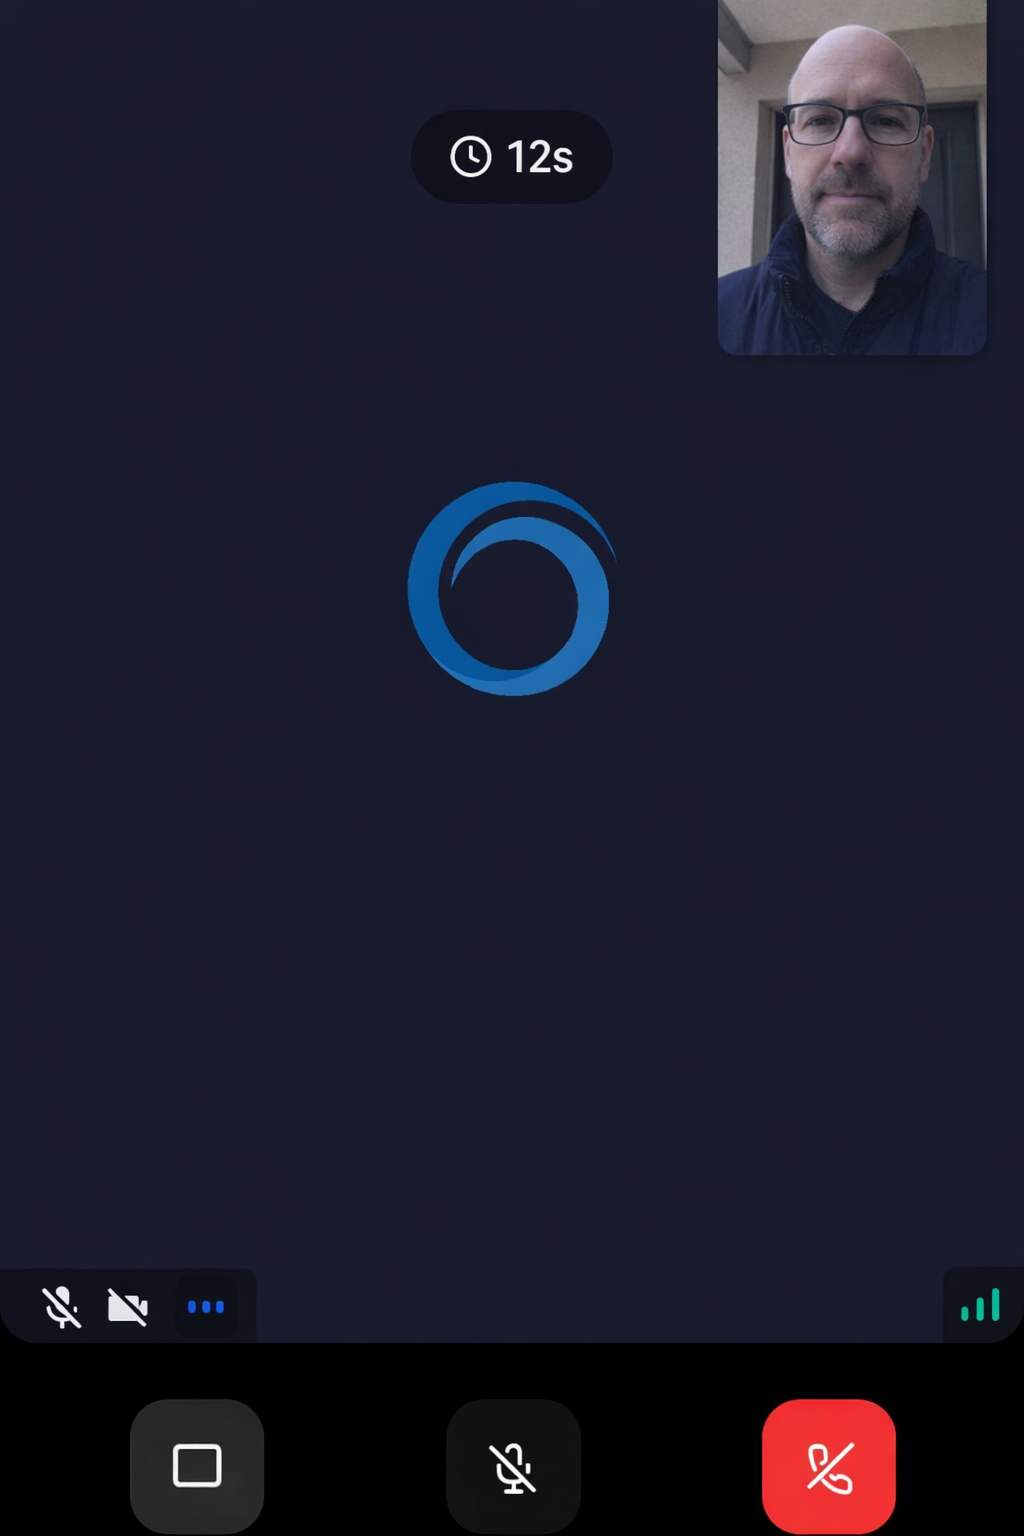
5.2 Video call
The video call lets you see the person requesting access before deciding. The call is displayed in full screen with a timer. You can toggle the camera and microphone on/off.
6. Profile and settings
The Profile tab displays your personal information and provides access to the app settings.
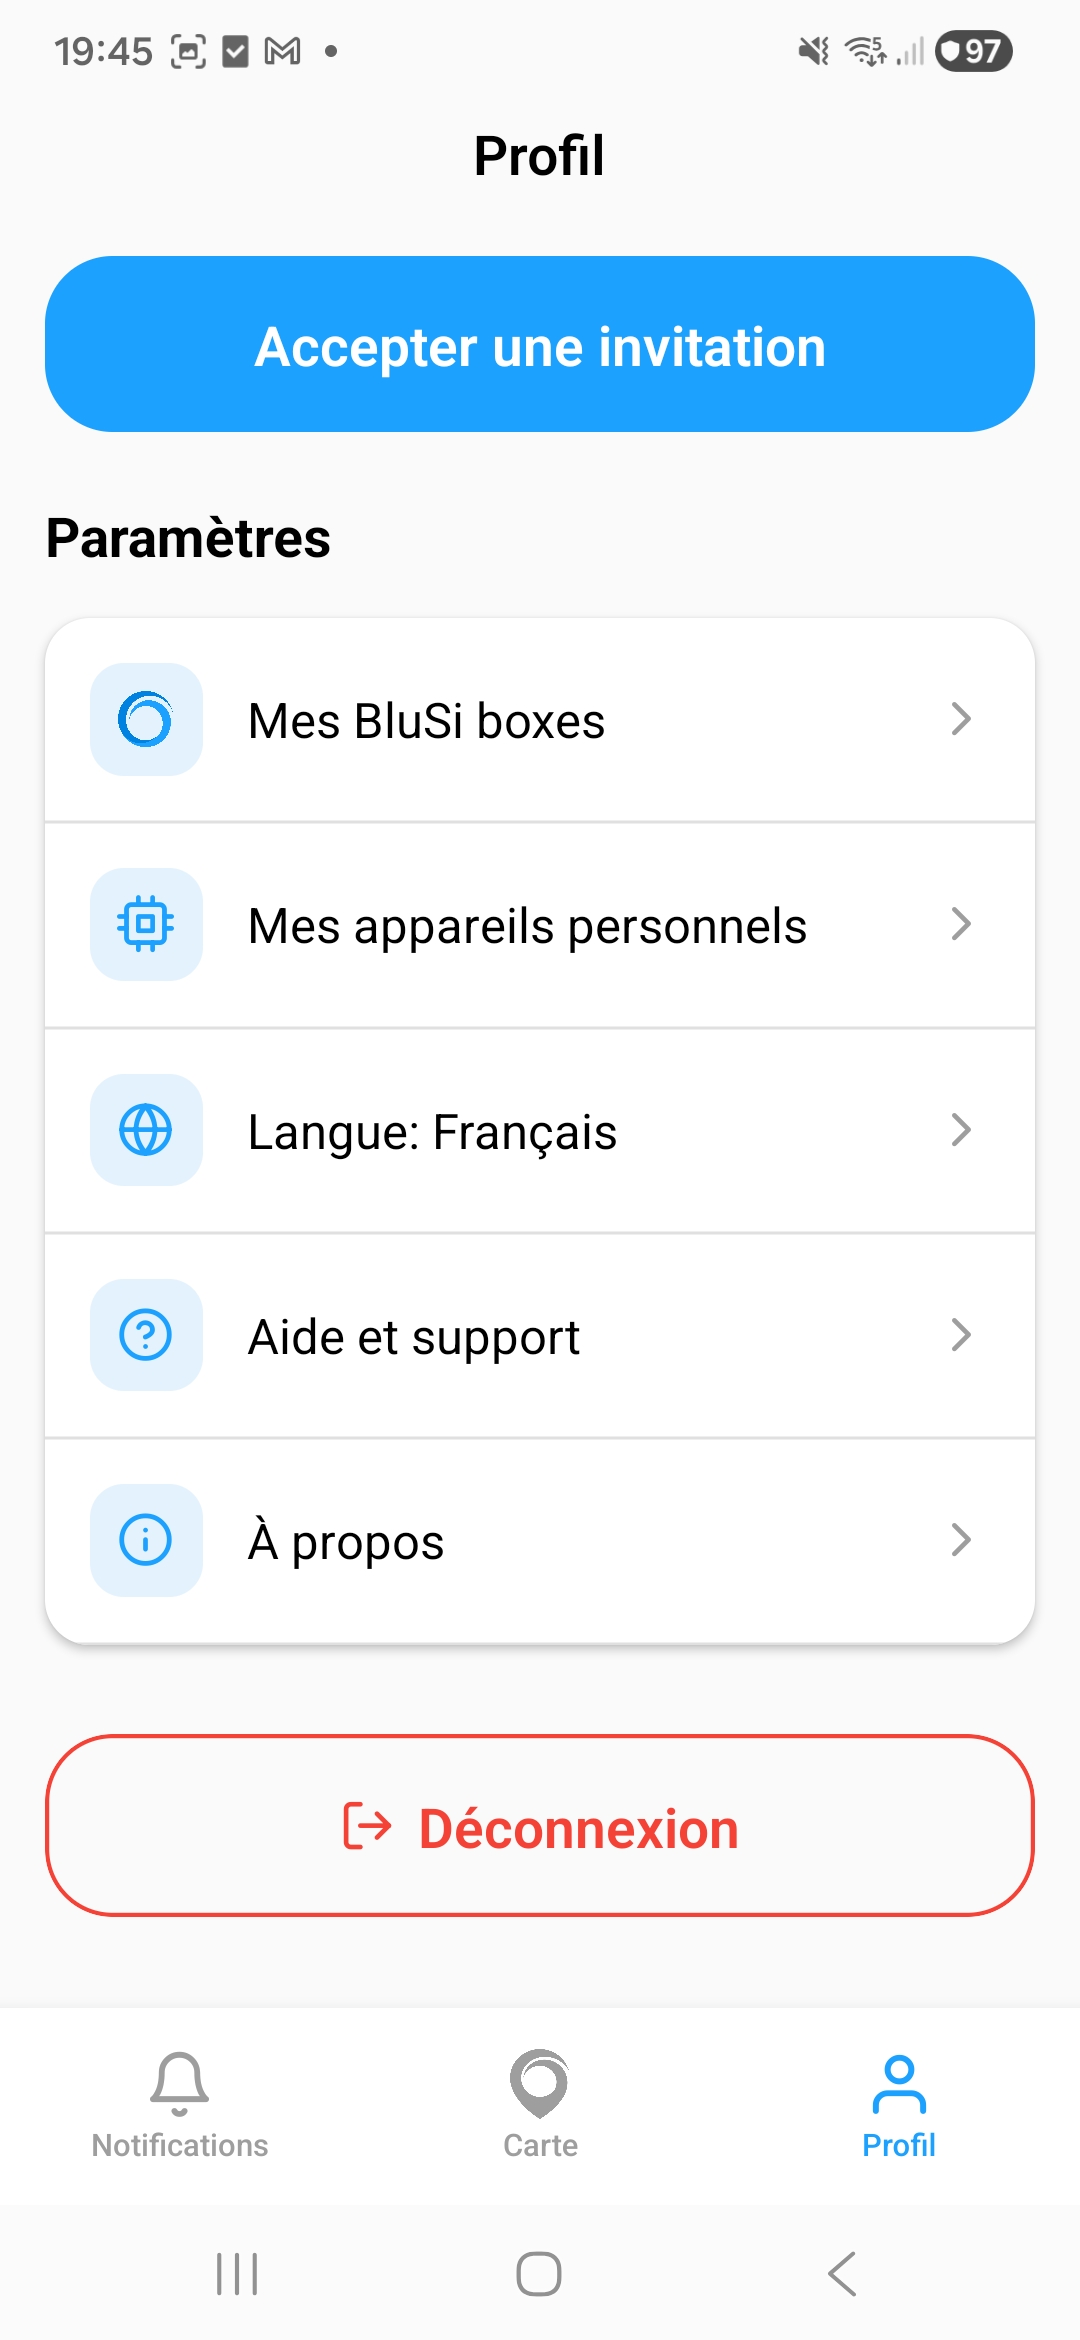
Available options in the profile:
- Edit profile — Change your name and email address
- Accept an invitation — Scan an invitation QR code
- My BluSi boxes — View and manage your BluSi Boxes
- My personal devices — Manage your phones and remotes
- Language — Change language (French, English)
- Help and support — Contact support
- About — App information
- Log out — Sign out of the app
6.1 Accept an invitation
When someone invites you to access a BluSi Box, they provide you with a QR code or text code:
6.2 Change language
Go to Profile > Language to choose between French or English. The app will restart in the selected language.
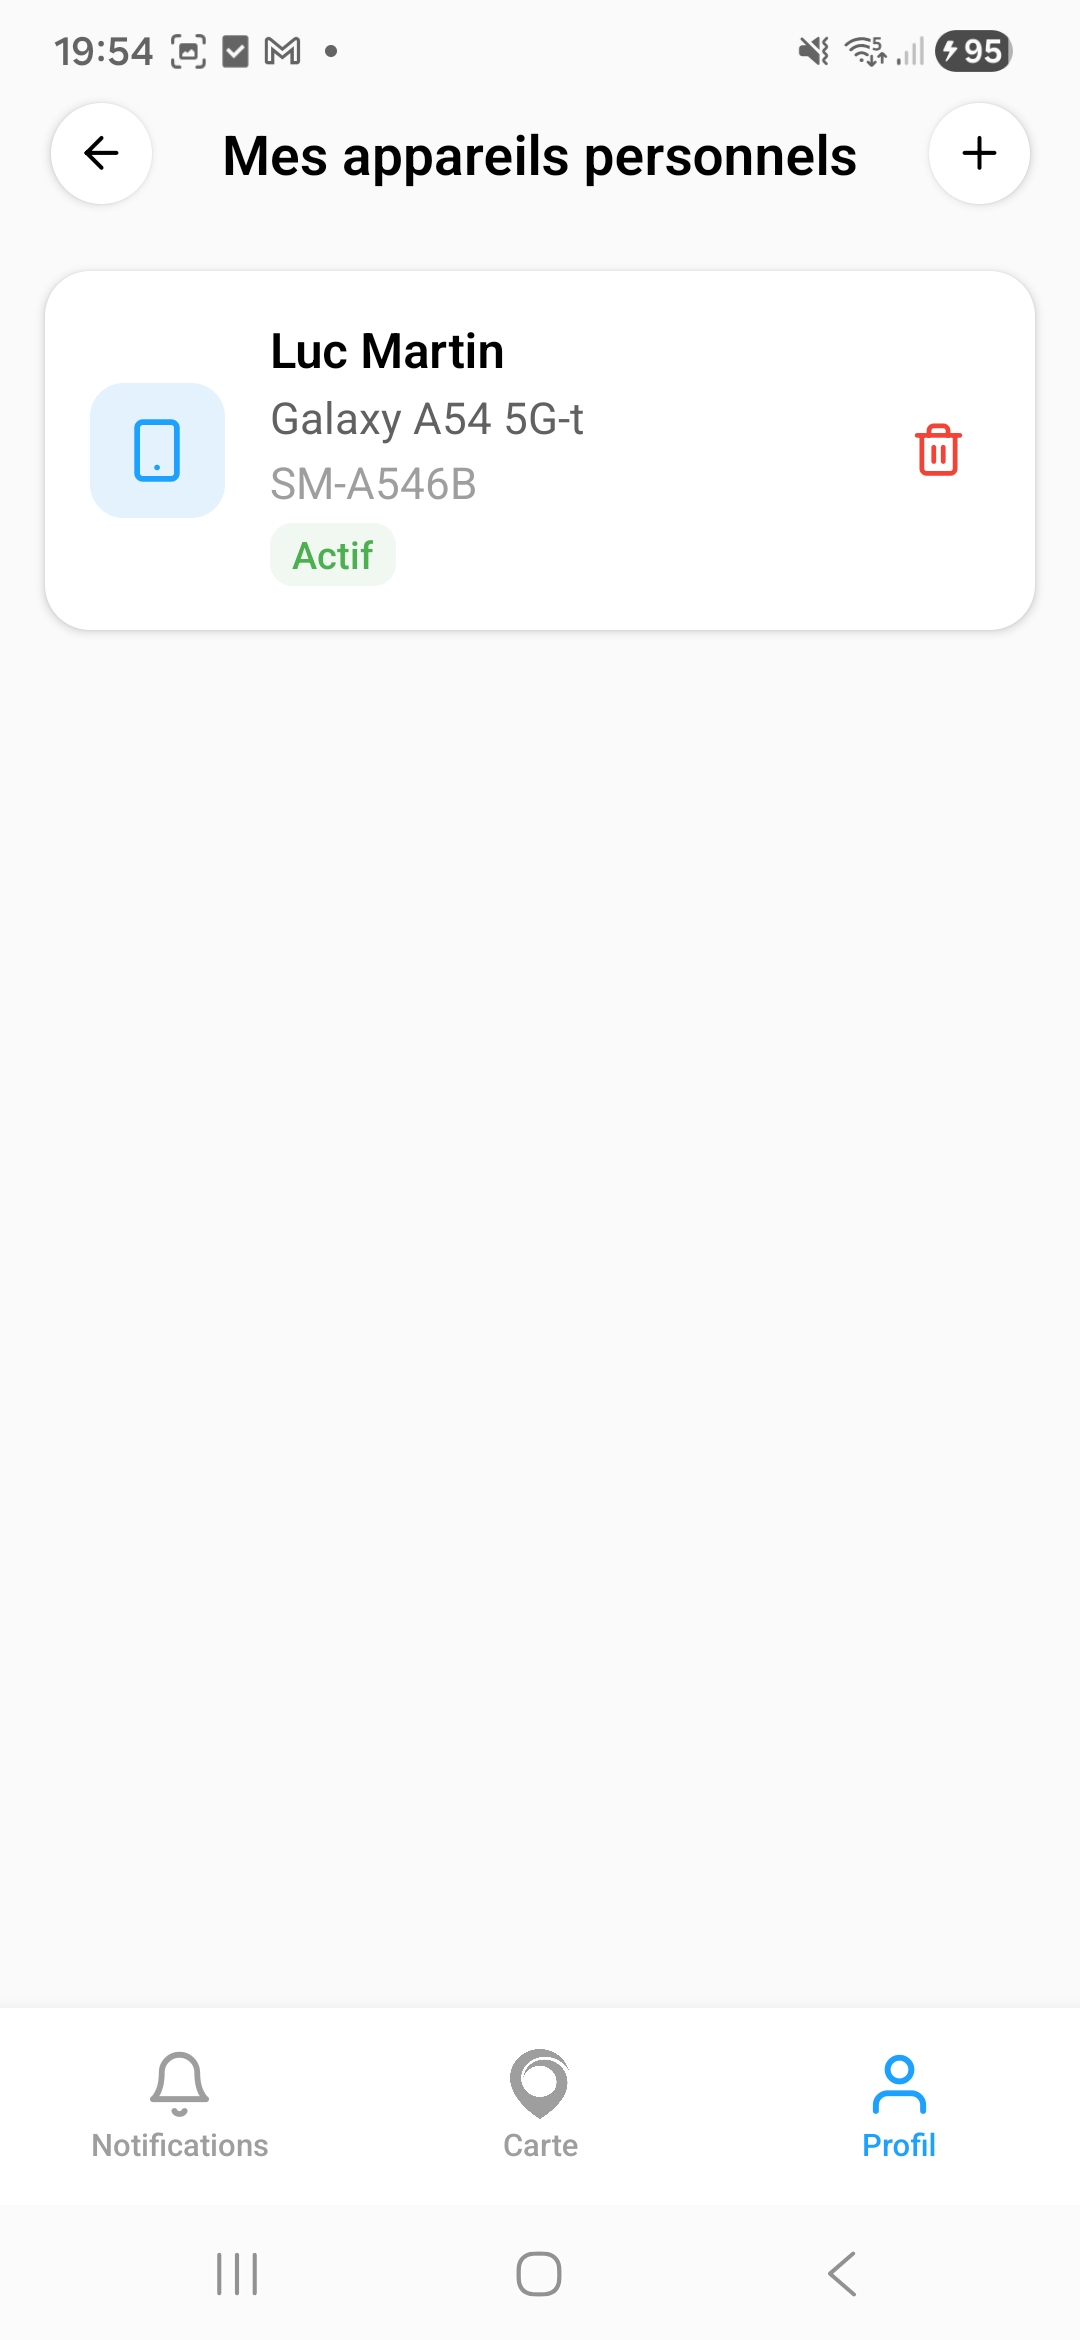
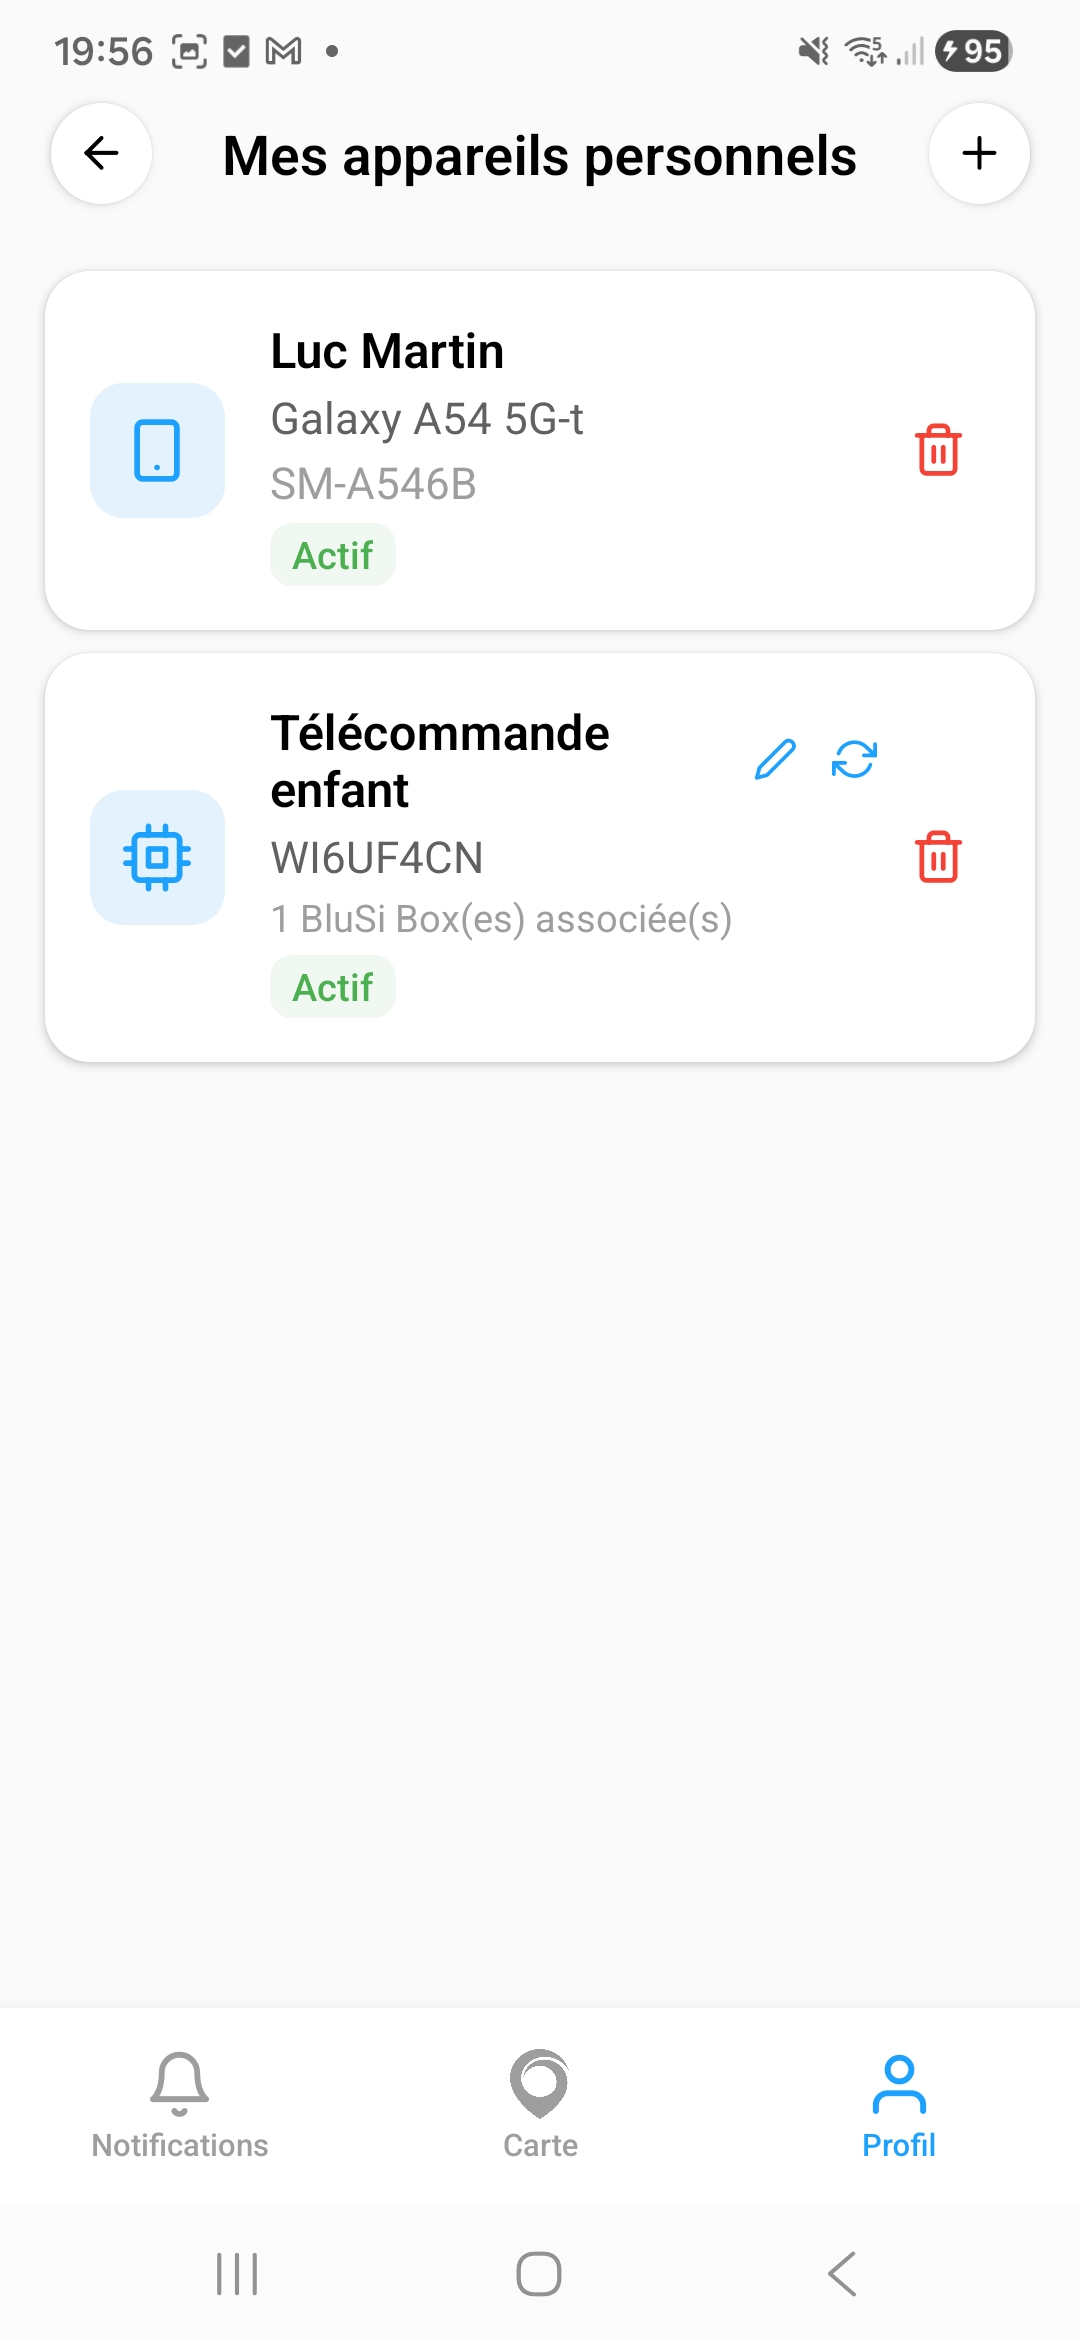
6.3 My personal devices
This section lists all your registered devices (phones and remotes). You can:
- View the status of each device (Active or Lost)
- Delete a device by tapping the trash icon
- Add a new remote (see section 9.2)
7. Managing your group
If user administration is enabled for your account, you can manage the members of your group and temporary access for your BluSi Box.
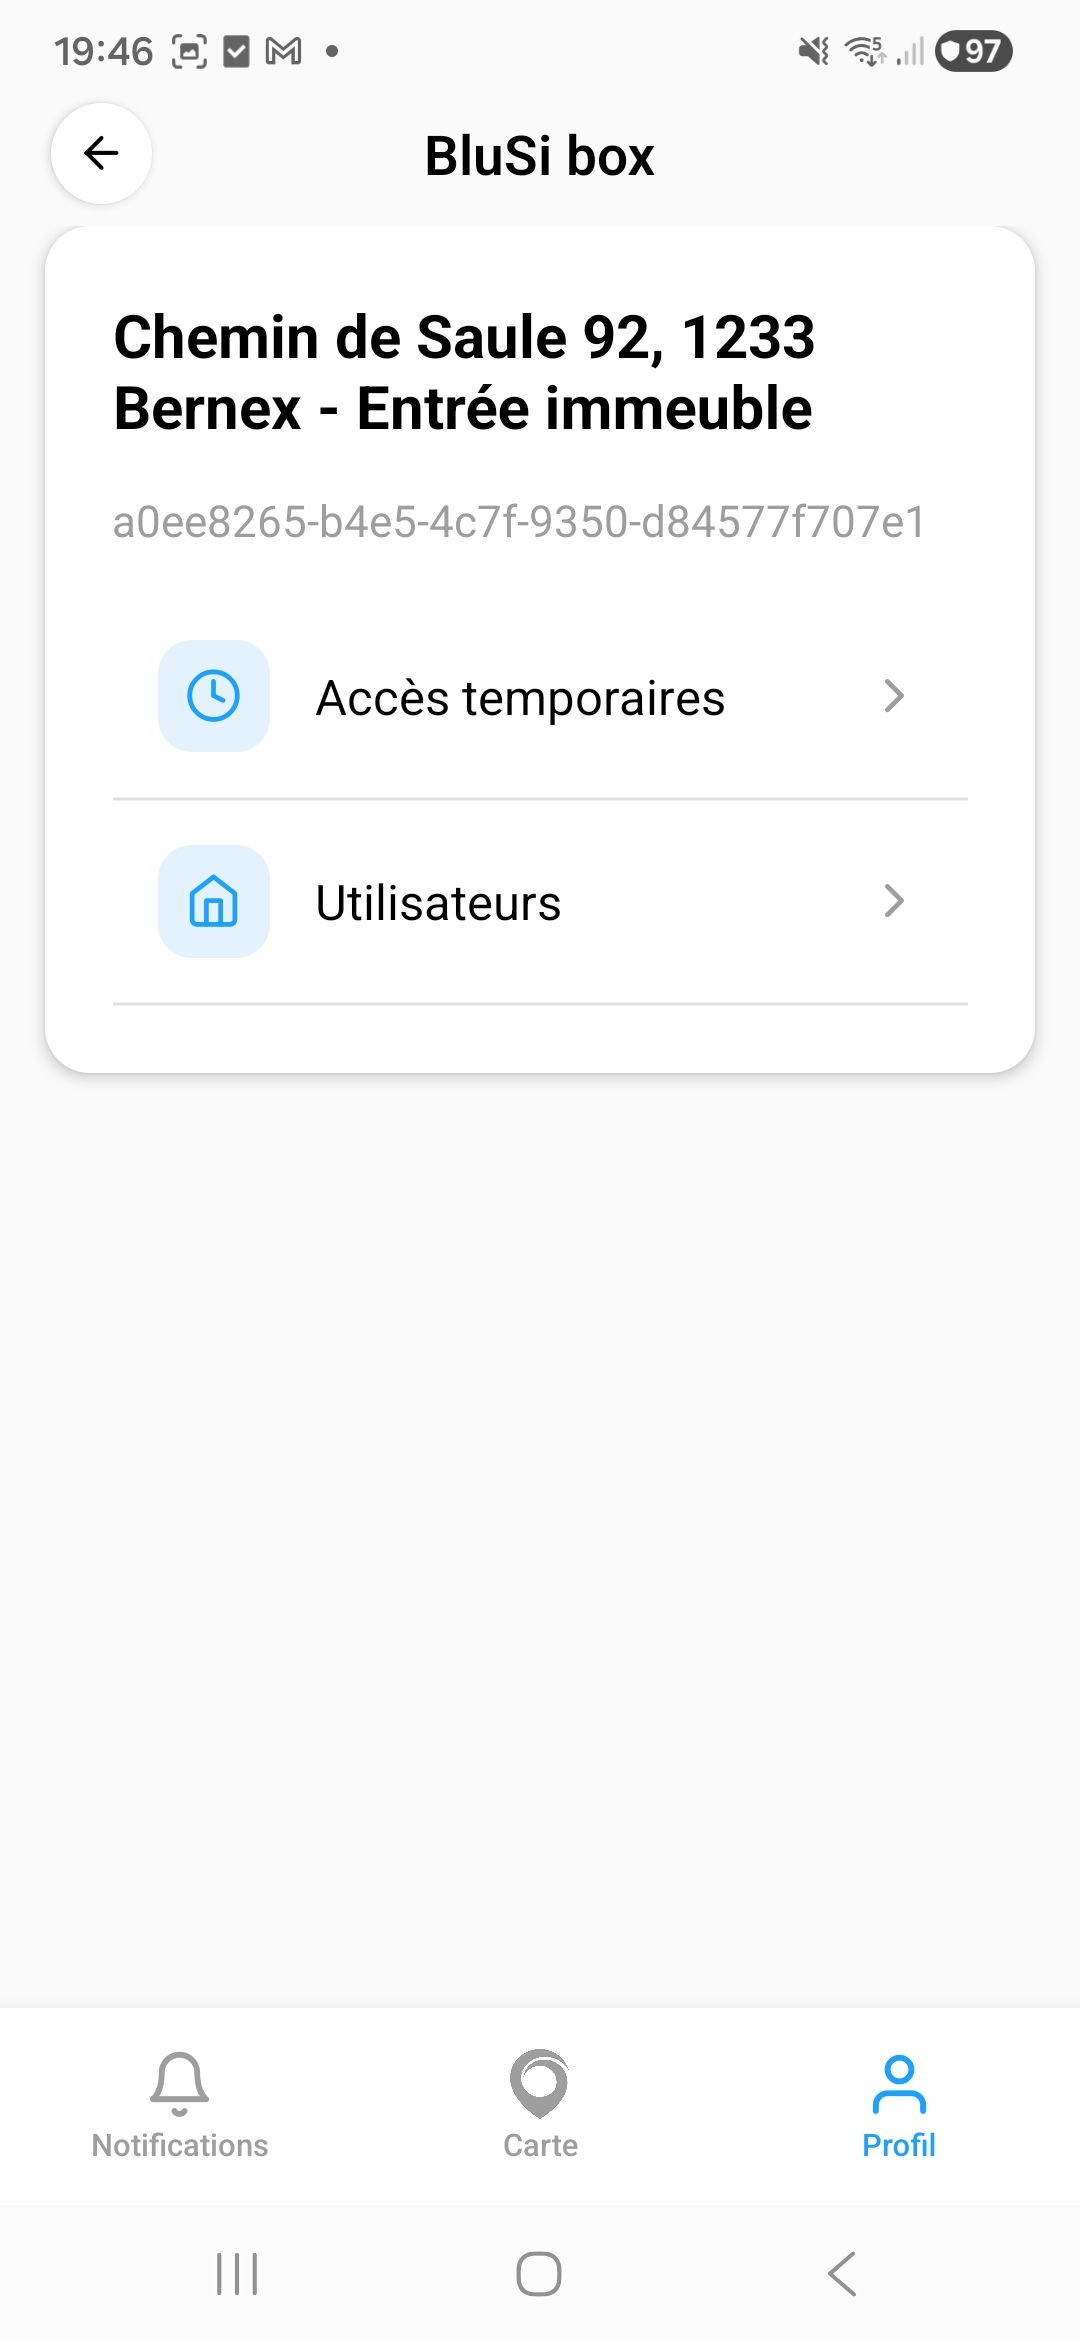
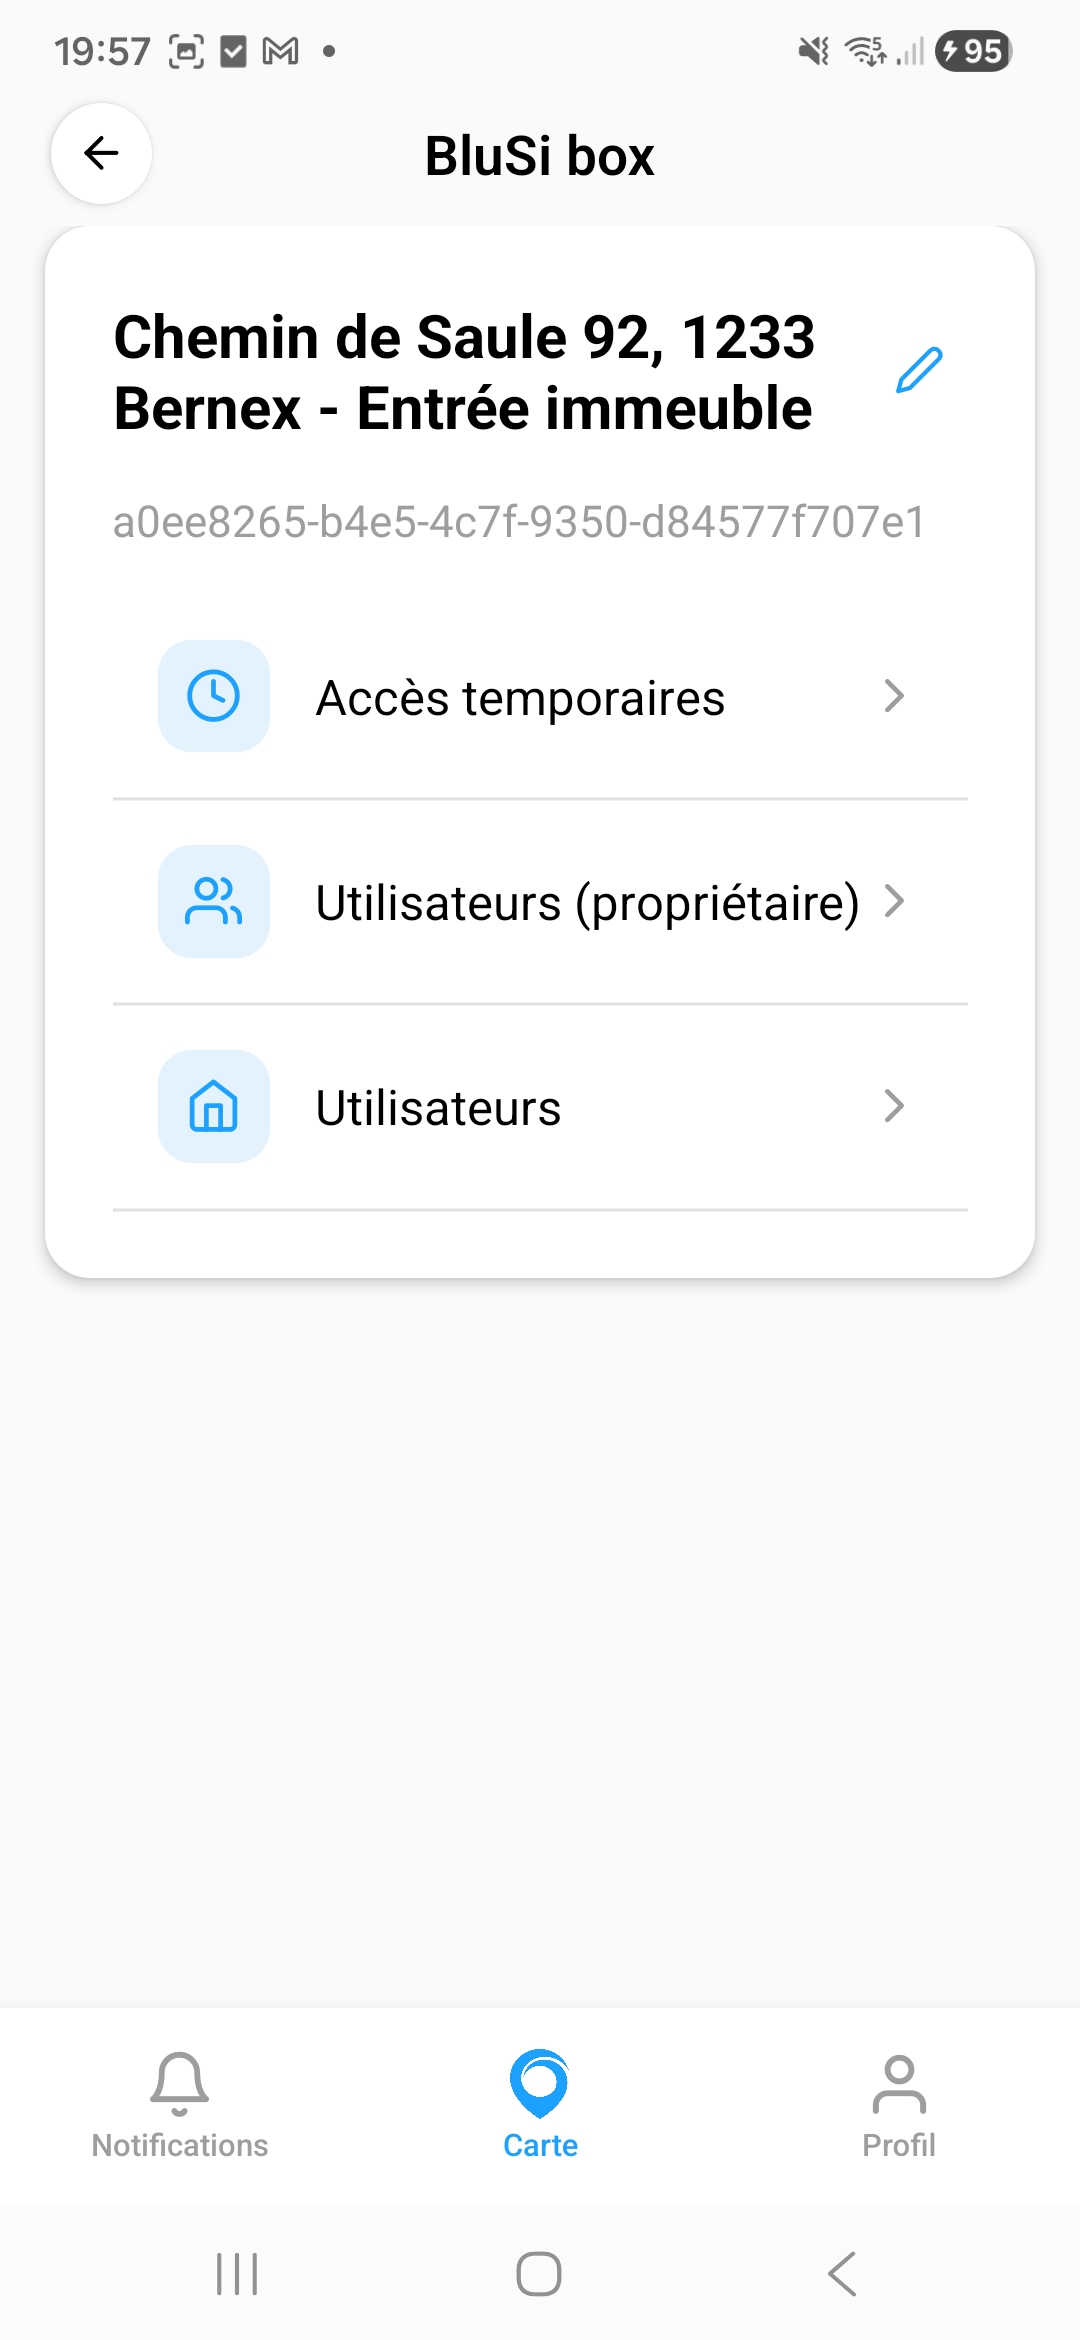
7.1 BluSi Box menu
Access the management from Profile > My BluSi boxes, then select your BluSi Box. The menu presents:
- Temporary access — Create and manage temporary access codes
- Users — View and manage users in your group
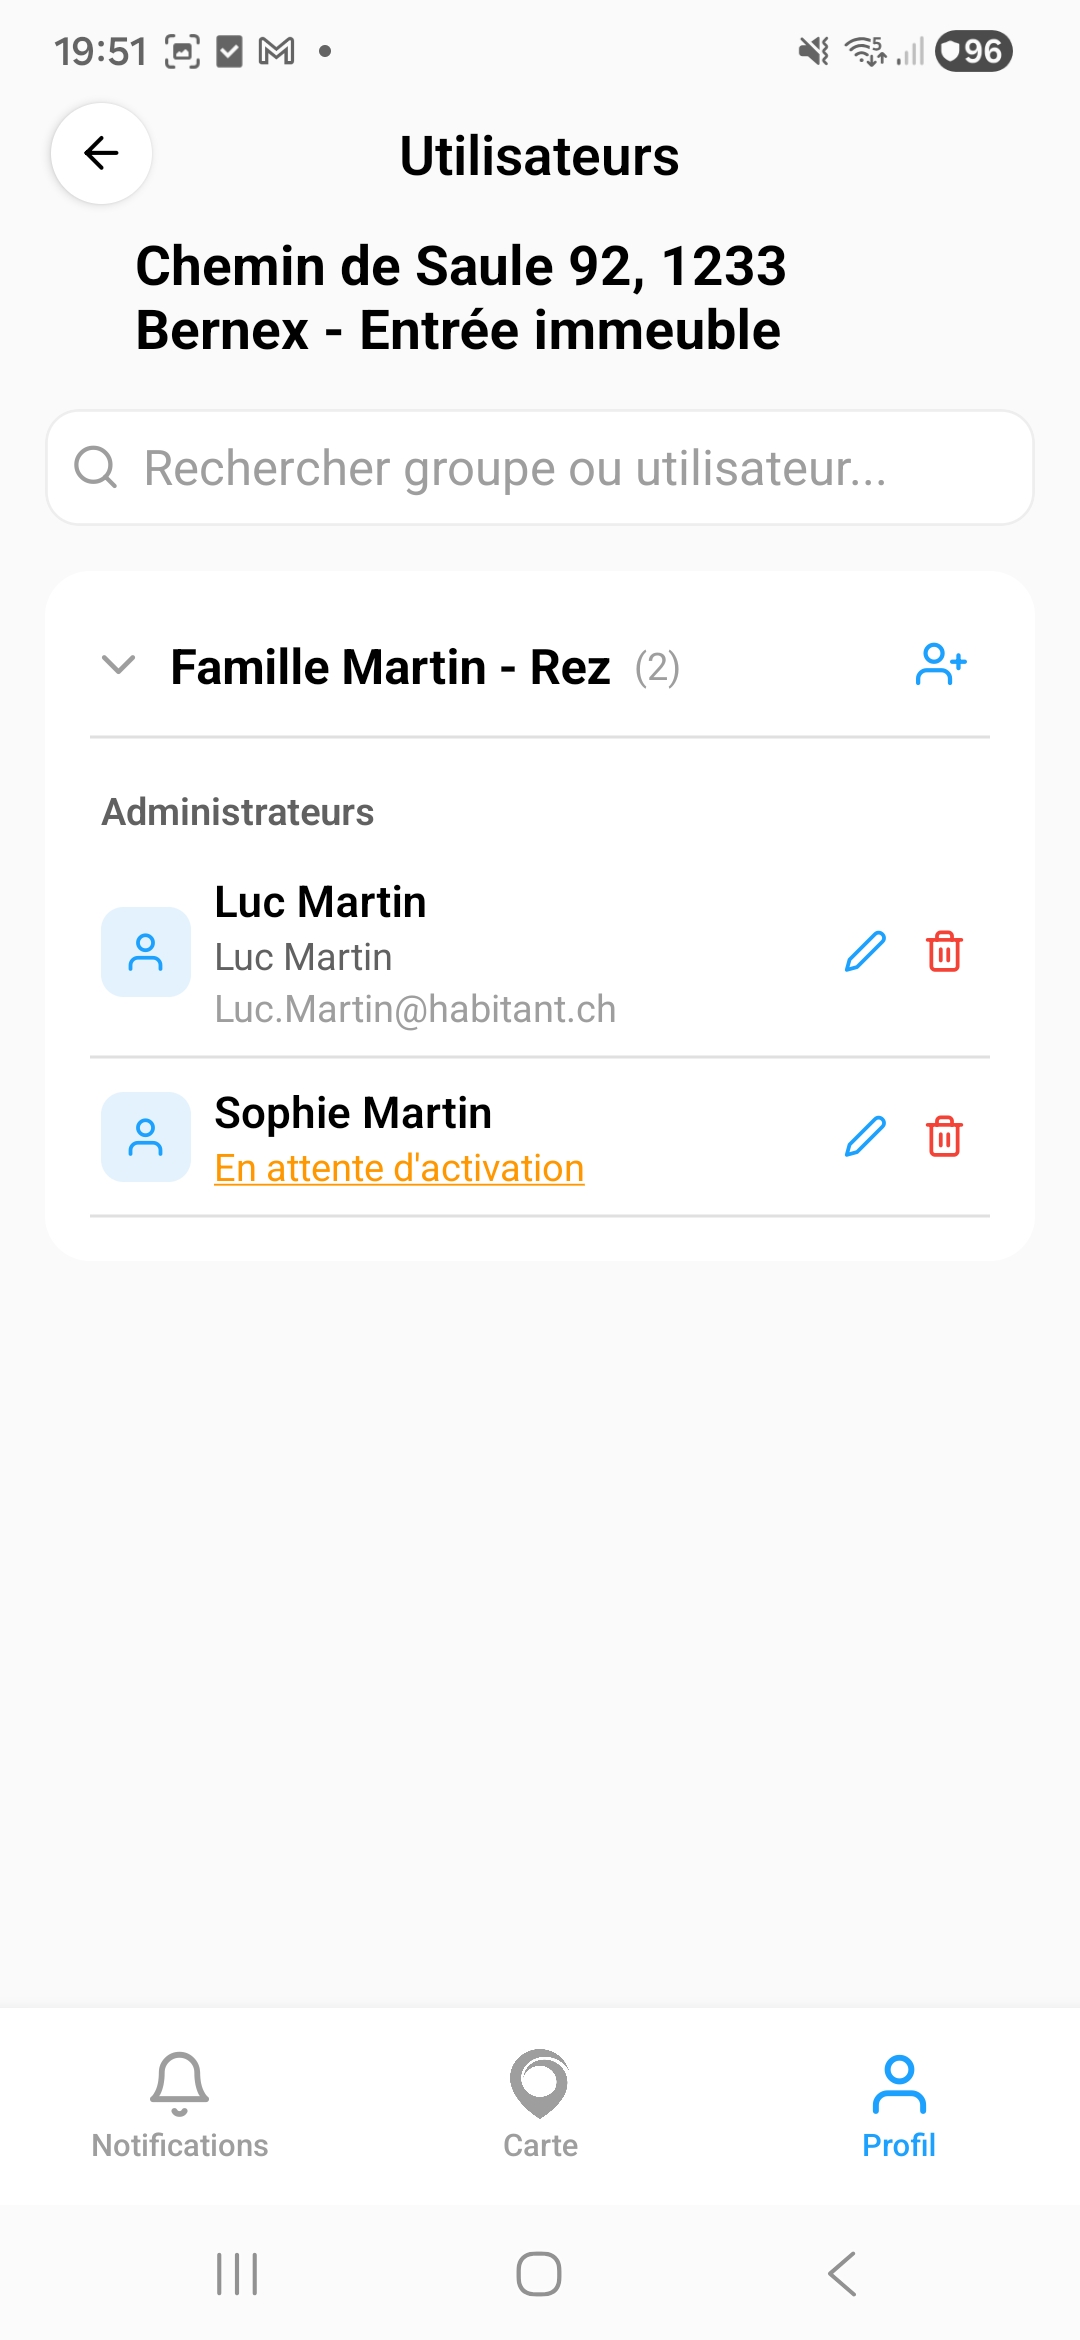
7.2 Manage users
The user list displays members of your group, organized by family/sub-group:
- Each user can be edited (pencil icon) or deleted (trash icon)
- Users in orange with "Pending activation" status have not yet accepted their invitation
- The + icon on the group allows adding a new user
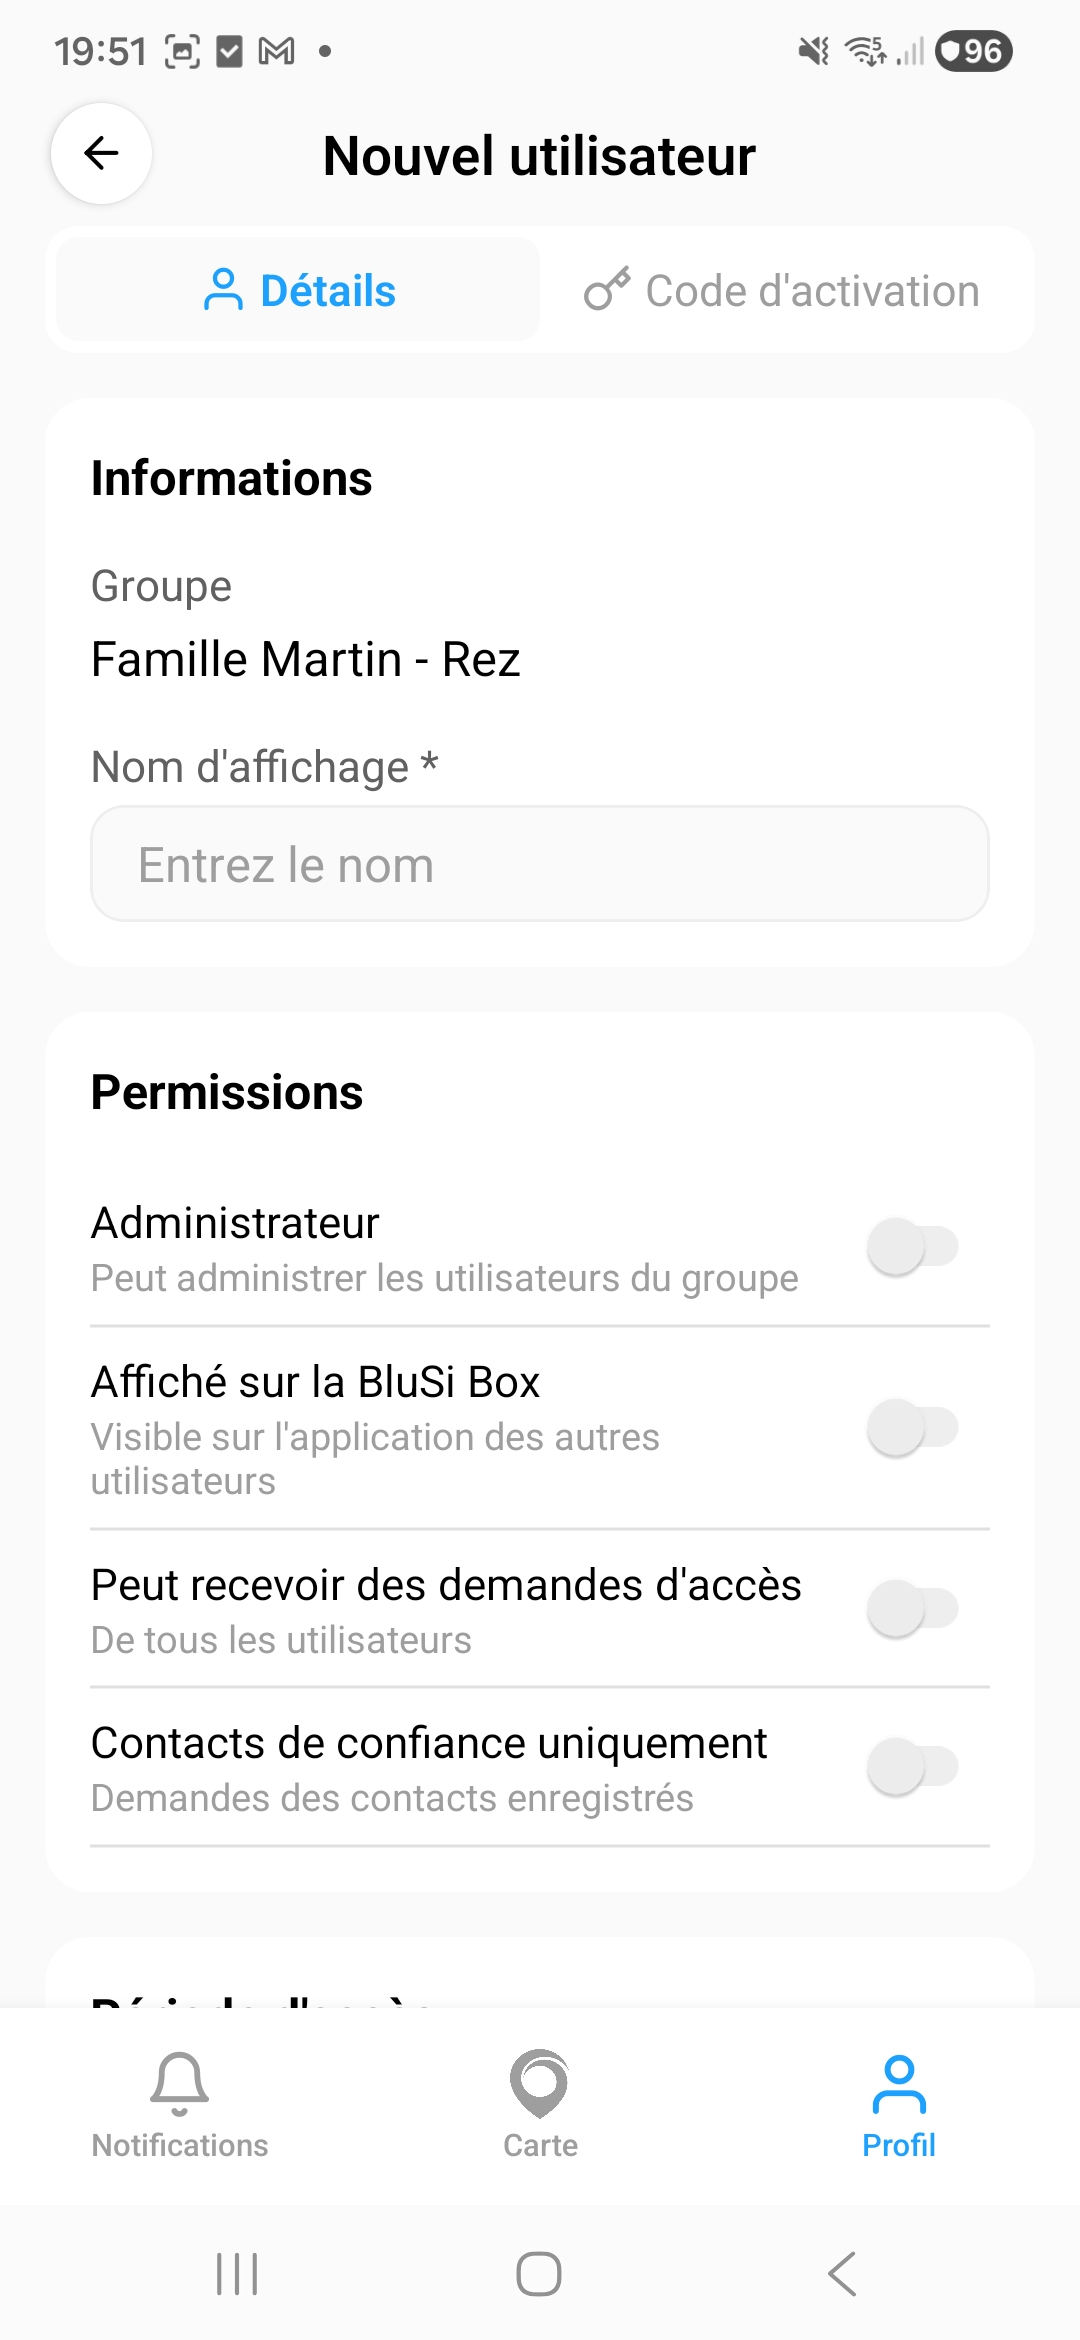
7.3 Add a user
To add a new user to your group:
- Can manage users — allows managing other users in the group
- Displayed on BluSi Box — visible to other users
- Can receive access requests — receives request notifications
- Trusted contacts only — only receives requests from registered contacts
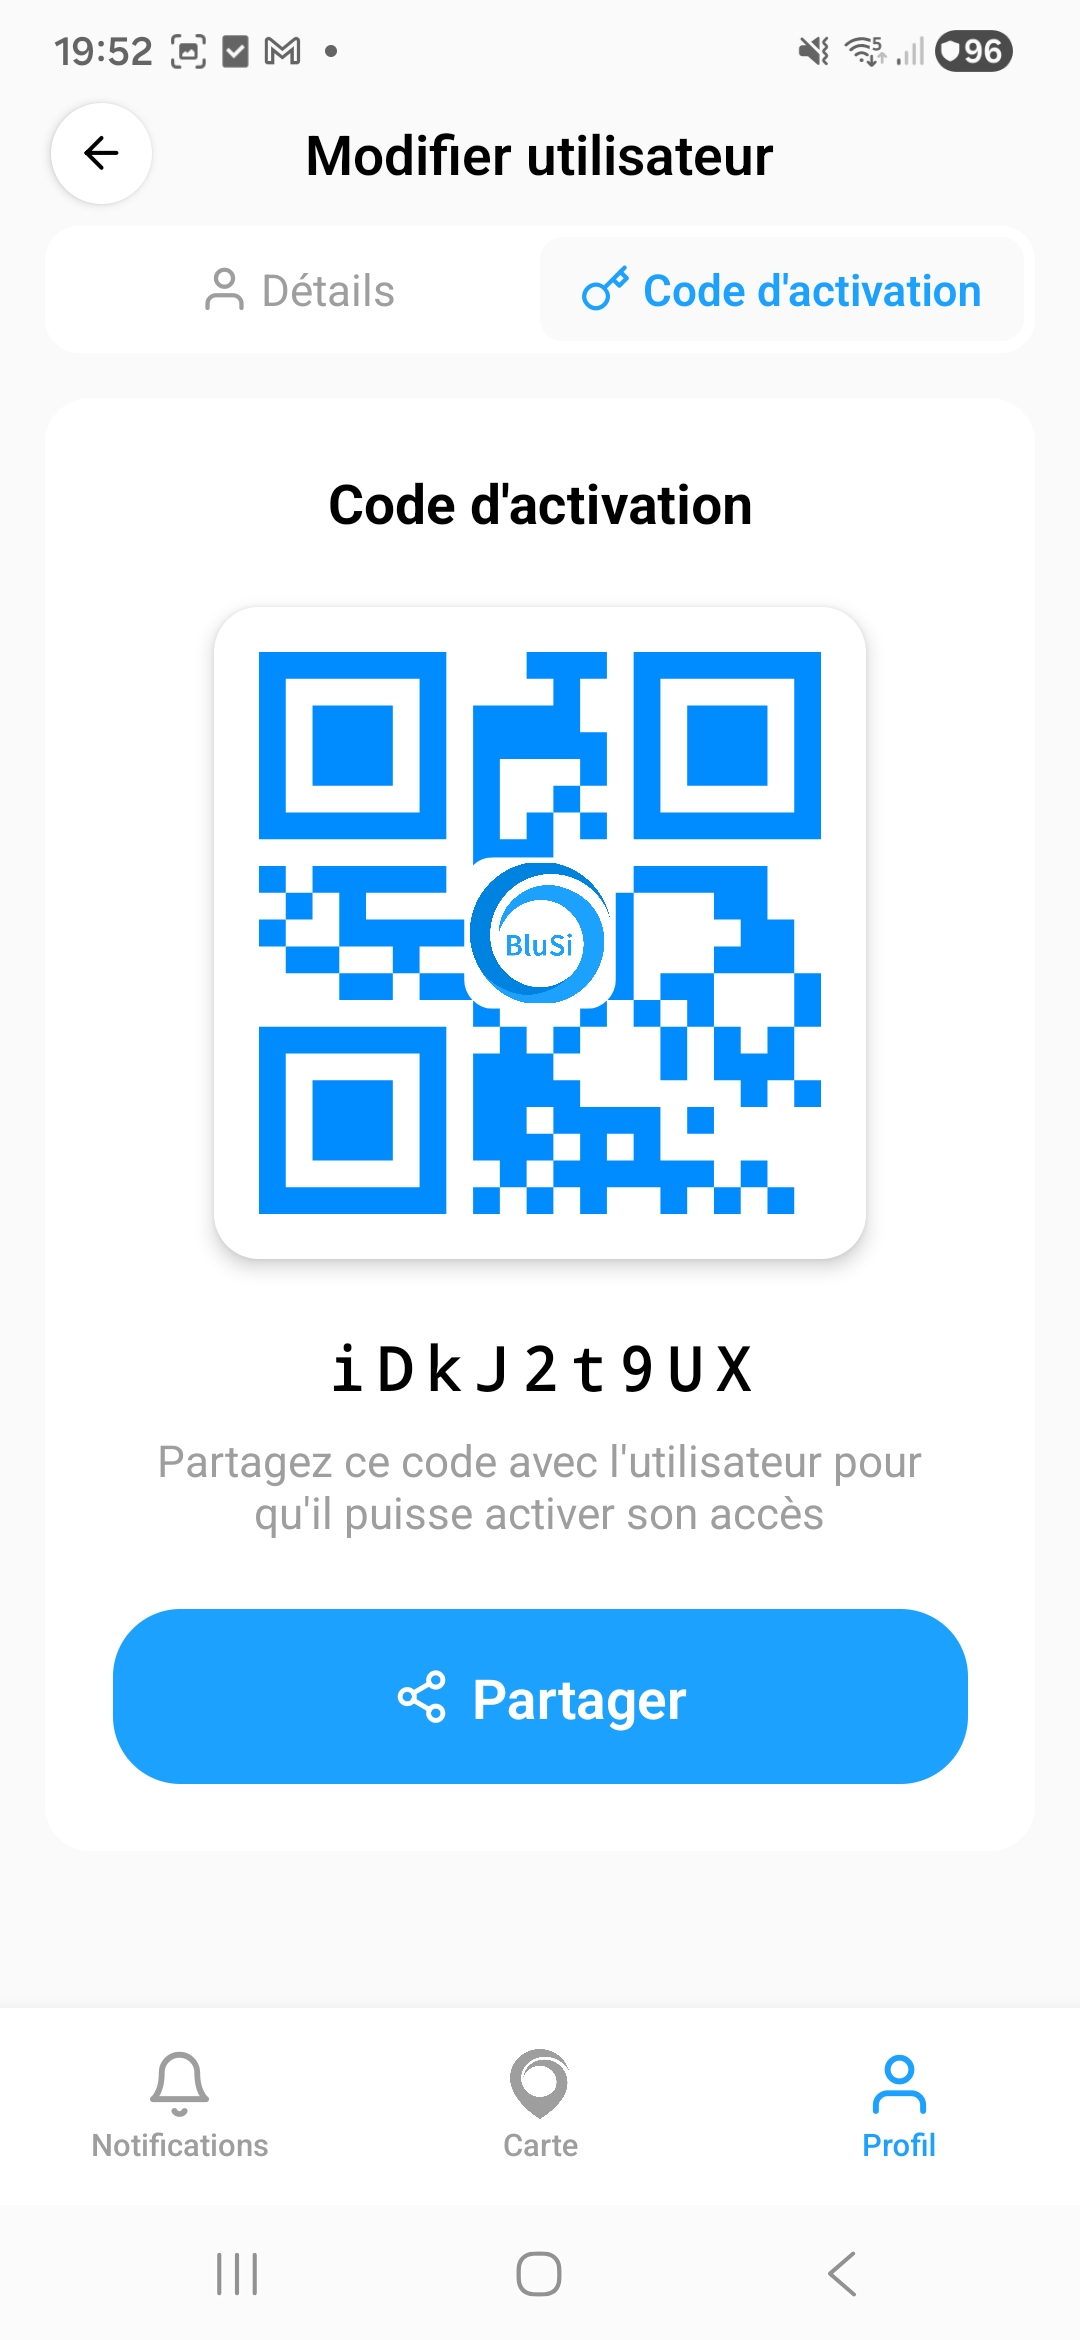
7.4 Invitation code
After creating a user, an activation code and QR code are generated. Share them with the new user so they can activate their access:
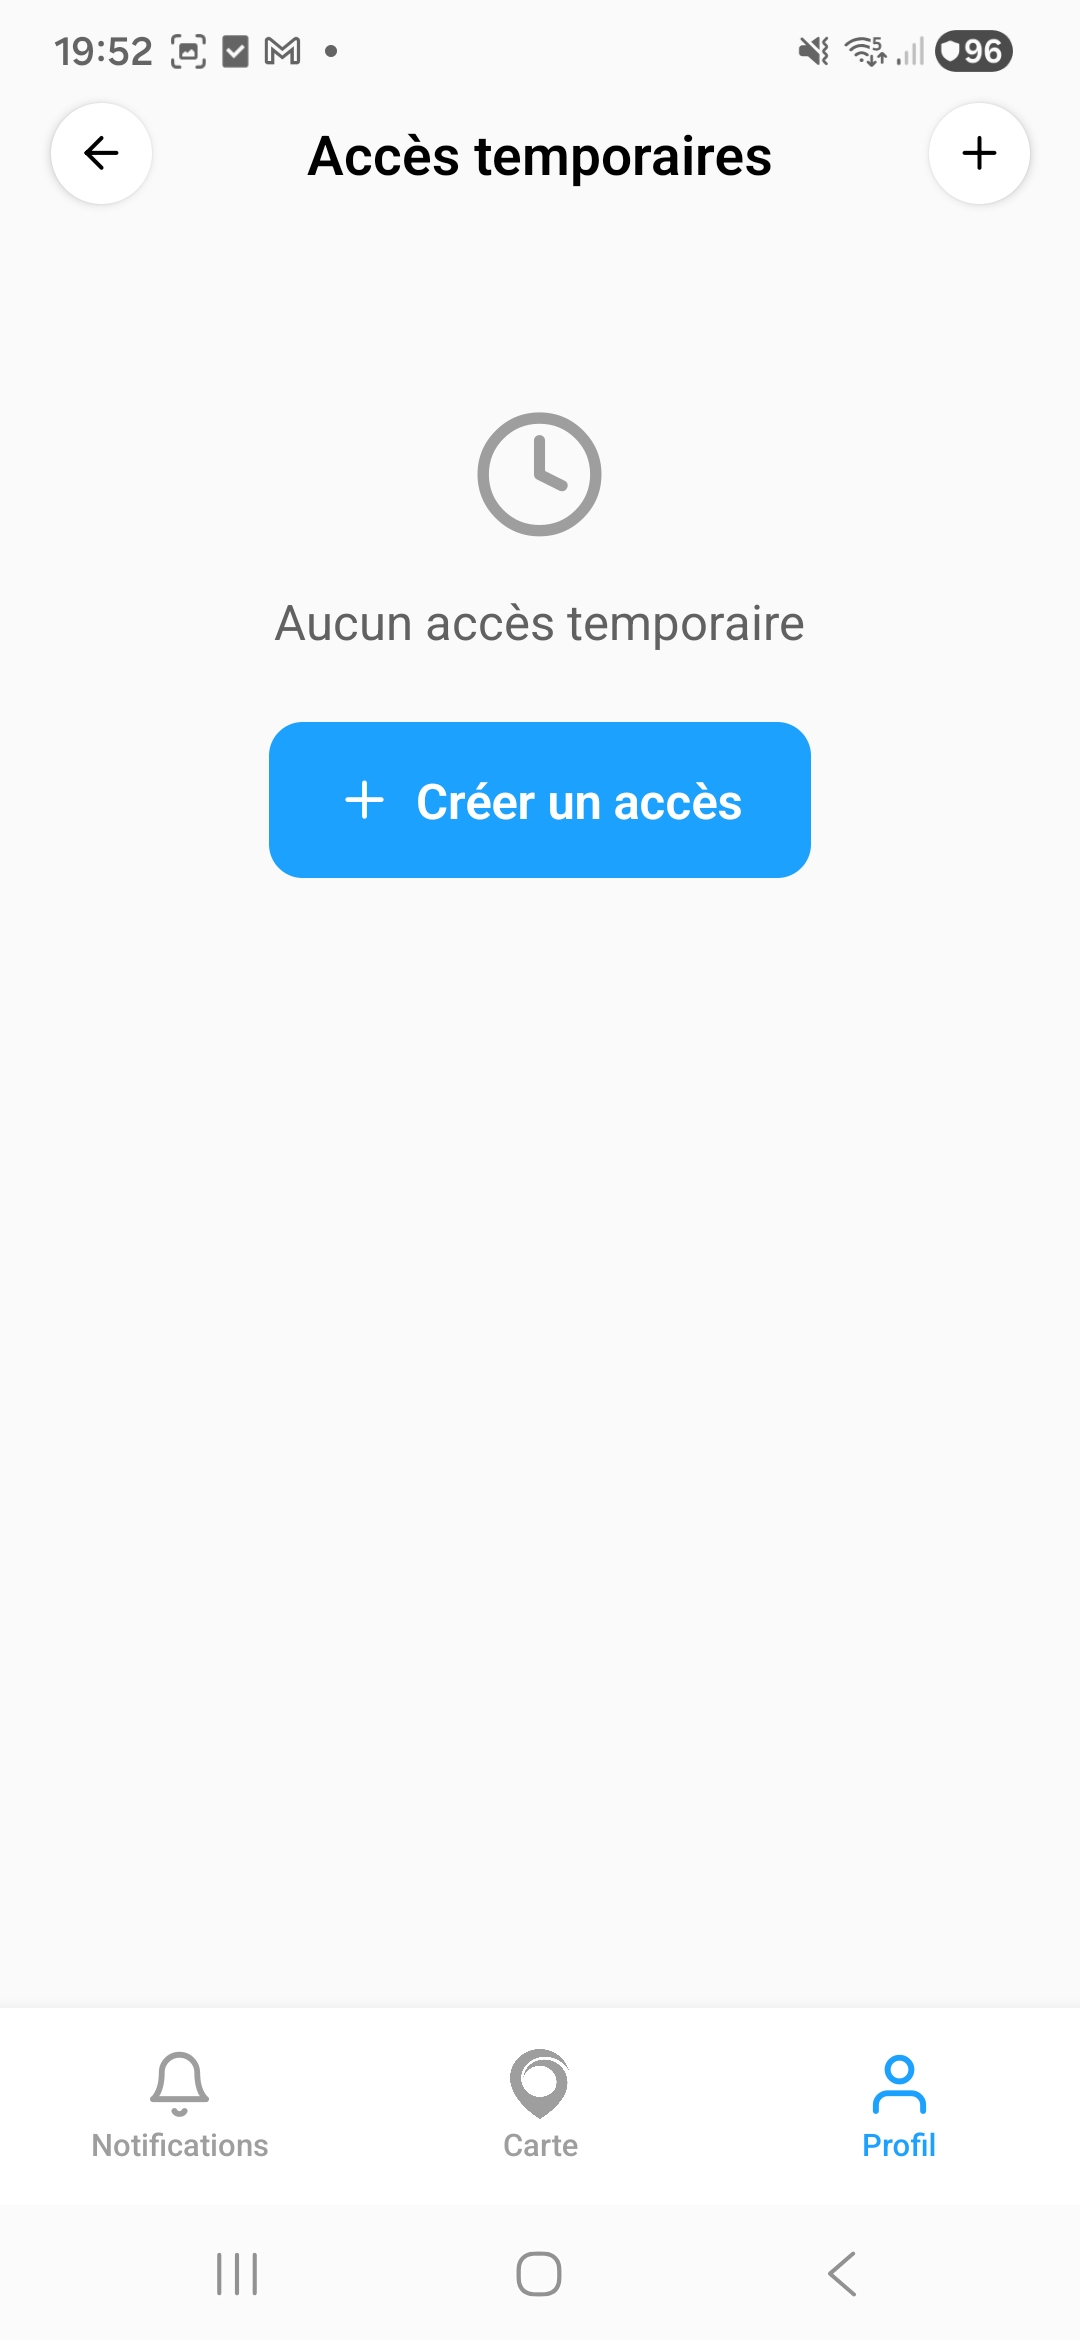
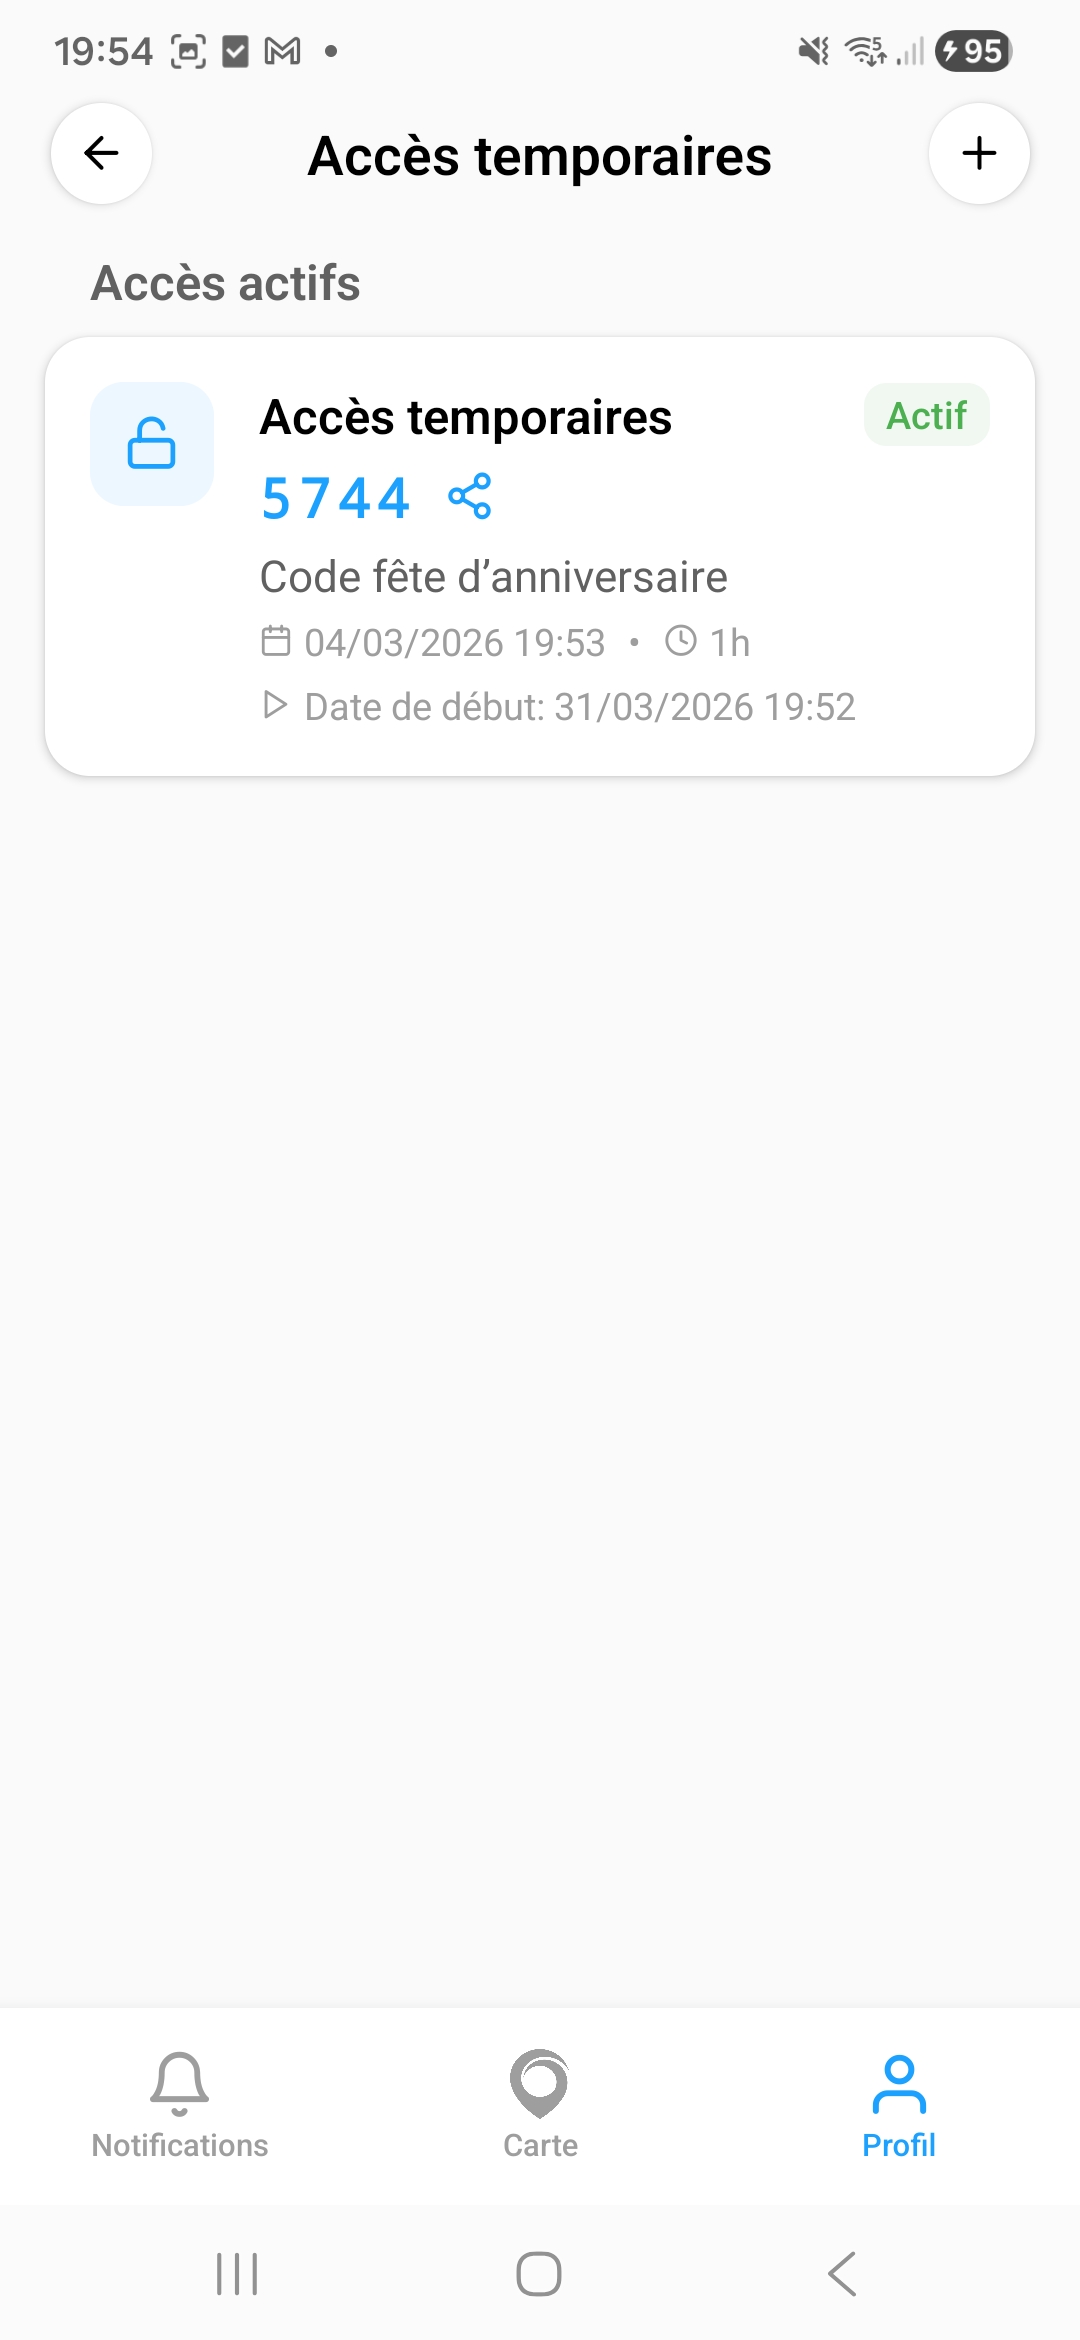
7.5 Temporary access
Temporary access allows you to create time-limited numeric codes for your guests (delivery person, contractor, etc.).
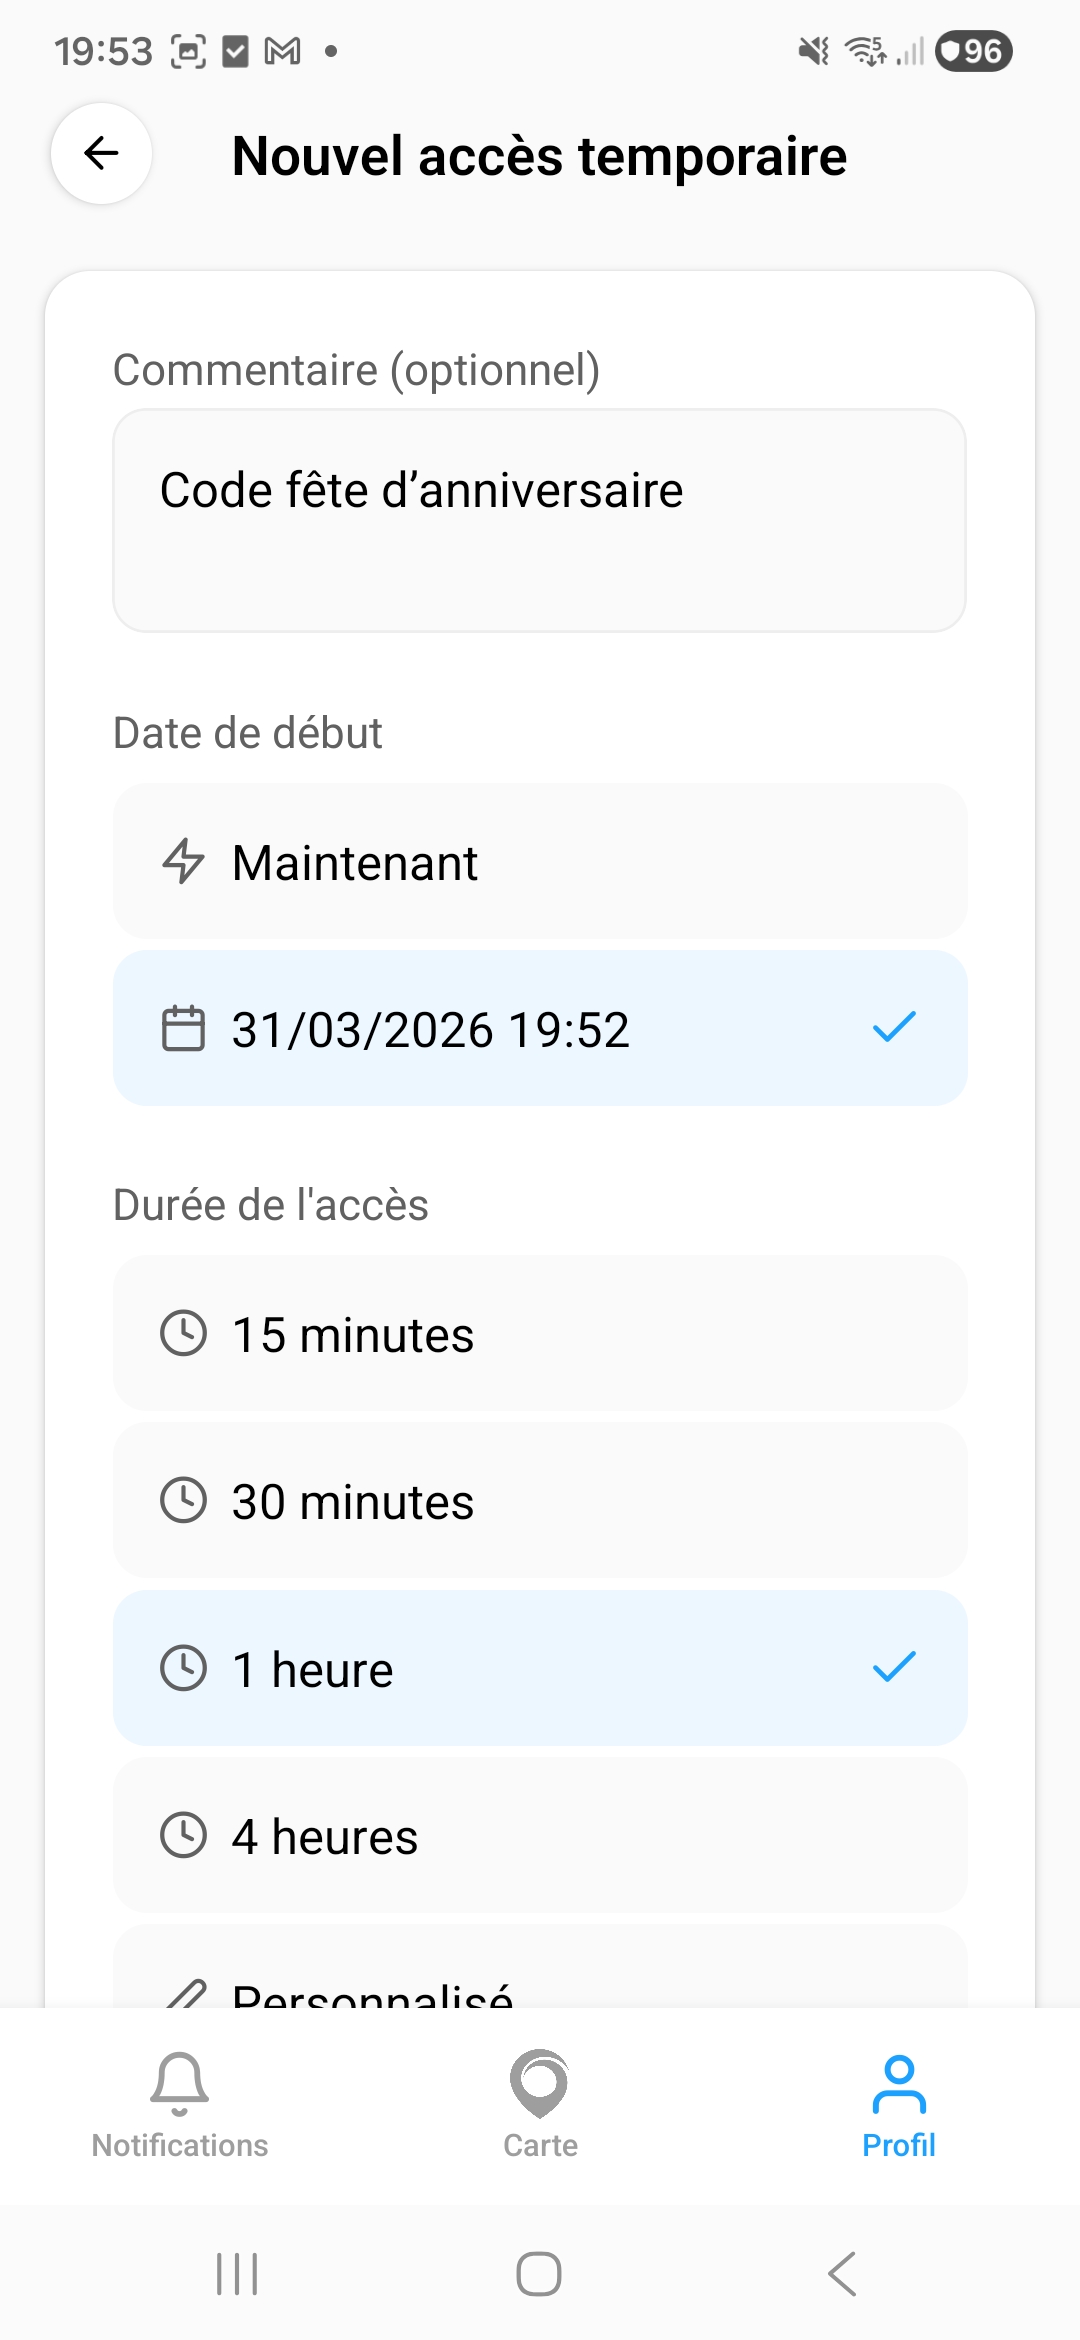
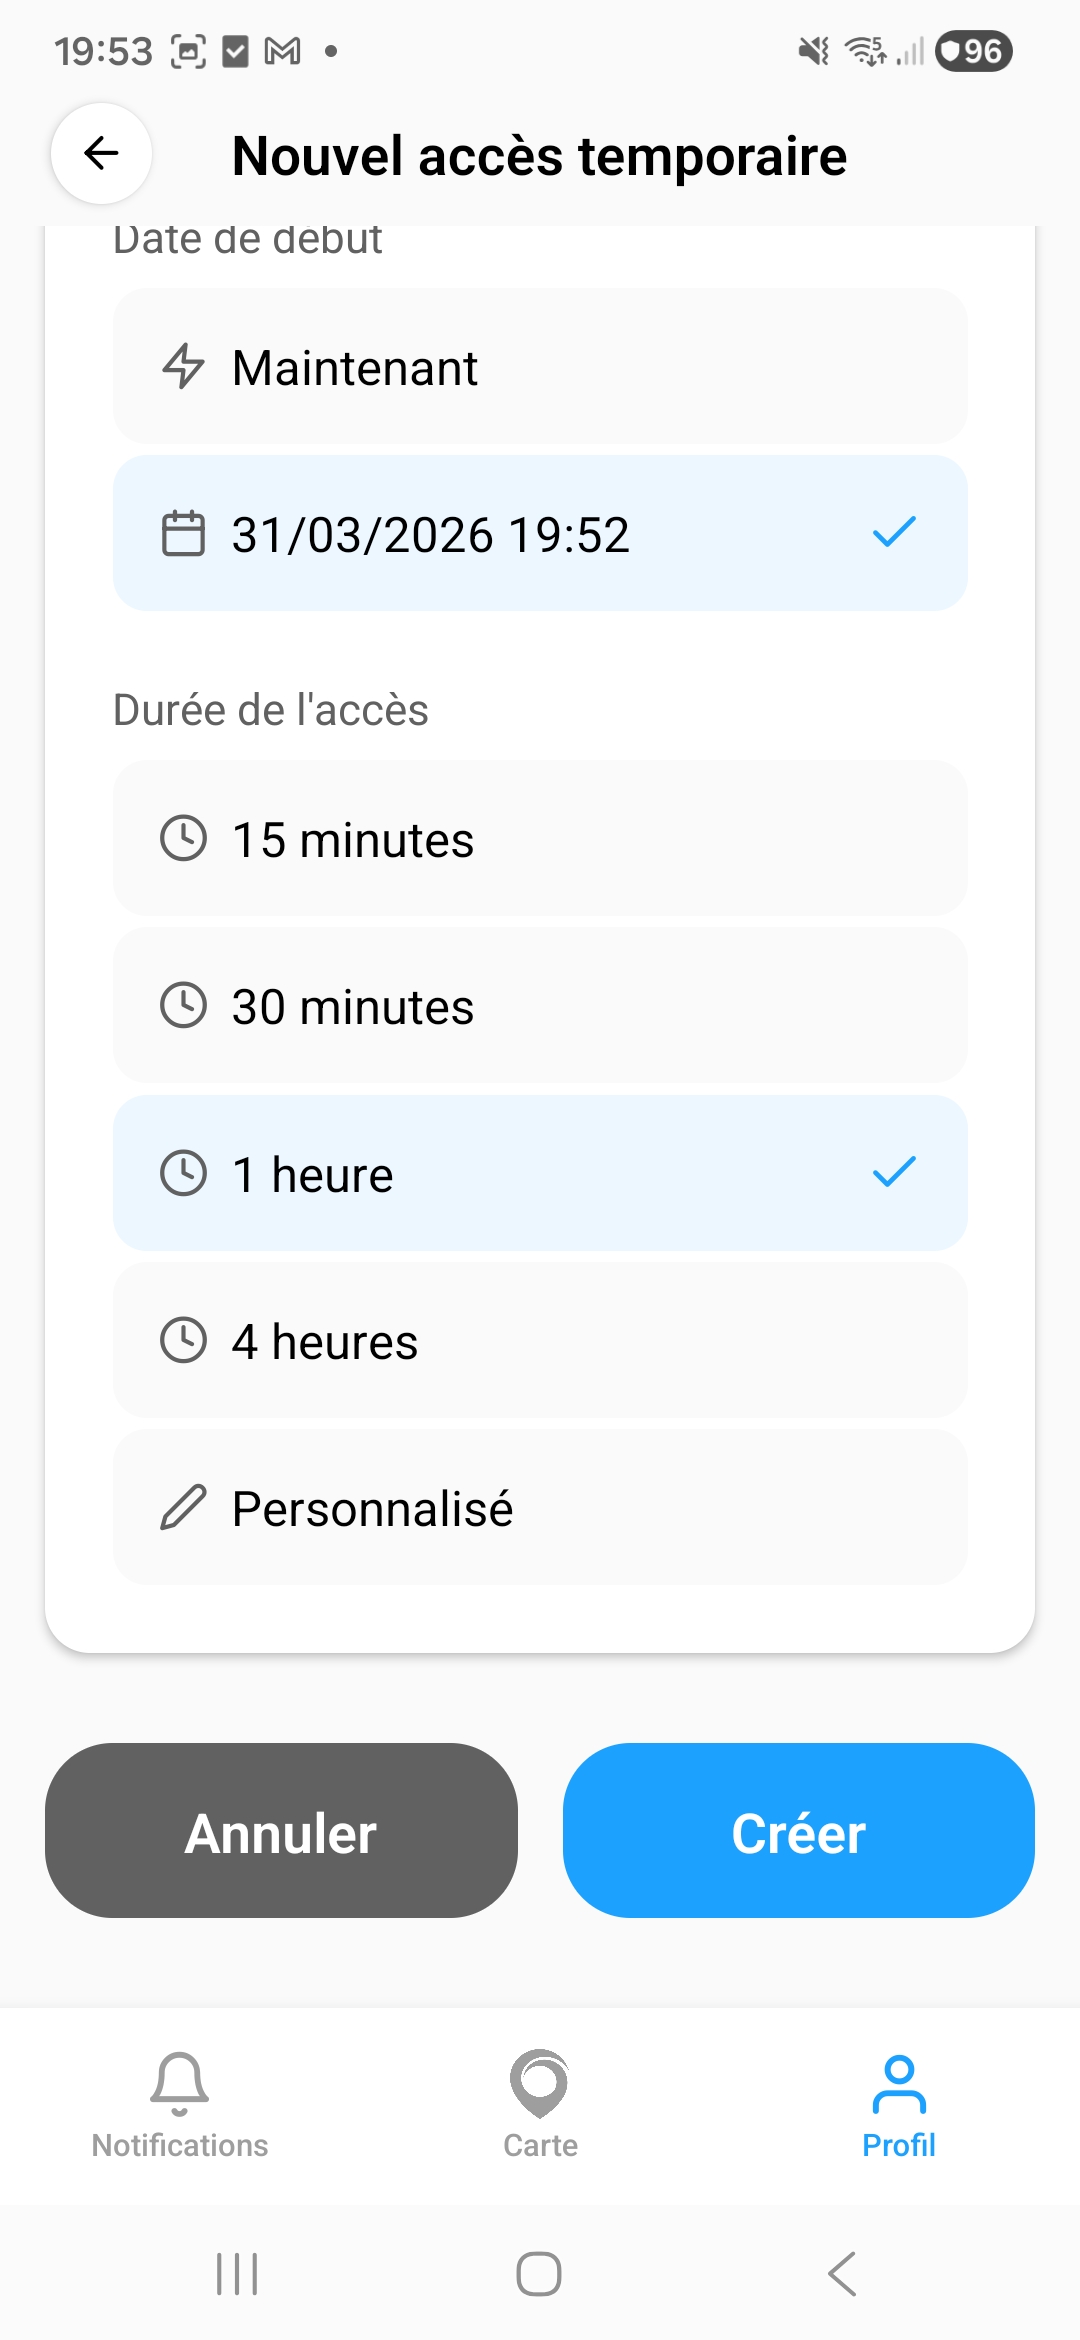
A 4-digit numeric code is generated and displayed in the active access list. Share it with your guest.
8. Owner management
As an owner, you have full control over the BluSi Box. You can manage advanced users, configure BluSi Box settings, and define access rights.
8.1 Owner menu
The owner menu offers additional sections compared to the inhabitant menu:
- Temporary access — Manage temporary codes
- Users (owner) — Manage users with advanced rights on the BluSi Box
- Users — Manage all user groups
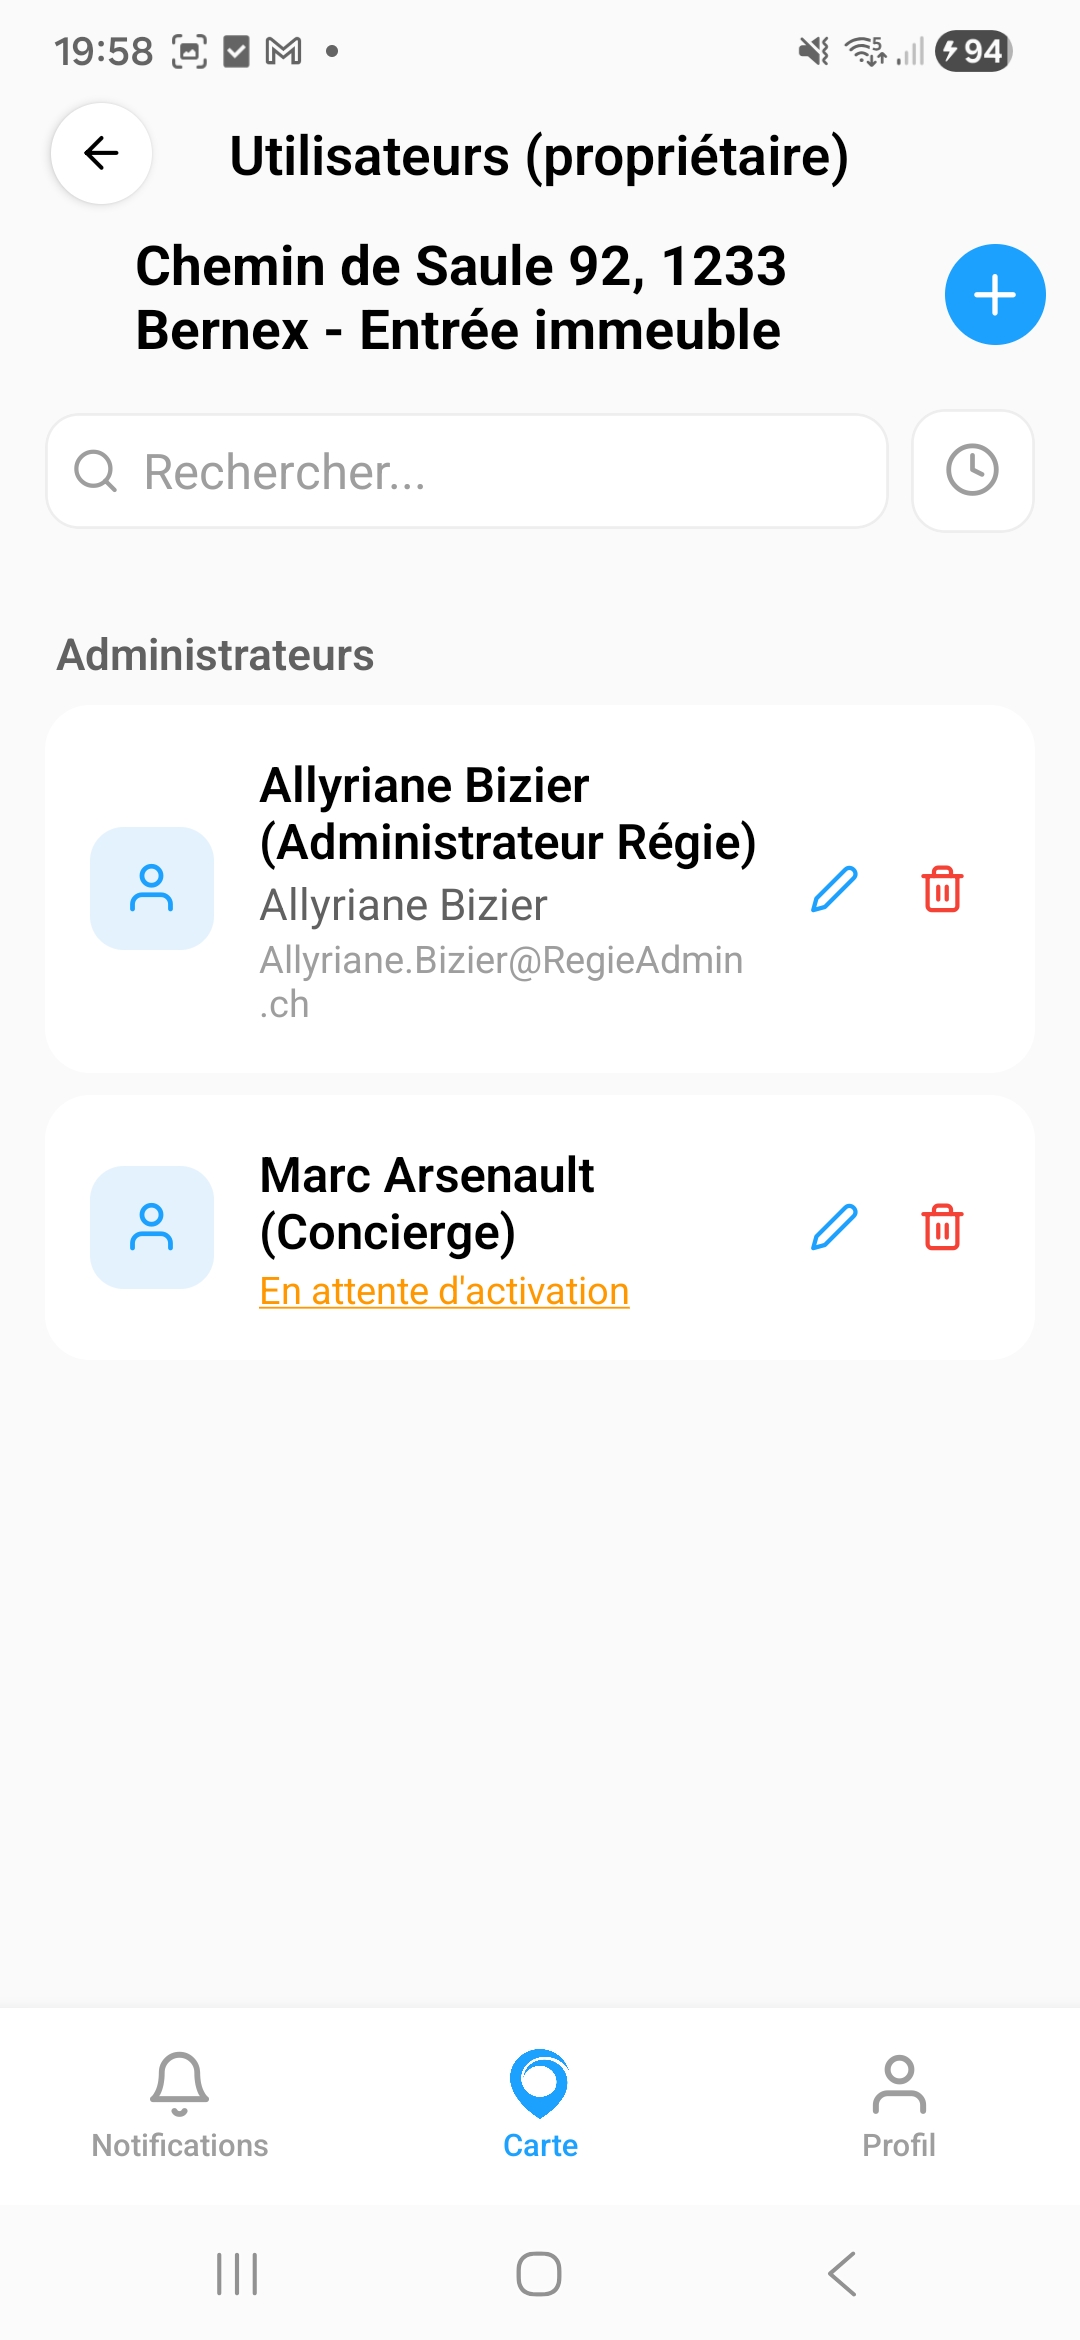
8.2 Manage advanced users
The Users (owner) section allows managing users with advanced rights on the BluSi Box, such as a property manager or caretaker.
Each user can be edited or deleted. The "Pending activation" status (orange) indicates the user has not yet activated their account.
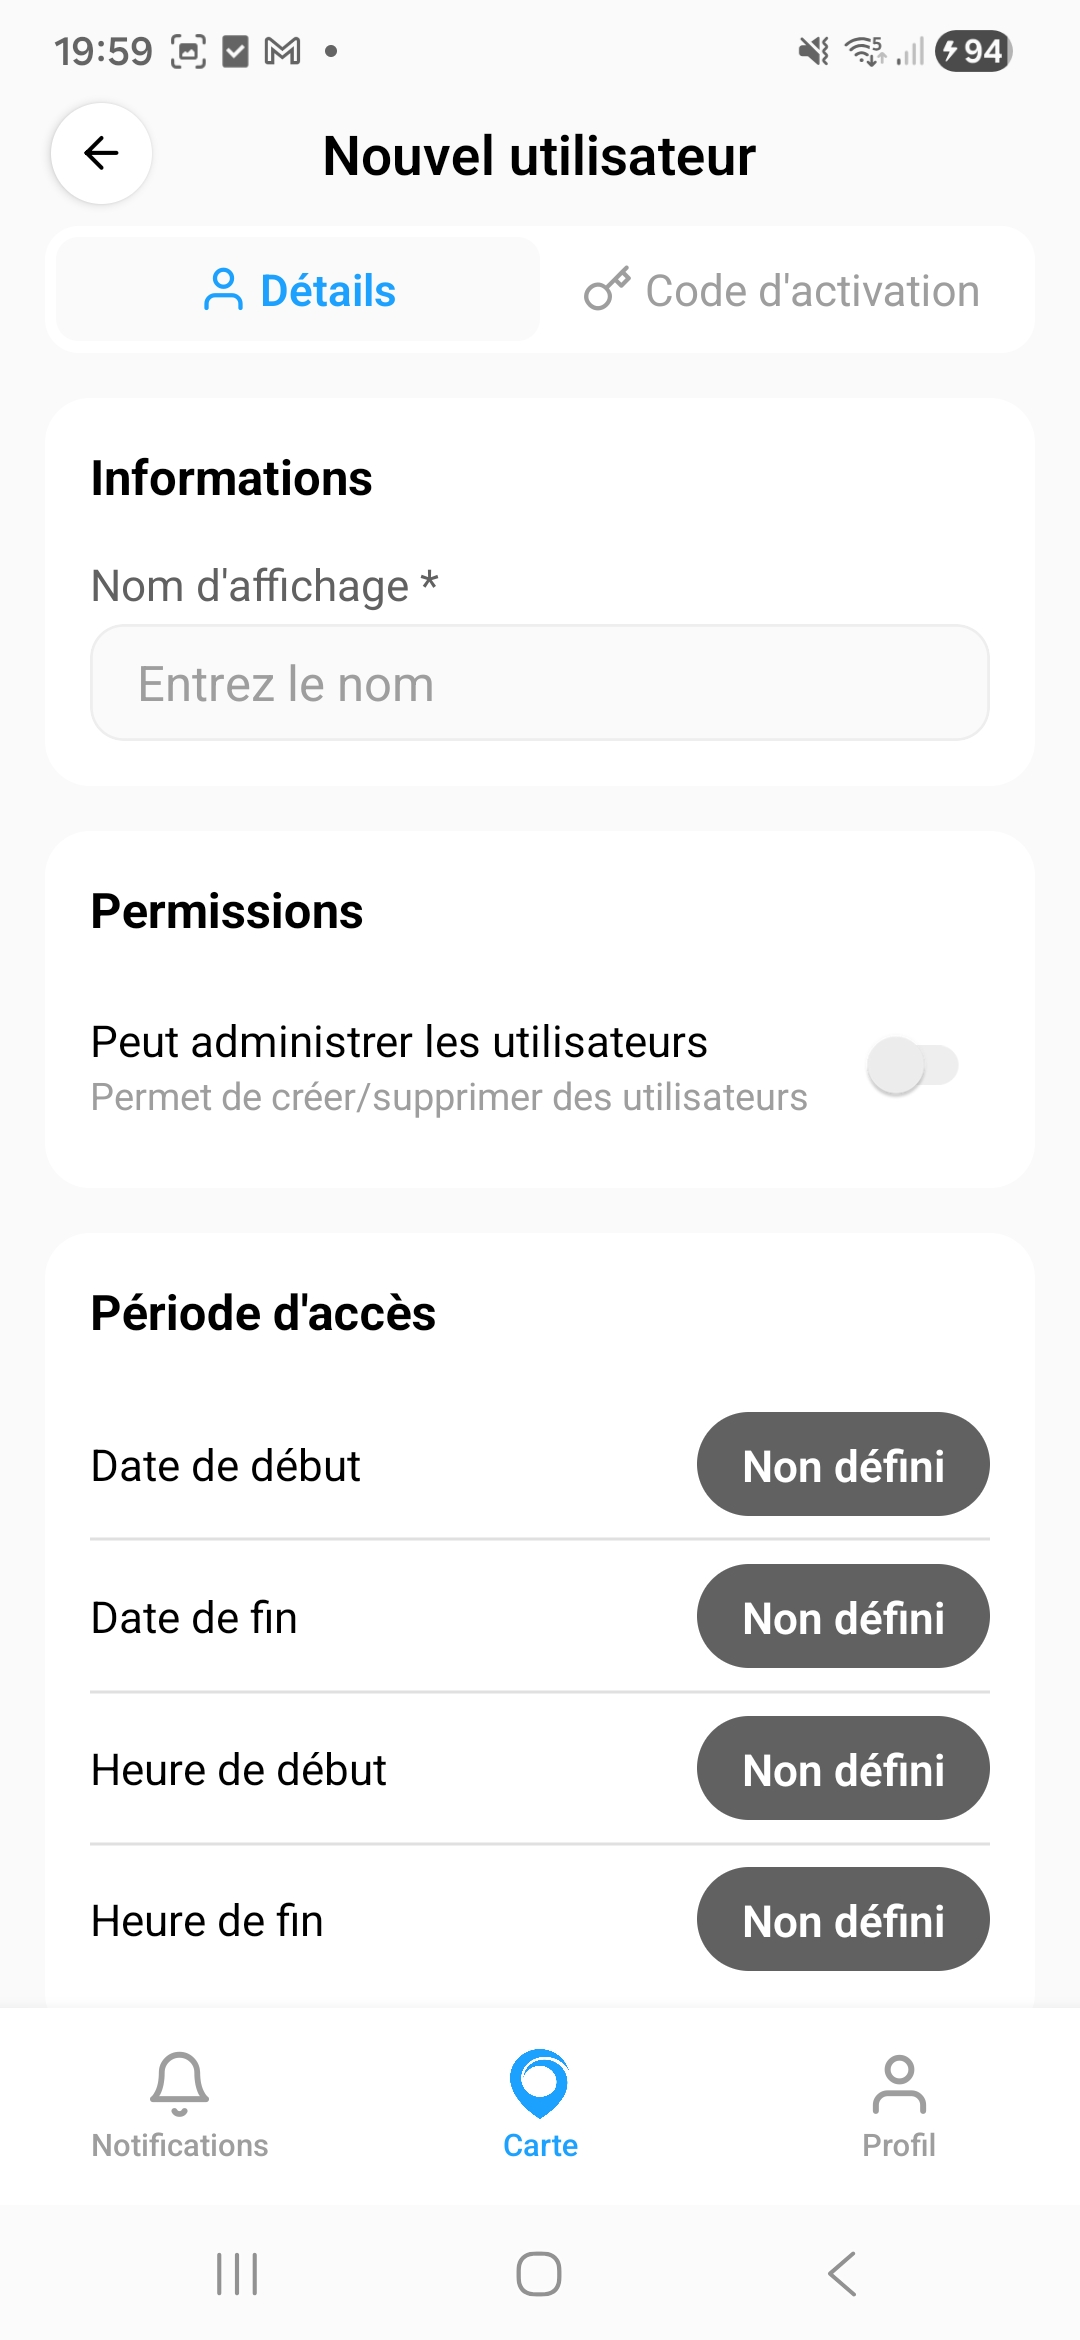
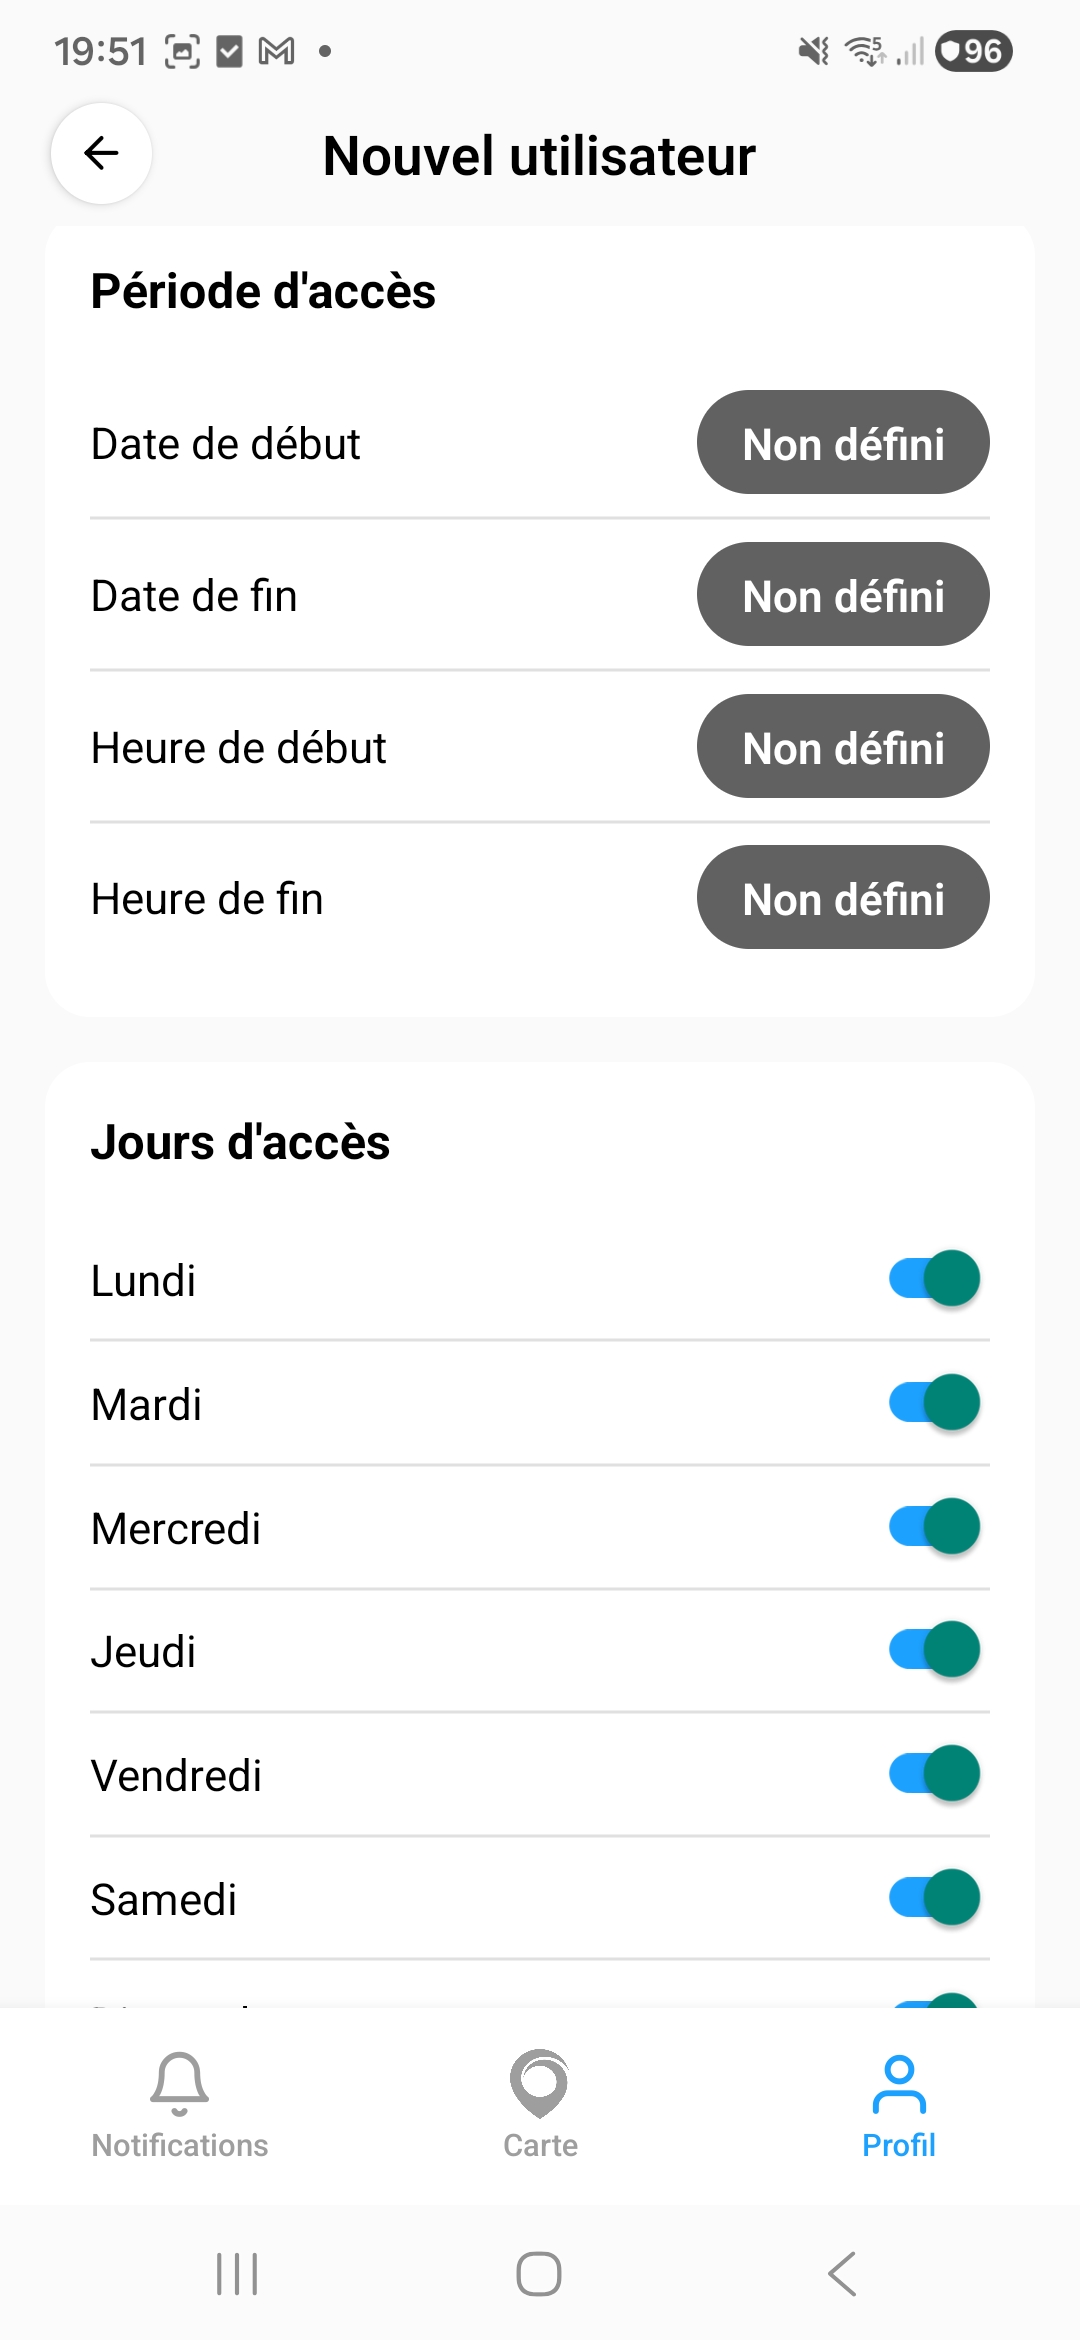
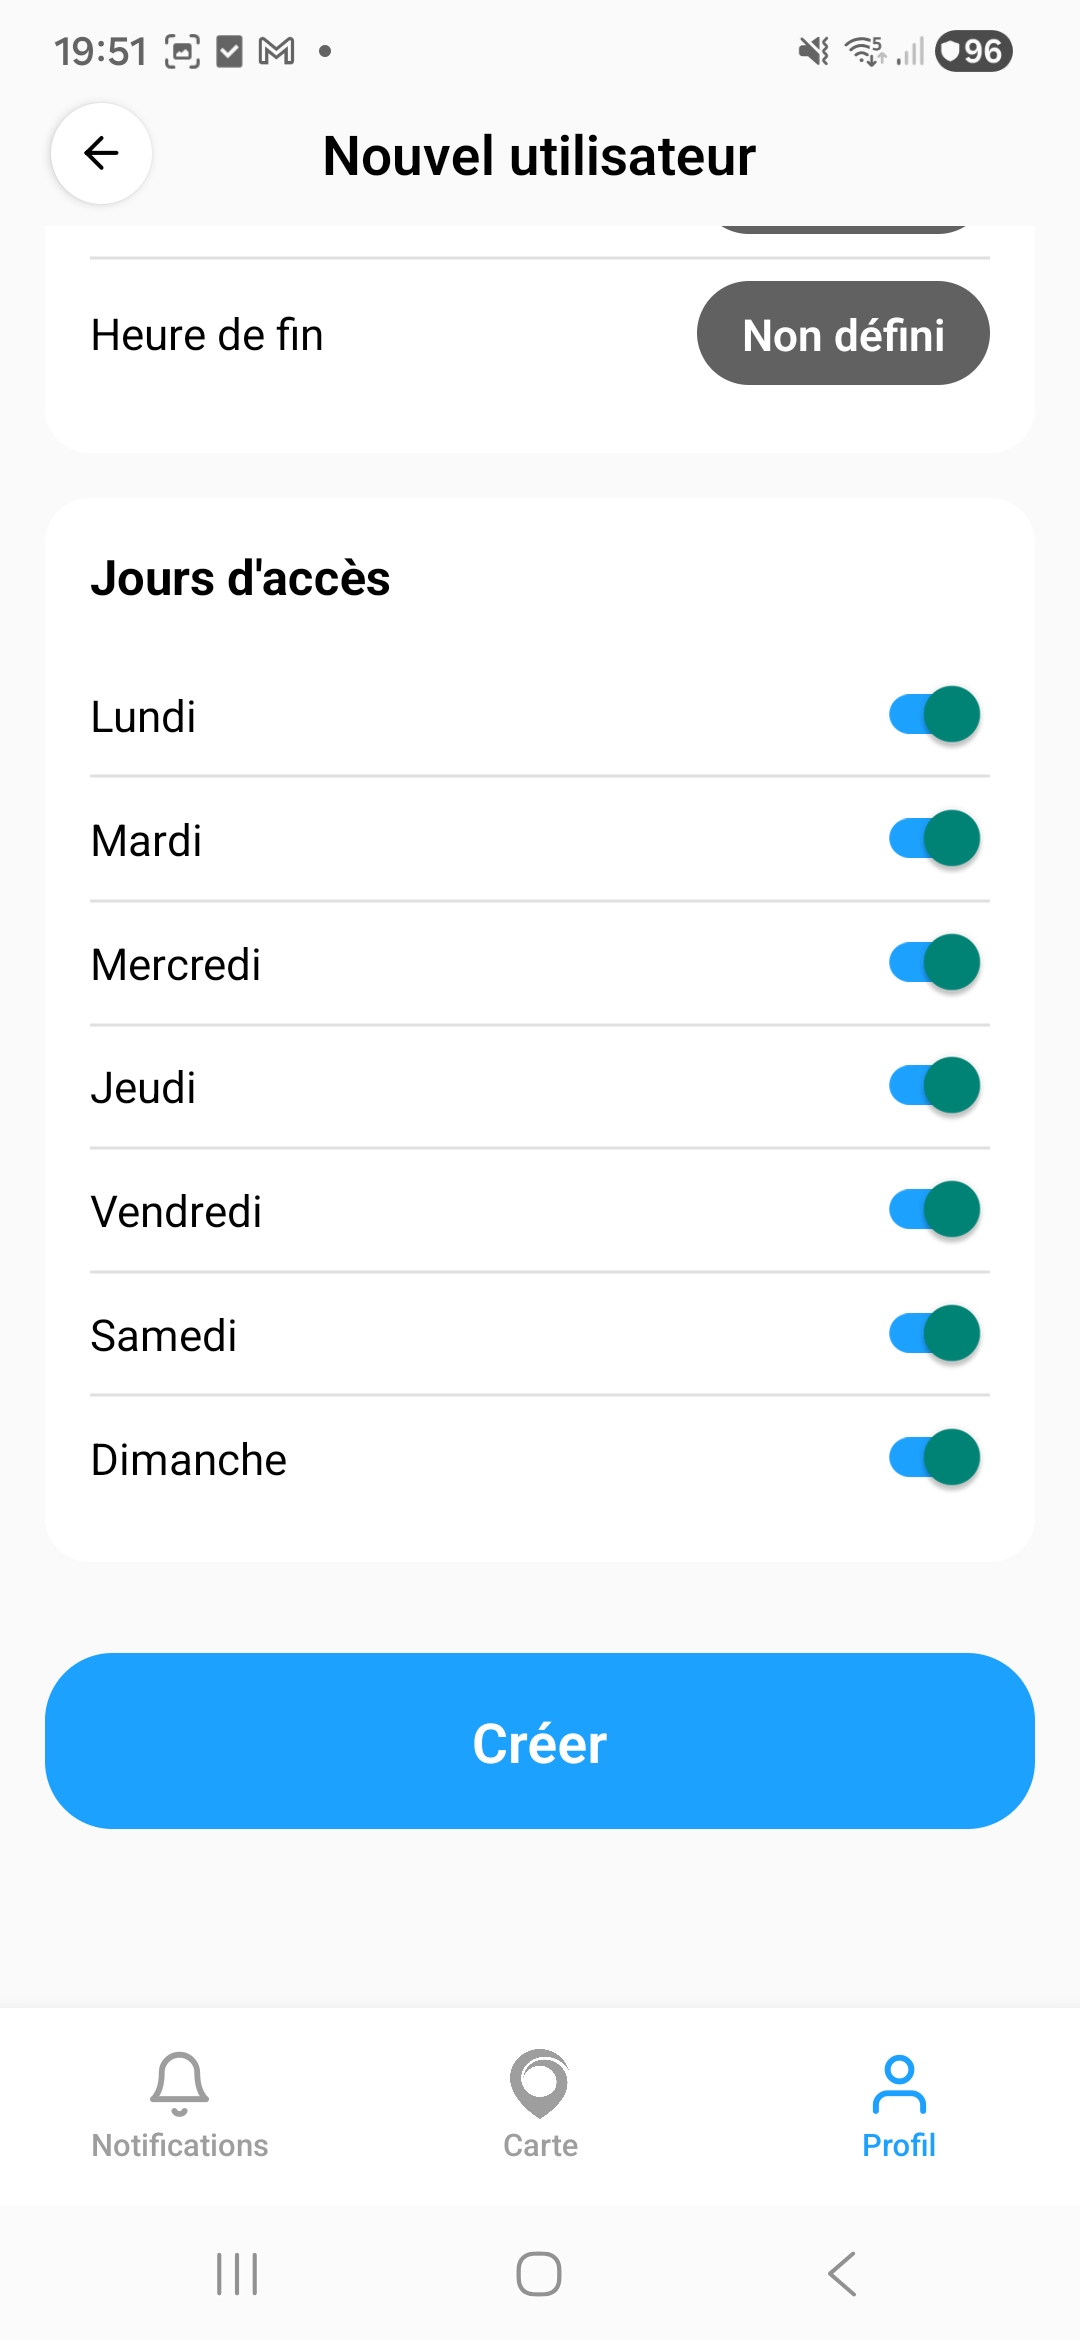
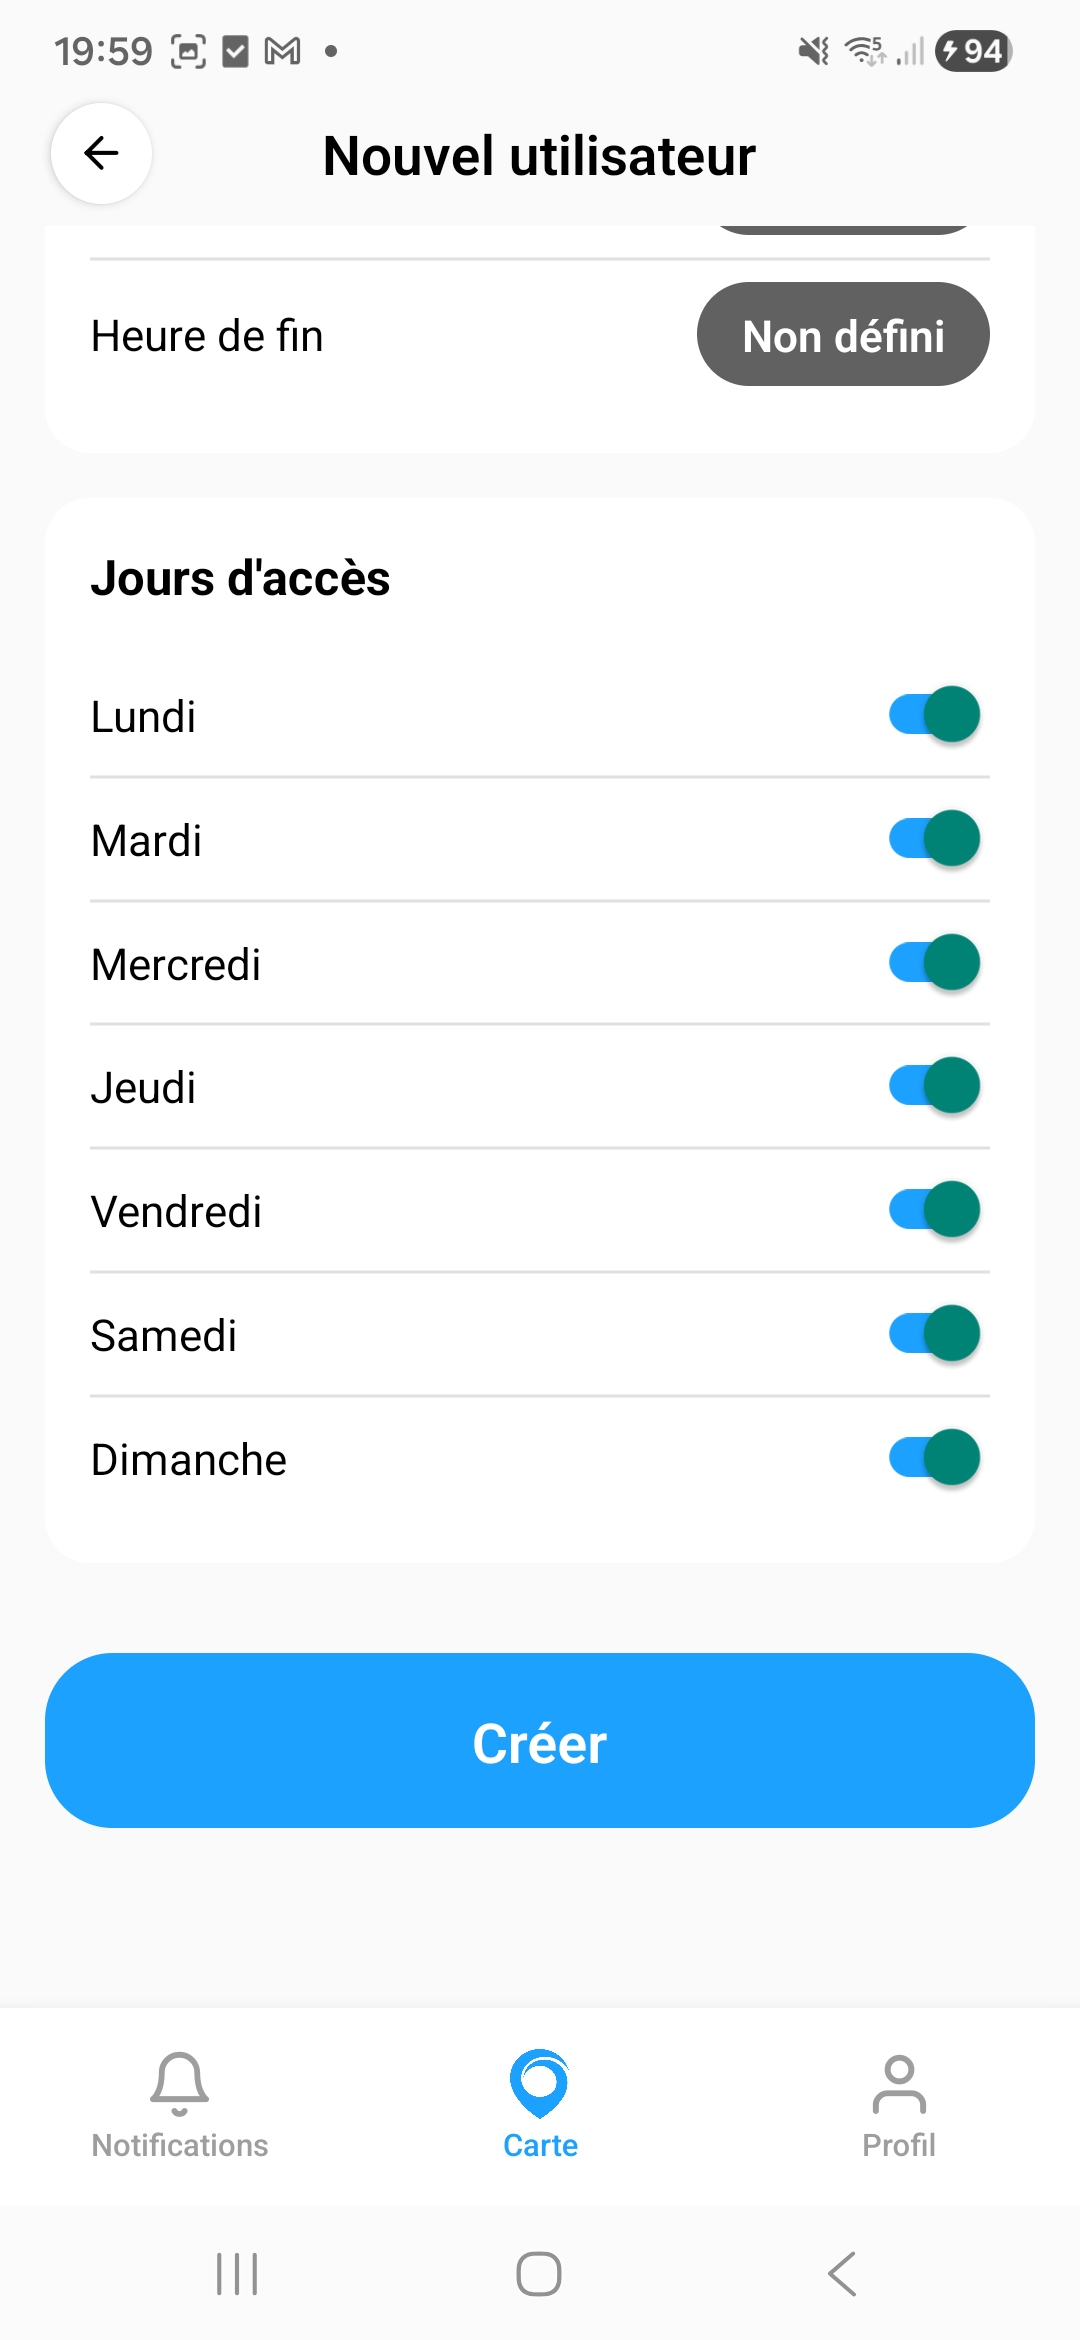
When adding a user, you can configure:
- The display name
- The Can manage users permission
- The access period (start/end dates and times)
- The authorized access days (Monday to Sunday)
8.3 Configure BluSi Box
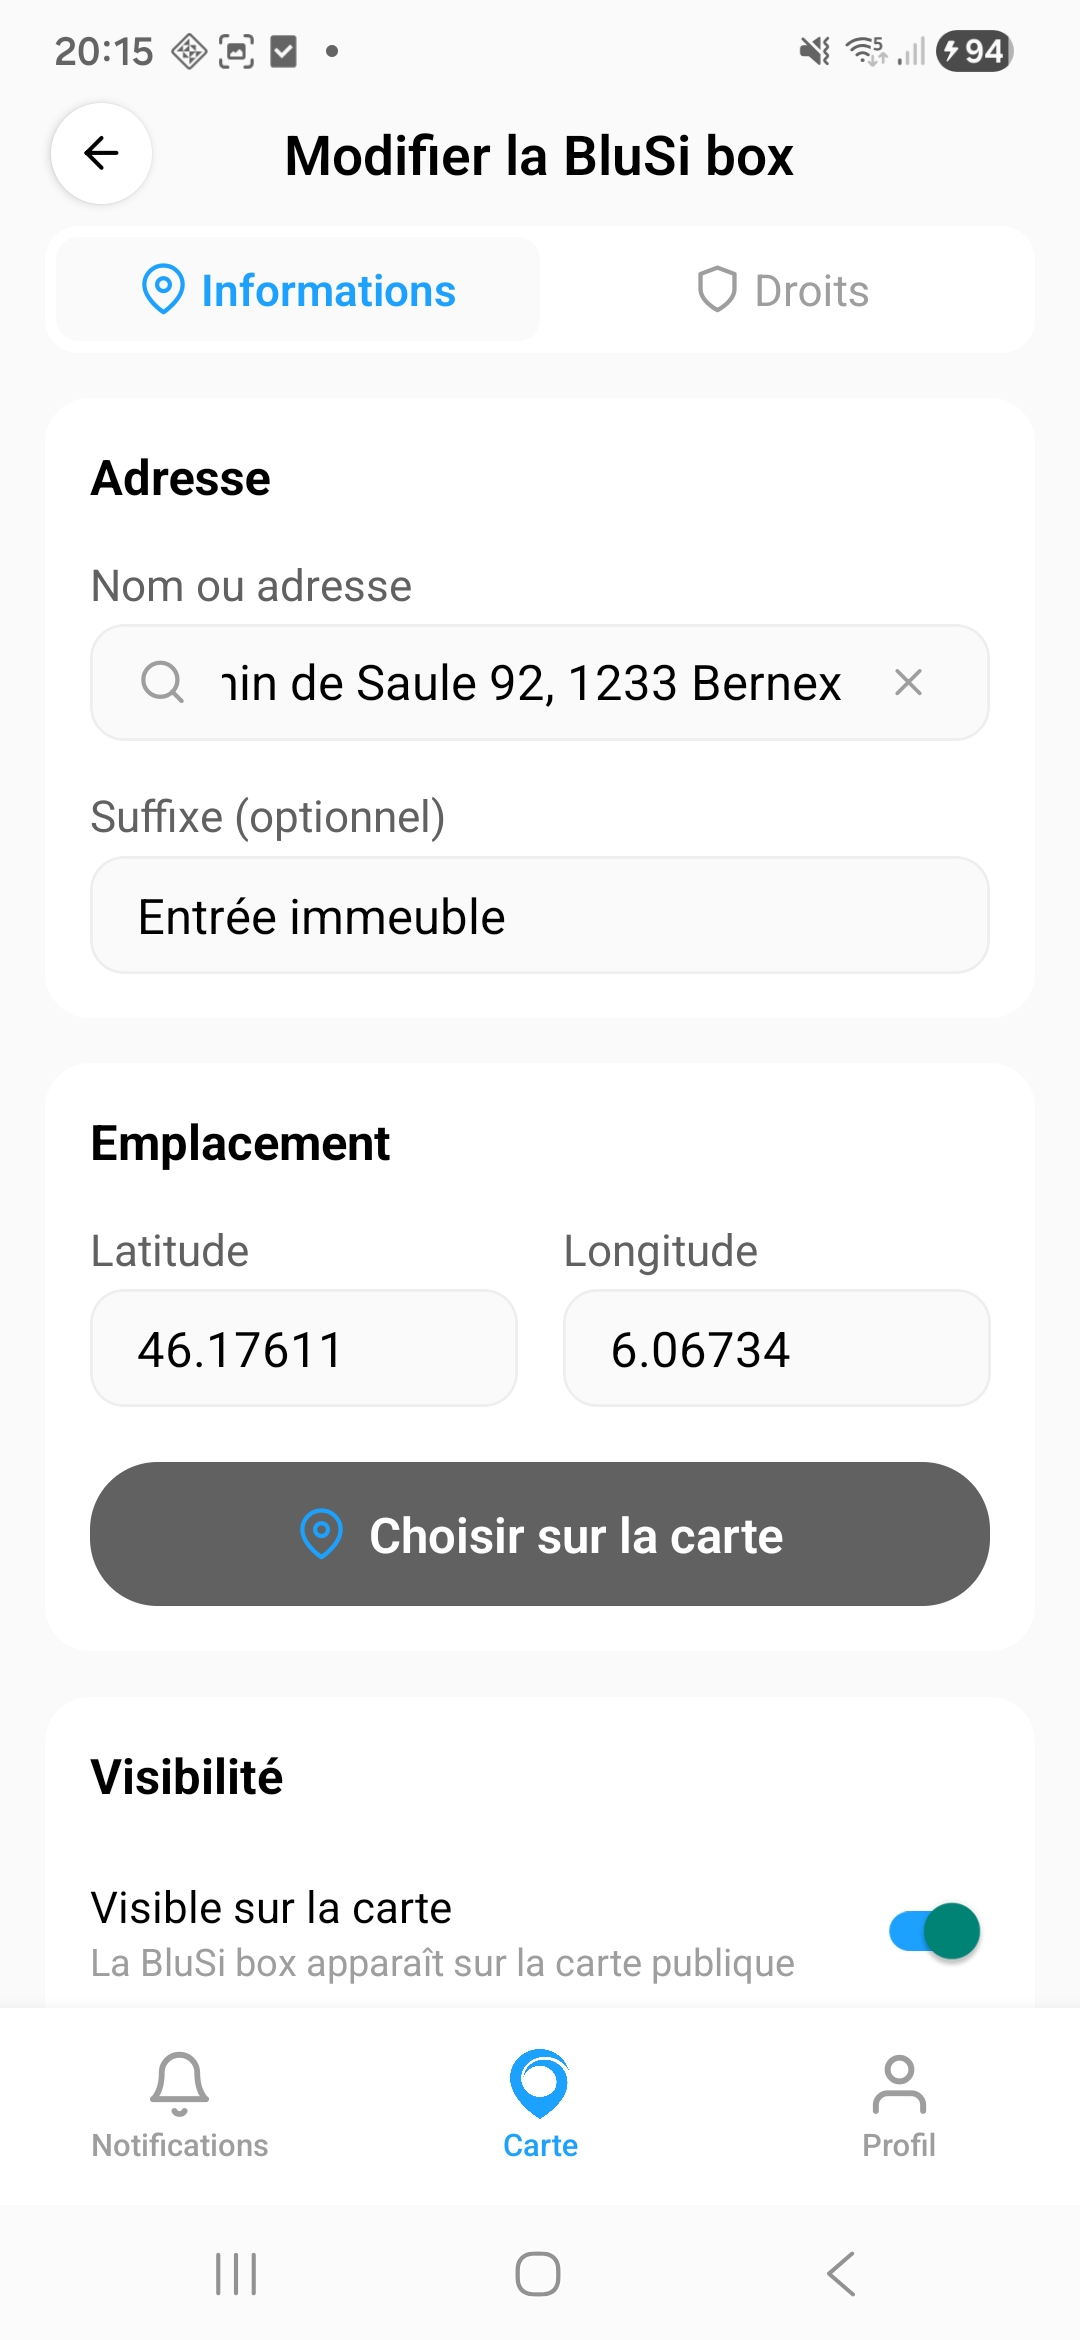
As the owner, you can modify the BluSi Box information:
Information tab:
- Address — Property name or address (auto-search)
- Suffix — Additional detail (e.g., "Building entrance", "Garage")
- Location — GPS coordinates (latitude/longitude) or map selection
- Visibility — Make the BluSi Box visible on the public map
8.4 Access rights settings
Rights tab:
- Anonymous access request — Allows unregistered users to request access
- Access codes visible to inhabitants — Inhabitants can see the numeric access codes
Automatic access period:
- Set the dates and times during which automatic access is active
- Configure the days of the week for automatic access


9. Devices and remotes
BluSi allows you to associate multiple devices with your account: your main phone and additional remotes (keychain remote, child remote, etc.).
9.1 Device list
Go to Profile > My personal devices to see all your devices. Each device shows:
- The device name and model
- The unique device code
- The status (Active or Lost)
- The number of associated BluSi Boxes
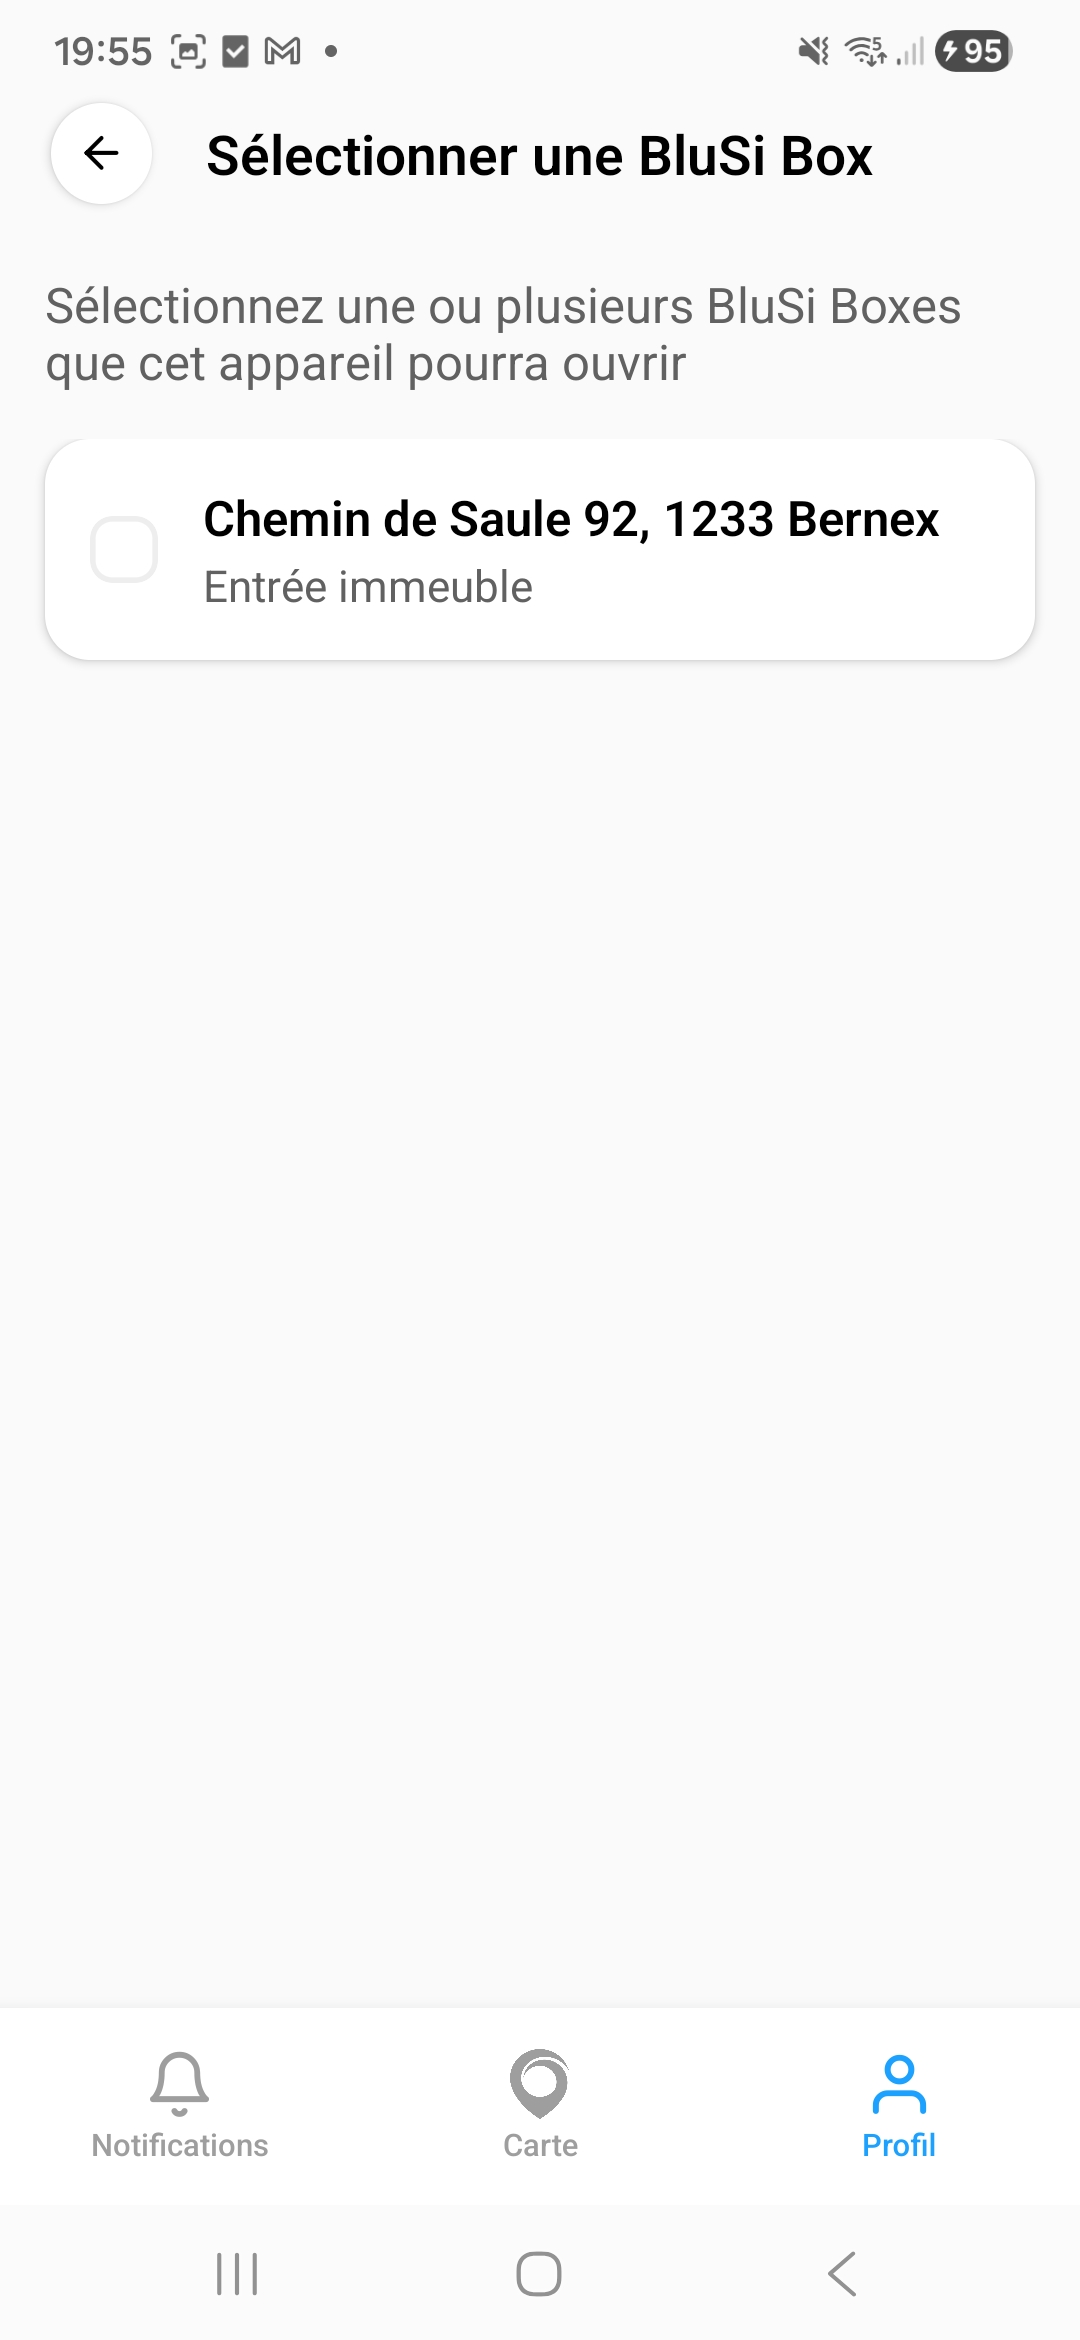
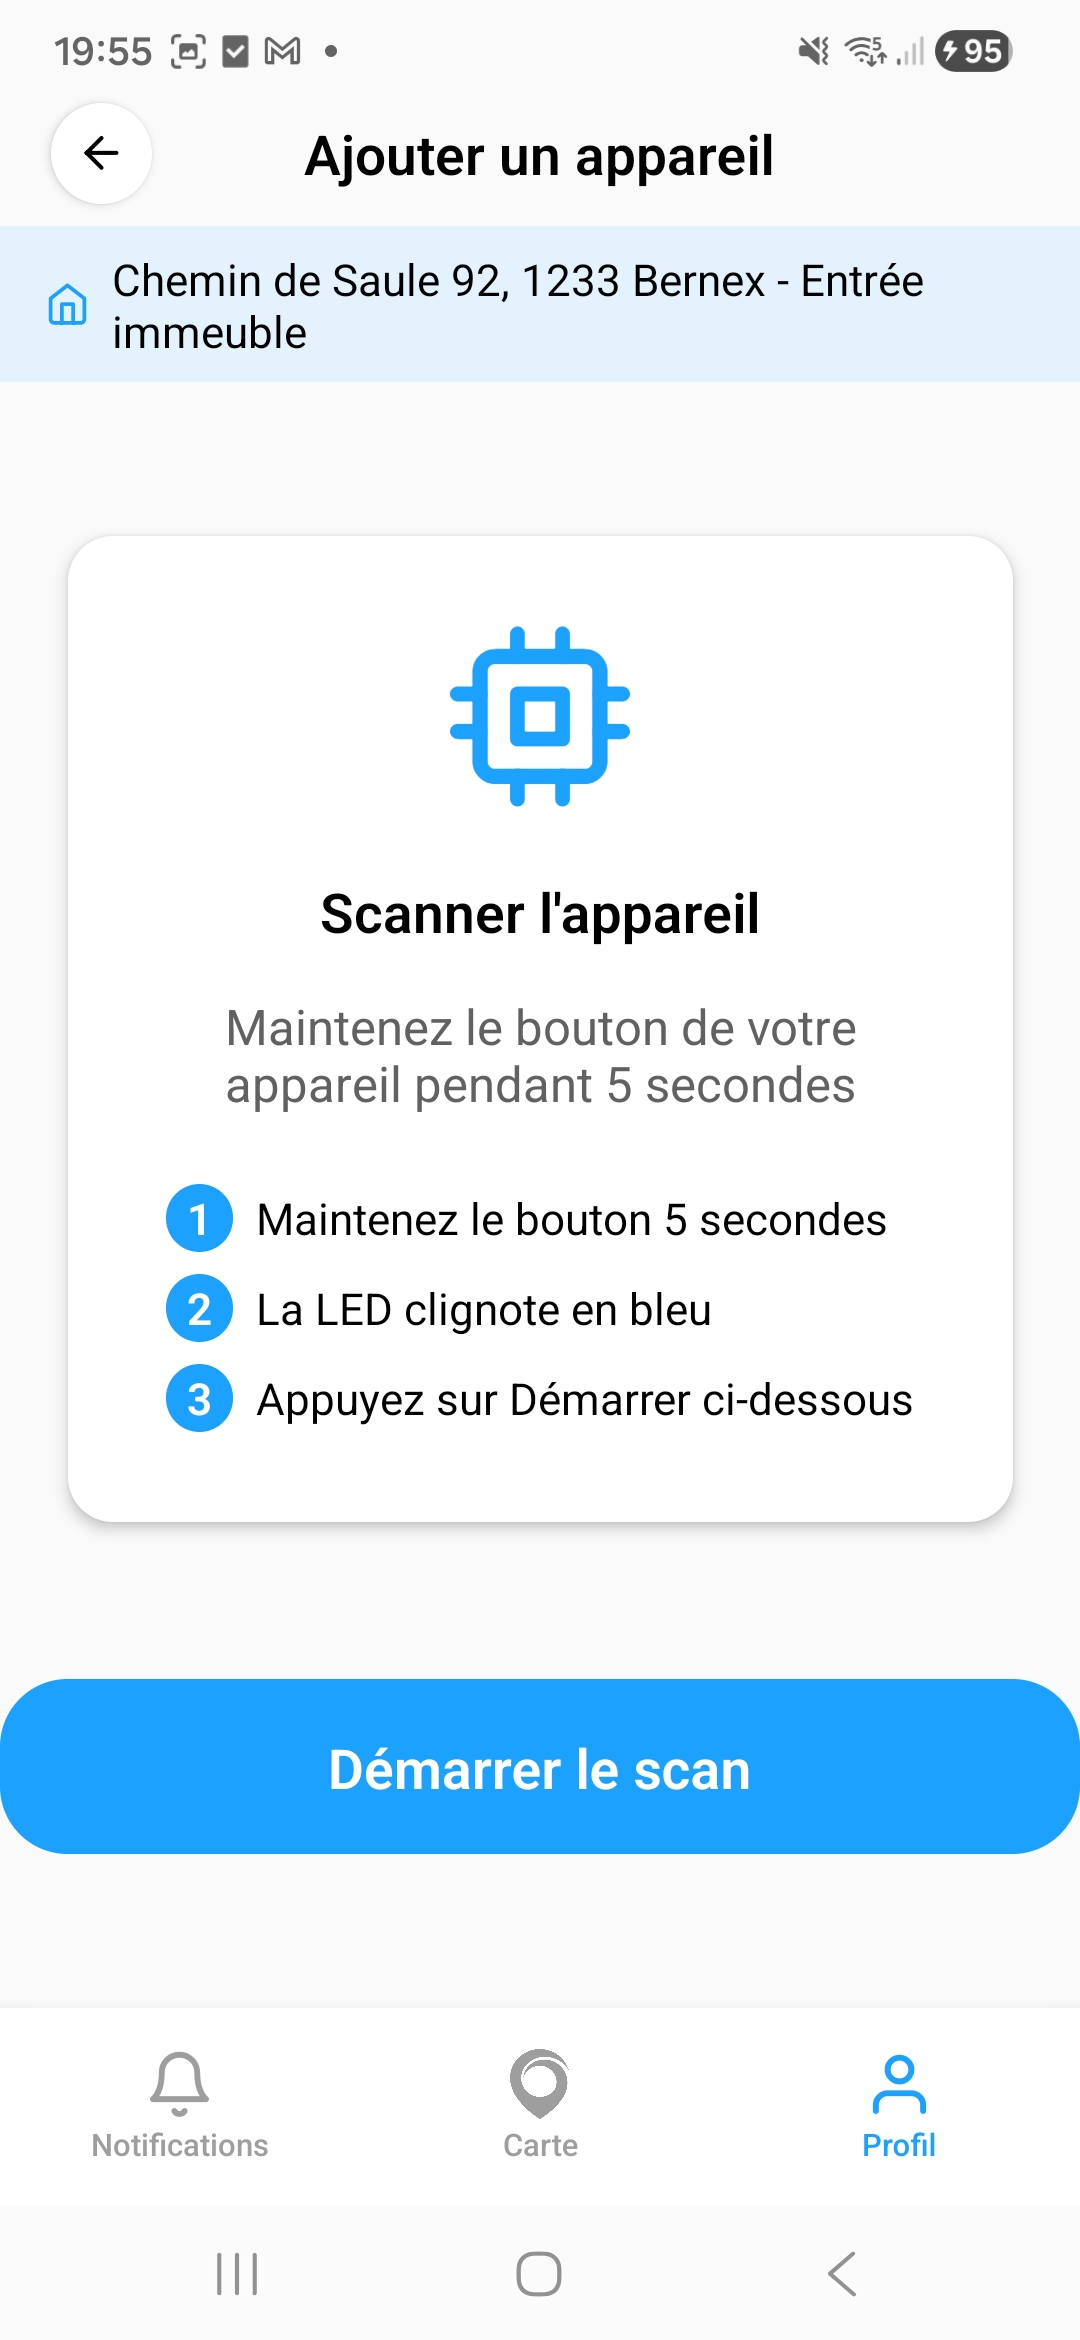
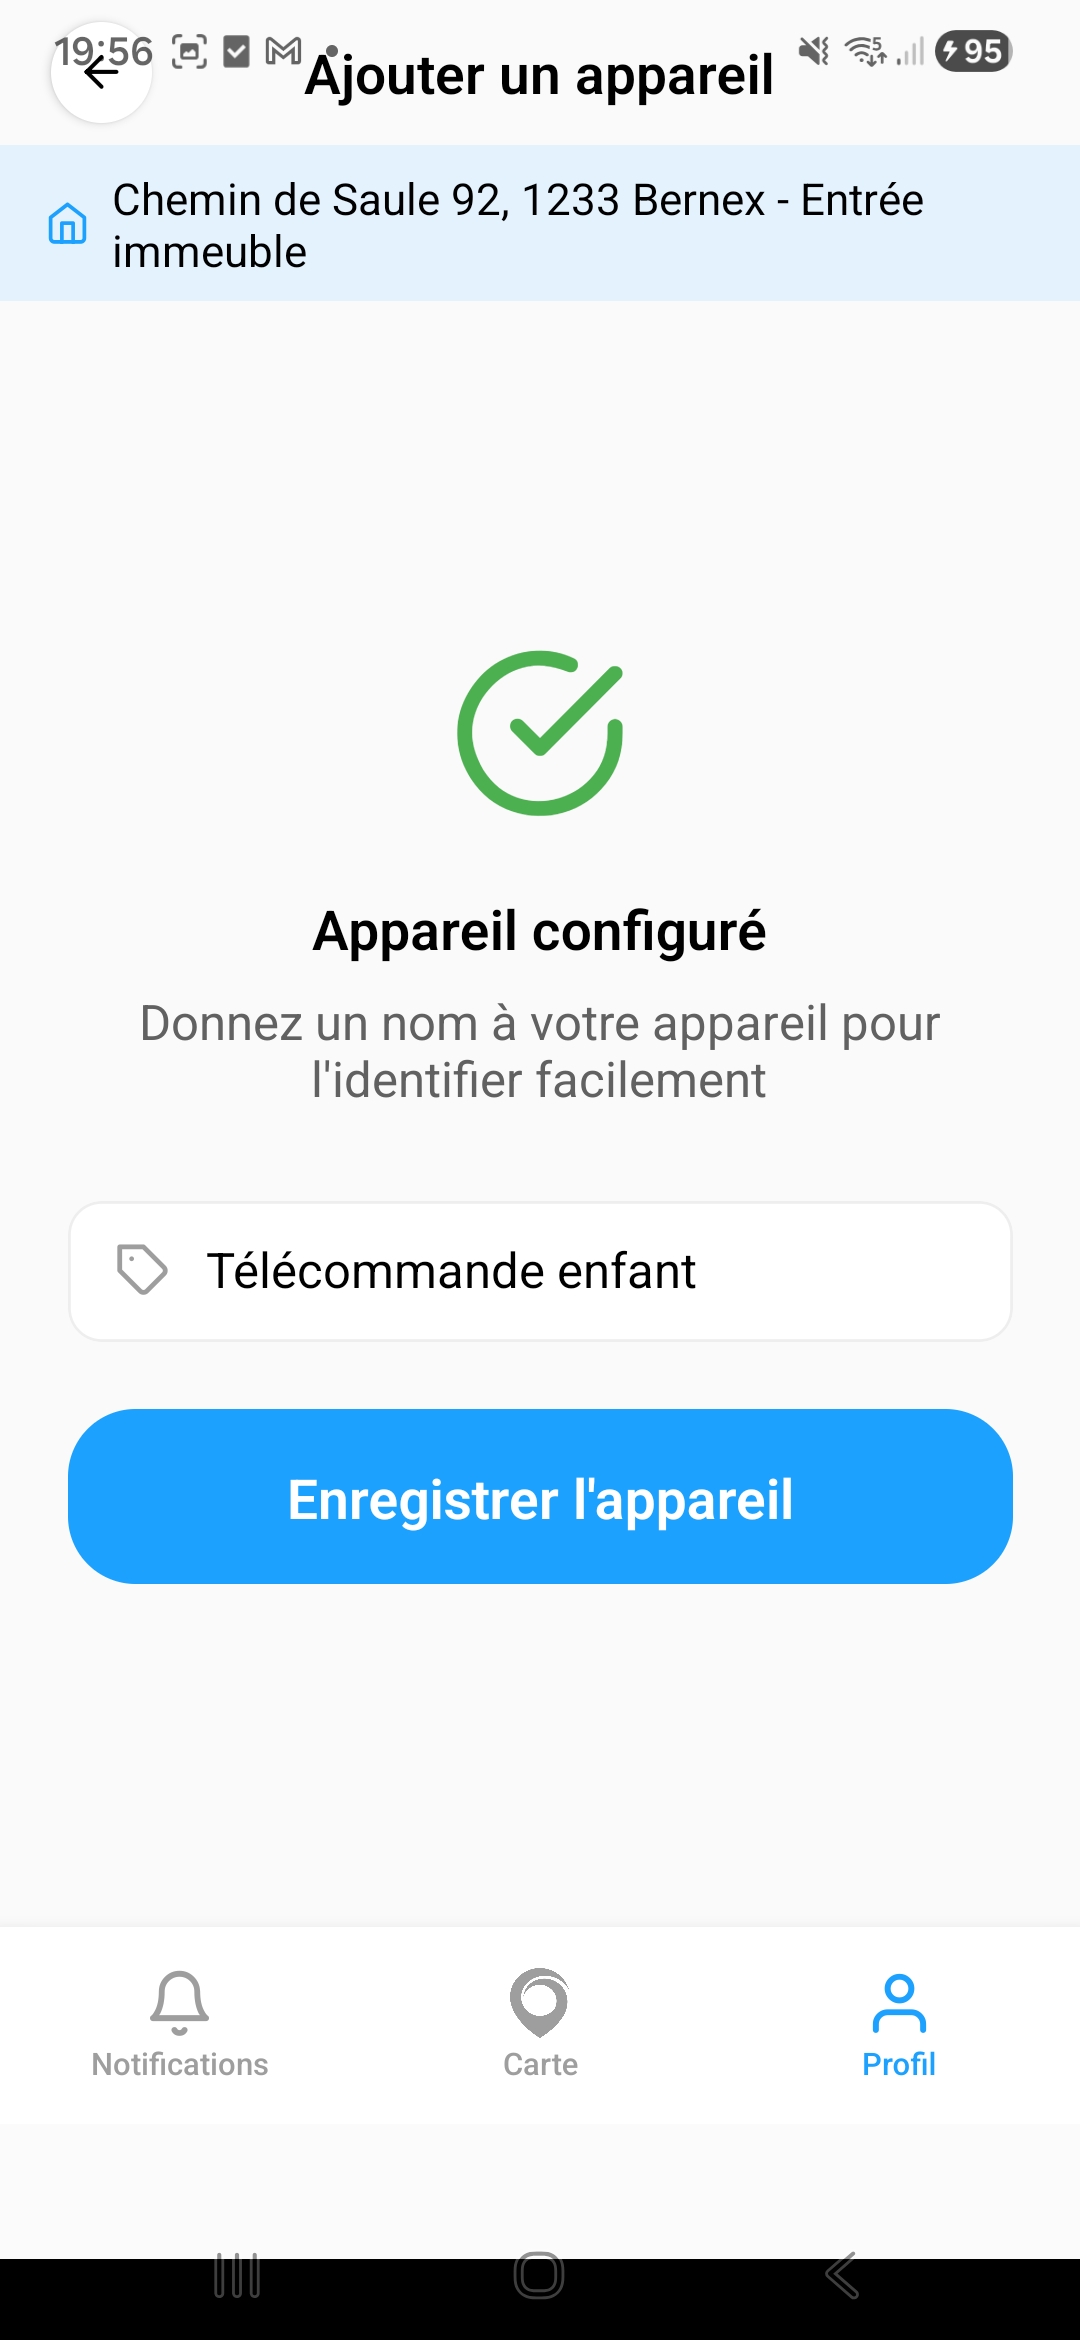
9.2 Add a remote
To add a remote (BLE device):
9.3 Lost device
If you lose a phone or remote:
10. Help and support
If you encounter a problem or have a question:
- In the app: Profile > Help and support
- By email: support@blusi.ch
- Dashboard: blusi.ch